1/72 Airfix Fairey Swordfish Mk.I
By Stephen Tontoni
Overview
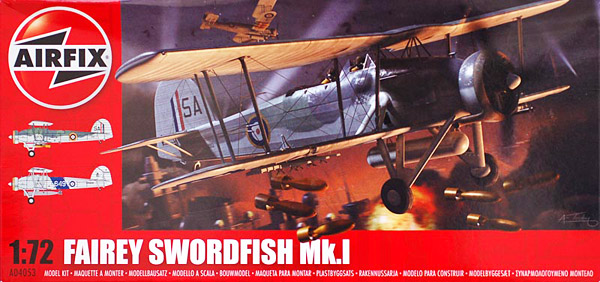
Airfix has been pushing up the quality bar in their most recent releases, but the new Swordfish kit pushes up the bar for all the companies that are working in 1/72. The level of detail is astounding while fit and engineering is very impressive. I’ll speak more of that later. I’ll say this though; if someone had shown me this kit last year, without the box, I would not have guessed it came from Airfix. Its equivalent level of complexity and detail could be best compared to a start of the art 1/48 scale kit.
The Kit
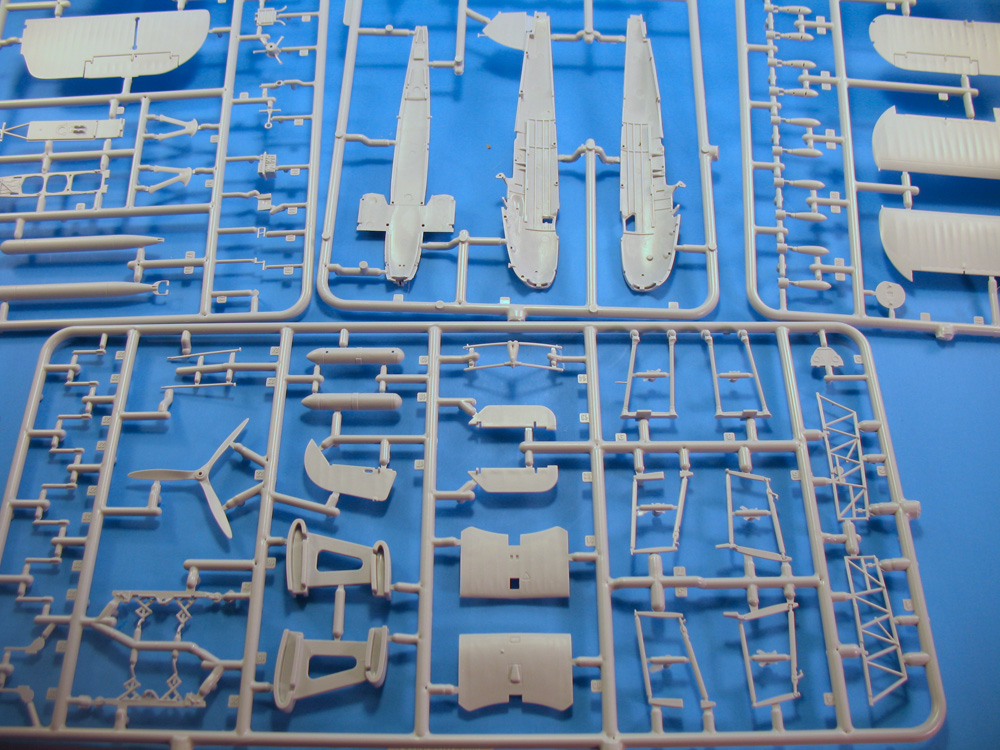
With 125 parts, this won't just fall together, but the 68 steps in the instruction sheet seems a bit granular. Of course you can concatenate some steps; just be cautious. Some of them are separate steps for a reason, and this kit isn’t your garden variety 1/72 plane. It’s fairly involved, and as the instructions say, this is not appropriate to undertake for those less than 36 months of age. (this is okay for the 3 year old, but keep your 2 year old away from the glue… is that what they’re saying? Really?)Before we begin talking about the model though, let’s do a little Biplane 101. What struts are what? “Cabane” struts connect the fuselage to the upper wing. The Swordfish has an arrangement of cabane struts such that they meet in the middle of the center section of the upper wing, forming a truss. The struts that connect the upper wing to the lower wing are called the “interplane struts”. The number of interplane strut sets will determine how many “bays” the wing has. The Swordfish, with two sets of interplane struts on each wing, is a two-bay aircraft. The more bays, the more complicated the kit build is, and the more likely you are to drink heavily. Your intervention may feature instrution sheets.
On to the kit; it's very crisply molded in light gray styrene with no sink marks that I could find. The wings have very believable texturing, and the fuselage has engraved panel lines although somewhat overstated for 1/72 scale. After primer, paint, gloss coat and flat coat, those recessed panel lines should be more believable as well. Many delicate parts detail the kit inside and out. With the wide-open cockpit of the Swordfish, you’ll be very grateful for the interior detailing. The pilot seat looks a little bit soft, and that should be accented with some photo-etch seat harnesses or something. There’s some room for improvement there. You also have the choice of building a torpedo or bomber; all the ordnance is molded and detailed beautifualy. It also has extended wing/folded wing options, which is a very nice touch. The modeler doesn’t need to break out a razor saw or figure out how to execute a believable wing fold; they just need to follow the instructions.
Let's get to the cool part -- kit engineering. This is the most interesting aspect of the kit as far as I’m concerned because Airfix seems to be re-writing the biplane book. A biplane has different challenges than monoplane does, not the least of which is wing alignment, and Airfix has approached that differently than anyone else that I’ve seen. And I build a lot of biplanes! The upper wing consists of seven parts; they are the two halves of the center section, the two halves of the outer sections, and the long wing spar that ensures alignment between the center/outer wing sections. (that spar part is not used if you choose to fold the wings) Construction of the wing begins by cementing together the two halves of the center section, trapping the wing spar in between. After that’s done, you slide the keyed inner interplane struts into the sides of the wing center section. The struts themselves sort of dangle below at this point. The outer interplane struts are also keyed and drop through slots in the upper wing where they’re guaranteed to be straight and secure, then you cement those halves together, trapping the wing spar between them. But wait..that spar is attached to the center section! Correct; you are cementing the wing halves while attaching the outer section of the wing to the center section.
So picture it this way; you simultaneously cement the wing halves, trap the interplane struts, align the wing on the wing spar, and attach the entire outer wing sections to the inner section in one maneuver. I’ve never seen this approach before. There’s a signpost up ahead; next stop, The Twilight Zone.
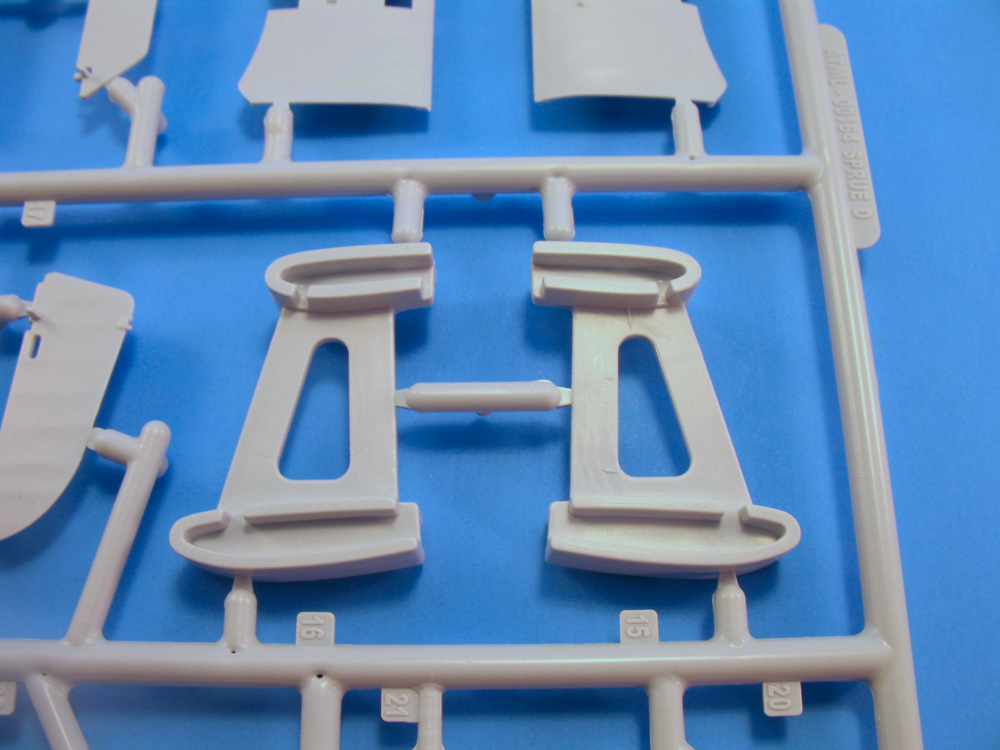
An other interesting design innovation… the fuselage is made of a right side, left side, and underside. The three pieces have a purpose and I really like it; the lower part has wing stubs that protrude enough to attach the wing to fuselage struts. In other words, the lower wing attached to the wing stub like that with its hefty struts will automatically be aligned, and it’s to those stubs that the inner interplane struts are securely attached.
The entire upper wing assembly is then attached to the fuselage, and the lower wings are attached to that. I would expect this to be the most complex part of the entire build. Use great care to dry fit it several times before applying any cement, and by all means, be gentle. I could be wrong, but the interplane struts are all dangling at that point and may be fragile. The lower wing has large holes to accomodate the interplane struts. These are not alignment "pins"; these are plugs that the struts fin into.When you cement the interplane struts in there, they are there to stay, making the wing structure very sturdy. And my own two cents here: do all the painting before attaching this assembly. You may have to touch up a bit, but it’s easier to do that than get between the wings with your airbrush.
The folded wing option is approached a little differently. Without the wing spar, there’s less positive connection and that could lead to misalignment. To prevent that, Airfix has provided jigs to align the lower wing stub to the upper wing center section. The jig holds the upper wing center section snugly in place, allowing nearly no room for play. Once that's completely dry you remove the jigs and the center section will be perfectly aligned and as solid as the rock of Gibraltar. If it were made of styrene.
As for detailing, this kit has more than enough for a 1/48 kit, much less a 1/72 one. I haven’t made a careful part count of the interior, but it has somewhere around 20 parts to it. When built, it will be very busy and believable. At this point, I’m wondering if the fuselage will close up with all those goodies in there. We’ll cross that bridge when we come to it.Exterior detail is excellent with highlights being a nicely molded and detailed Bristol Pegasus engine and sturdy two piece landing gear struts. Other parts, like part 14D in step 32, are very dainty. I mention that part specifically because I broke it while removing it from the sprue. That part, by the way, is a single piece taking the place of four horizontal stabilizer struts. Again, Airfix wants to idiot-proof the construction. This idiot, though, will not be denied -- I snapped one of the struts.
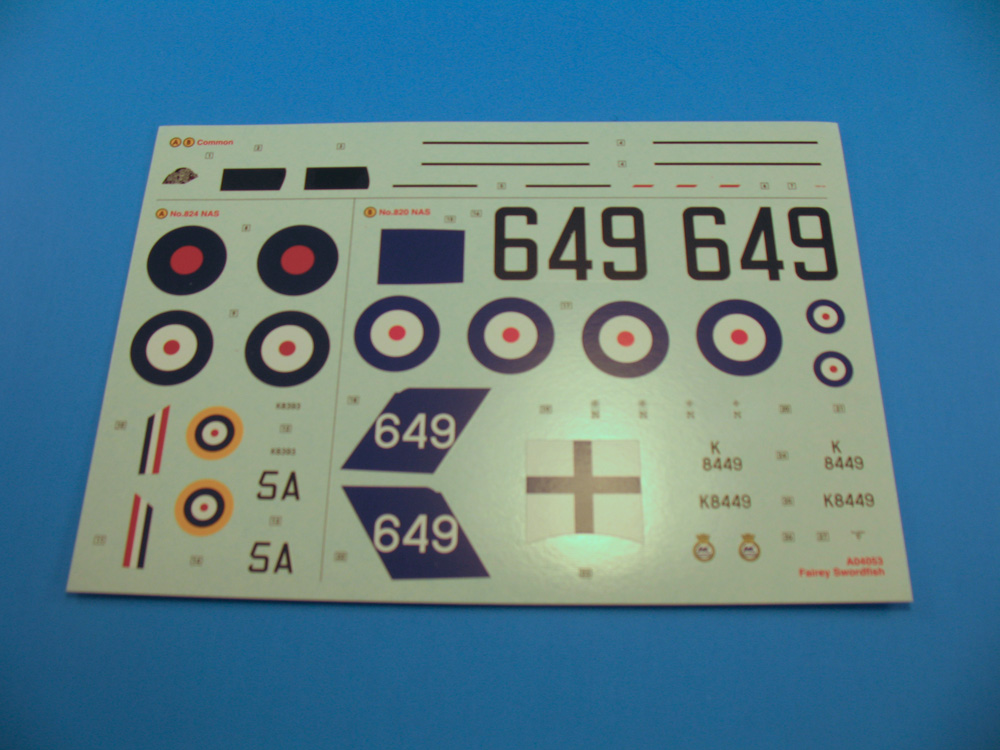
Jumping ahead to the decals, you have two marking options, a bomber from 1940 and a torpedo plane from 1939. The instructions have three view color profiles of each option and they include rigging with each view, but it’s not adequate for a two-bay aircraft. You’ll need to check your references to rig this beastie. Decals look like they will not be a problem; they are very thin with good register and flat finish.
I recommend this kit whole-heartedly. As you’ll have ascertained by the review so far, I’m very impressed by the engineering of the wings; this is the first time I’ve seen this approach. I don’t see how it will fail. Molding is excellent and the detail rivals a 1/48 kit. US$17.50 retail makes for an excellent bargain.Does this kit have any weaknesses at all? Sure, there are a few, but nothing to really whine about. I’d like to see the instructions include a clear rigging diagram. Three views are good for markings, but they just don’t show rigging well. Isometric drawings reveal that much better. I'll see about replacing the pilot’s seat and digging up some PE seat harnesses too. Attaching the upper wing assembly to the fuselage looks a little fiddly, but it should be okay... not a weakness. We’re modelers after all; give us a bit of a challenge. And if you build like I do, and paint/decal the upper wing before attaching it, there may be a bit of paint touch-up necessary around the lower wing to fuselage stub joint. Or maybe there won’t. I'm not really concerned about any of the "weaknesses" I just mentioned.
Conclusion
The ultimate conclusion is simple: If you want to build a 1/72 Swordfish, just throw away your Matchbox, Revell, Frog, and old Airfix kits; they are now hopelessly obsolete.


