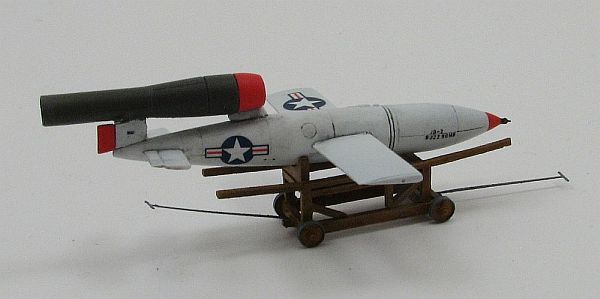
Owl 1/144 JB-2 Loon
By Matt Bittner
Introduction
When Germany surrendered after World War 2, a lot of their "war booty" went to the victors. One of those items was the Fieseler Fi-103, better known as the V-1 "Buzz Bomb" because of its distinctive sound while flying. A number of V-1s were brought back to the United States (US), at which point Ford was hired to build some for the US military. The US Air Force (USAF) labeled theirs the JB-2 "Loon". There were over 1300 built and were tested as not only "missiles" that were launched from under the wings of some heavy bombers (for example the B-17 and B-29) but were also launched from the ground via "rails" at some Air Force bases (for example, from the White Sands of Holloman AFB).
|
The Kit
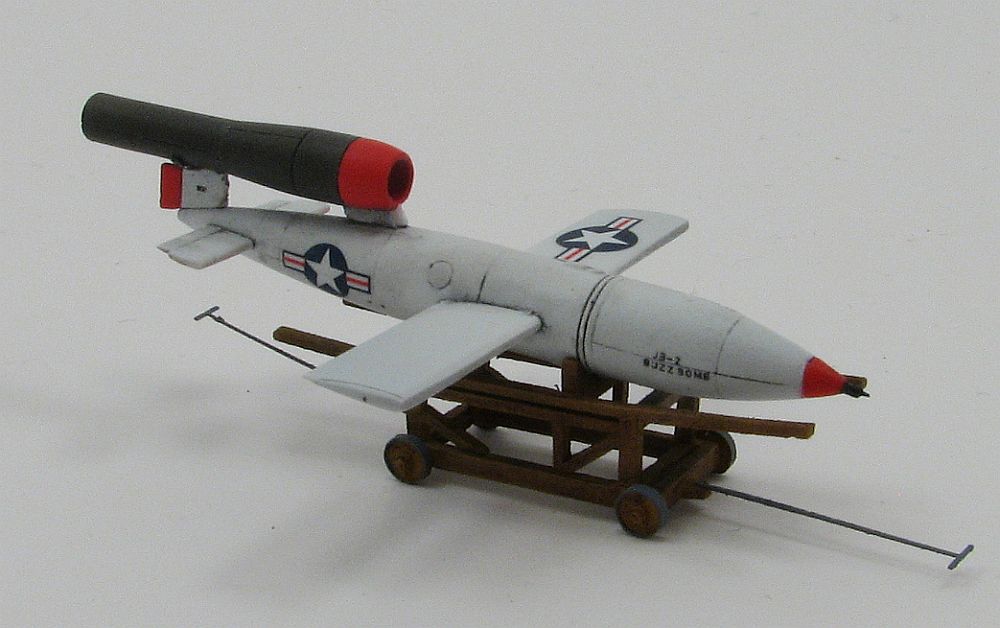
The Owl 1/144 JB-2 "Loon" couldn't be simpler, unless you bought an already-made model. There are very few parts and you can see the break out in my First Look from August 2010.
Construction
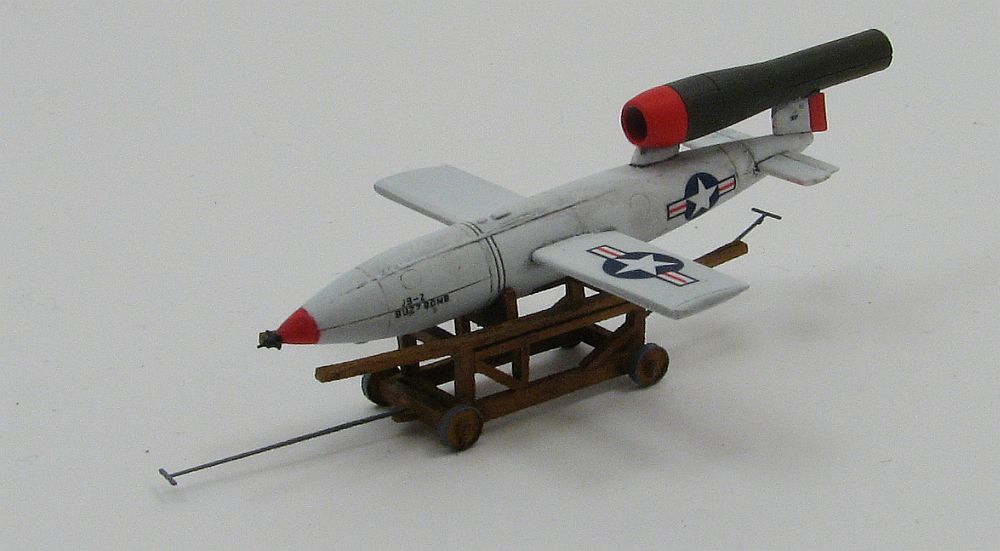
Once you add the wings, engine with pylon and rudder/fin, and horizontal tail pieces, for all intents and purposes you're finished building the Loon. Owl molded their kit with forethought - there are small nibs - and corresponding holes - that make mounting the wings super easy. The only thing you have to do is make sure they're straight since there's no guess work required to where they attach.
|
You'll need to make a decision on which engine face to glue in (there are two types, both provided for on the photoetch fret) but I couldn't find any photos or documentation to tell me which one was which. I opted for "PE1" and "PE2".
If you're careful with plenty of dryfit prior, you could get the engine and pylon assembly to a point where you could paint it separate. I decided to glue the whole thing together and mask.
You'll need drawings and photos to help glue the horizontal tail pieces on, as there is no indication to where those go on the body. But that is the most difficult part to assembling the Loon proper.
The trolley will take either epoxy or slow-setting CA so everything is squared. Do plenty of dryfit prior to gluing and this step won't be so intensive.
Painting
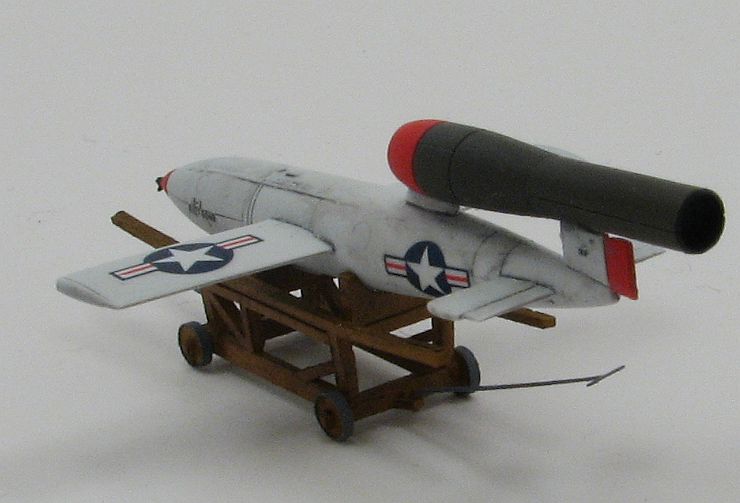
I first primed both pieces with Alclad's primer then set to painting. The white is Polly Scale, as is the red, while the Olive Drab on the engine is Vallejo - all acrylics for the missile. The trolley was painted with Wood Vallejo Air, then drybrushed with Vandyke Brown as an oil, and once dried I thought it too dark, and drybrushed the Wood Air over it. Much better. I painted the wheels and tow-bars mid-gray and the trolley was finished.
|
Once I was finished with painting the Loon, I sprayed a coat of Future over the whole think, waited long enough and then applied the decals. My only complaint about the decals is having to add the red stripes to the stars-and-bars. Sure, in a way it makes sense, as now you have the right about of decals for a single model, but when you're adding those red stripes you definitely wish for a single star-and-bar decal to add. Ah well, it came out just fine in the end.
After the decals were dry another coat of Future went on, then an oil wash of a black-and-white mix for gray. Once that was all finished then I sprayed the Loon with an overcoat of Xtracrylix flat coat (I sure do miss the old Polly Scale flat coat formula) and I was finished.
Or so I thought. I almost forgot to add the small prop to the nose of the Loon. Did I mention small? Yup, you betcha. Small. Be sure to use magnifiers to attach this part correctly.
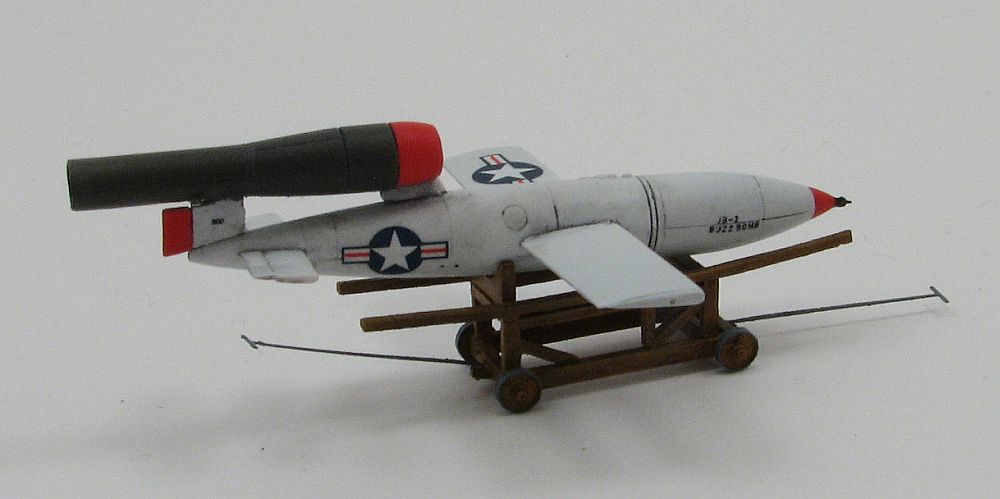
|
Conclusion
There you have it. A 1/144 JB-2 "Loon", produced by Owl. Not a difficult kit at all, and in terms of "Bittner-Build Speed", an extremely fast build. No doubt others than myself could finish it quicker than I did.
The next thing to do is build the base, as I want to show it on its rail, prior to shooting, at Holloman AFB. It won't be a large base, that's for sure. I'll hopefully start that sometime soon.
Many, many thanks to Owl for supplying to kit to review. If you build 1/144 scale, then you want to pick up this kit.
