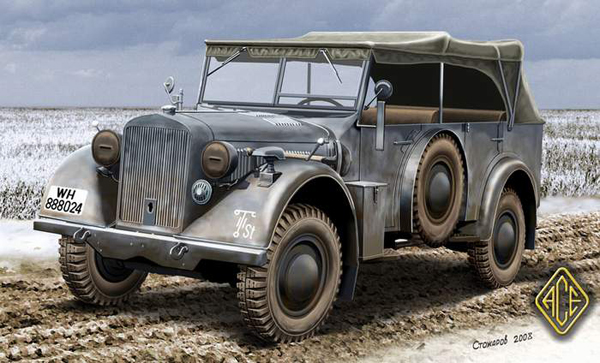
ACE 1/72 Kfz 15 Horch
By Rob Folden
History
Developed in 1934, the Kfz.15 was built by the Horch company to fill the German military's medium personnel carrier role. In an effort to increase production, the vehicle was also manufactured by Wanderer and Opel. Universally known as the Horch, the Kfz.15 was an all wheel drive vehicle capable of carrying 4 soldiers, as well as towing light artillery. Its primary use was as a Staff Car for officers. Powered by an 80HP V8 engine, the Horch was well received by commanders who used it to travel throughout the battlefield. From its initial production in 1937, until the final vehicles rolled off the line in 1940, over 12,000 units were produced.
The Kit
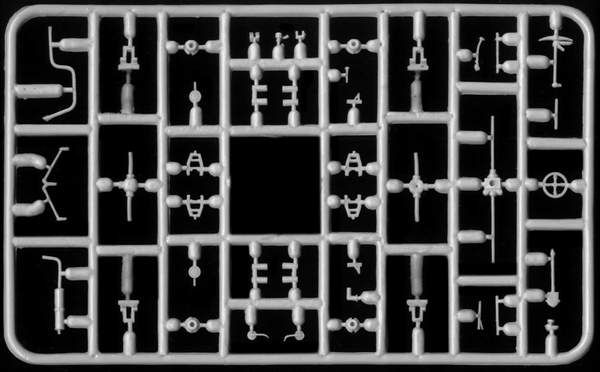
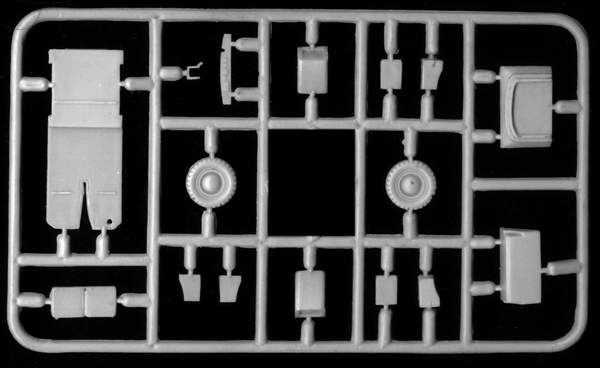
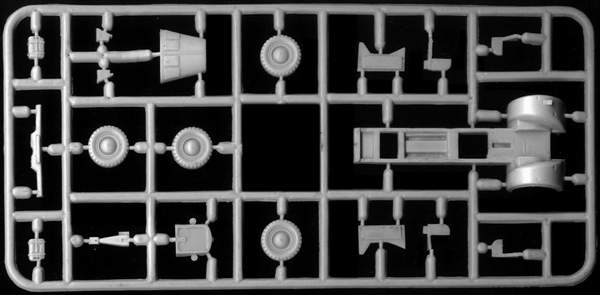
The Build
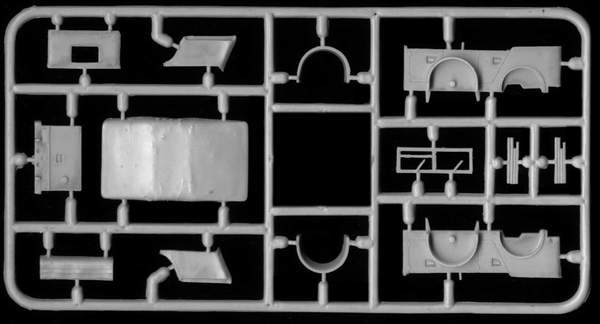
The two problem areas were the front end and the roof. Starting with the front end, the sides of the engine housing require some minor surgery to fit properly. Adding to this, the hood is not straight. This required me to cut off the front of the hood and add a stretched sprue shim to the rear. After some careful filling and sanding, the hood looks like it belongs.
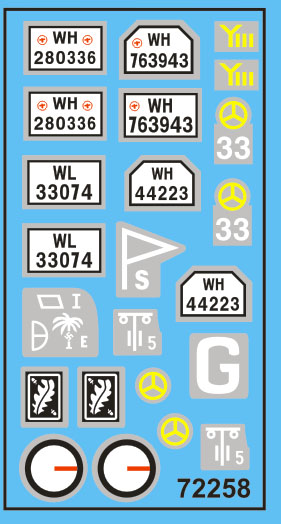
For the roof, get your sandpaper ready. This was the worst part for flash and plastic anomalies. I started with automotive 200grit sanding cloth and knocked down all the plastic blisters. I then smoothed it all out with 400 grit, 800grit, and then added some texture with 600 grit in a criss cross pattern. Paint was very easy...the whole thing is German Grey. Just joking, there are some details to be painted like tools and the wheels, but overall it is just gray. Some light weathering and dirt and I was ready to add the decals and the clear windows. Overall, the build took me about 3 days to complete.
Conclusion
I must admit, originally I planned on just doing the in-box review for this one. But if I had, it might not have received the credit it deserves. Yes, it is a bit rough, however for a limited run, 1/72 kit of a subject that is otherwise not available in this scale, I think it builds up rather nice. Keep in mind, it does require a bit of work, but that's what this hobby is all about. Overall, I would recommend this kit. For the price, and a little extra work, it builds into a very nice addition to any 1/72 armor collection. I'd like to thank Scale Model Kits for providing the review sample.
