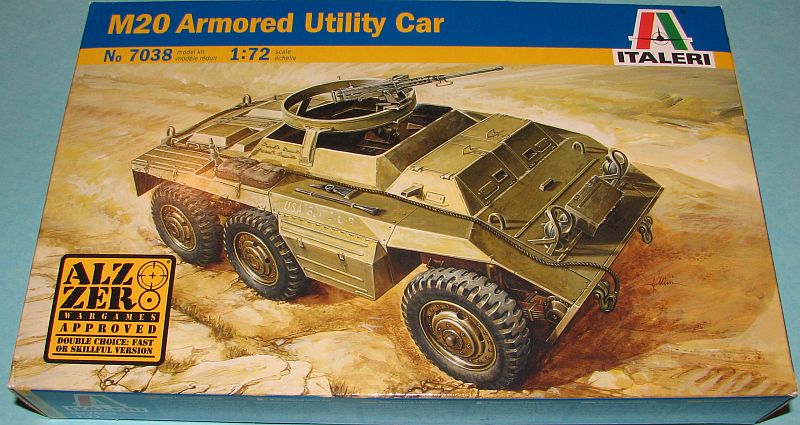
Italeri 1/72nd M-20 Armored Car
|
 |
Background
 Since
I have zero references on the type, I’ll quote direct from the instructions. Since
I have zero references on the type, I’ll quote direct from the instructions.
This version of the armored car M-8 was developed in 1944 to supply
the U.S. Forces with a fast, all-terrain reconnaissance vehicle. The M-20
was practically identical to the previous vehicle, but was deprived of
the 37 mm gun (inadequate to confront German tanks) and served to escort
infantry units. Both versions participated in all final phases of World
War II. The French army used them extensively during the following years.
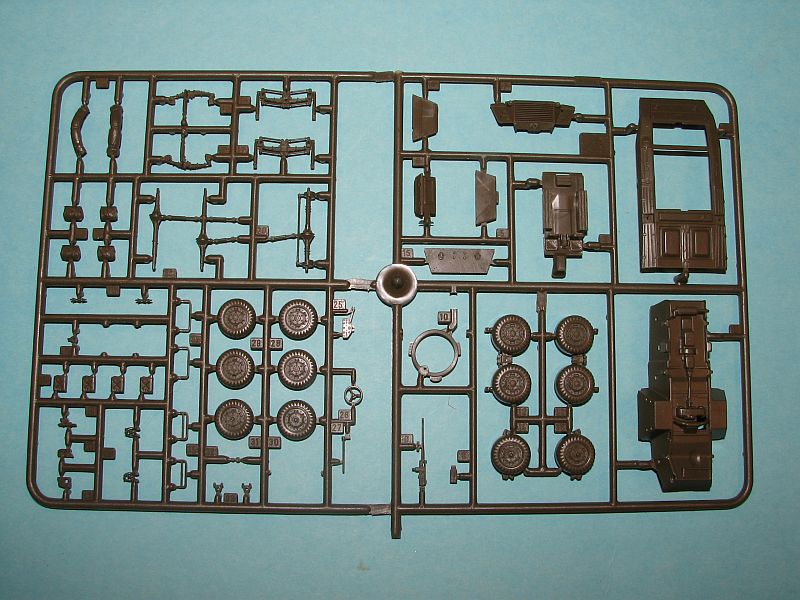
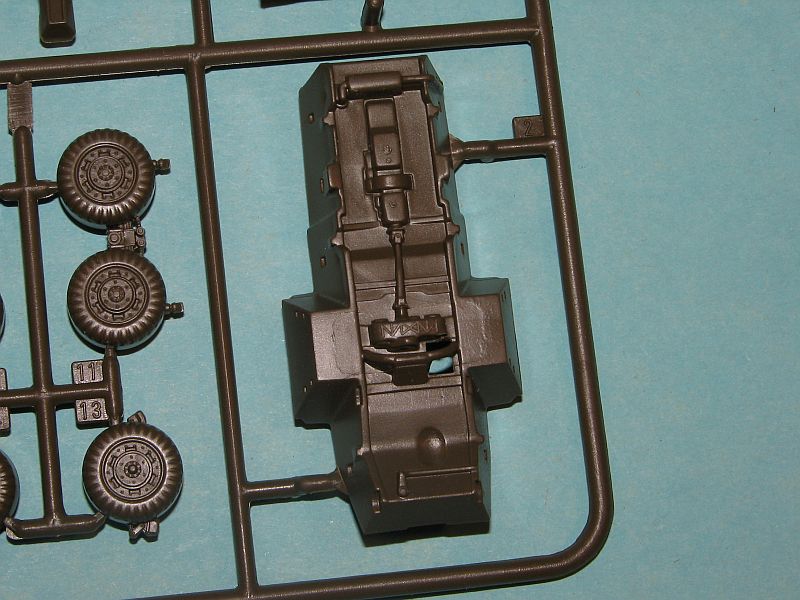
The Kit
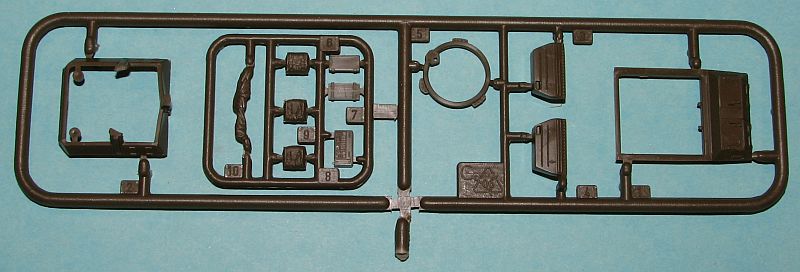
 The
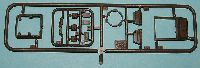
Italeri 1/72nd M-20 consists of 50 parts used for the M-20. I typed, “used
for the M-20” because there are leftover parts common to the M-8
that exist on the sprue, but which aren’t used for the M-20. These
are definite additions to the spares box. All parts are nicely done, but
you may want to track down some of the resin replacement wheels, especially
if you’re building for “show”, and not wargaming. The
backs of the wheels are hollow, and there are some mold-marks evident
that will need to be removed, probably removing tread in the process.
I’m unsure who makes the replacement tires, but visit your favorite
on-line small-scale armor (SSA) site (like Tracks
& Troops) and I’m sure you can find them. The
Italeri 1/72nd M-20 consists of 50 parts used for the M-20. I typed, “used
for the M-20” because there are leftover parts common to the M-8
that exist on the sprue, but which aren’t used for the M-20. These
are definite additions to the spares box. All parts are nicely done, but
you may want to track down some of the resin replacement wheels, especially
if you’re building for “show”, and not wargaming. The
backs of the wheels are hollow, and there are some mold-marks evident
that will need to be removed, probably removing tread in the process.
I’m unsure who makes the replacement tires, but visit your favorite
on-line small-scale armor (SSA) site (like Tracks
& Troops) and I’m sure you can find them.
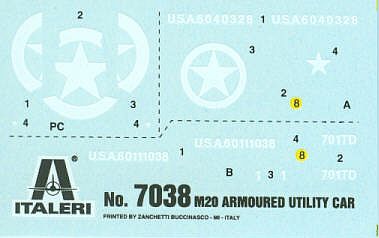
 There
are decals – nicely done and in register – for three different
M-20s, all U.S. The first is from an unknown unit in Germany, 1945; the
second from the 701st TD Bn, recon unit Italy, 1944; and the last from
an unknown unit in the Ardennes, late 1944. While all three versions are
overall Olive Drab, the Ardennes example has been whitewashed. There
are decals – nicely done and in register – for three different
M-20s, all U.S. The first is from an unknown unit in Germany, 1945; the
second from the 701st TD Bn, recon unit Italy, 1944; and the last from
an unknown unit in the Ardennes, late 1944. While all three versions are
overall Olive Drab, the Ardennes example has been whitewashed.
Like others in the Italeri “Also Zero” wargaming line, there
are two sequences in the instructions that can be followed, one for “skillful”,
the other for “wargaming”. The “wargaming” steps
show fewer parts and thus are considered “easier”.
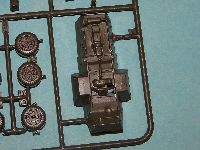
Construction starts with adding various pieces to the interior of the
lower hull. While adequate, there is plenty of room for super detailing,
especially since most of the interior can be seen through the open hull.
After a few pieces are added to the upper hull, then the hull pieces are
glued together.
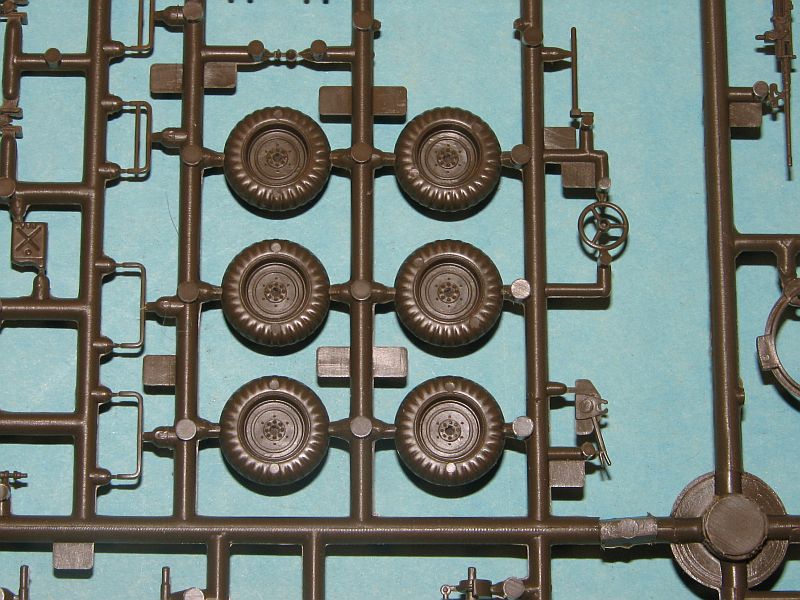
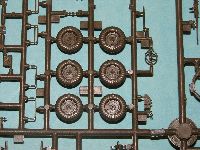
Since the hull is now assembled, construction continues with adding
the suspension, and later the wheels. However, the wheels are best left
off until close to the end of building.
 Now
more details are added to the hull, followed by the “holder”
(not sure of the “technical” term) of the gun ring that assembles
to the hull, followed by the gun ring. Again, the gun ring is best left
to close to the end, so masking the interior is easier for overall painting. Now
more details are added to the hull, followed by the “holder”
(not sure of the “technical” term) of the gun ring that assembles
to the hull, followed by the gun ring. Again, the gun ring is best left
to close to the end, so masking the interior is easier for overall painting.
Conclusion
This is a great kit. And if the builds I’ve seen on-line and in
person of the M-8 are any indication, a 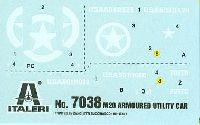 fantastic
kit can be finalized with the Italeri M-20. This is also a relatively
easy build, even if you’re following the “skillful”
sequence of the instructions. The area that will probably take more time
with this kit is the final finishing. Highly recommended. fantastic
kit can be finalized with the Italeri M-20. This is also a relatively
easy build, even if you’re following the “skillful”
sequence of the instructions. The area that will probably take more time
with this kit is the final finishing. Highly recommended.
My only question to those more knowledgeable of this vehicle than I
is: was the M-8 or its derivatives ever sent to the Soviets via Lend Lease?
My thanks to Testors for sending
the review sample. |
|