Italeri 1/48th Supermarine Spitfire Mark IX
|
 |
Background
Not all British fighters of World War II were Hurricanes. Some were
Spitfires!
That's an inversion of my normal Message to Humanity, as ‘Hurricane
Bookshelf’ columnist for the Seattle IPMS Chapter’s newsletter.
Nevertheless, I accepted this assignment from Matt Bittner: build a brand-new
kit of the Supermarine Spitfire Mark IX from Italeri, and tell you about
it.
The real aircraft was supposedly only a stopgap, forced on its manufacturer
and the Royal Air Force by the advent of the Focke-Wulf 190A. Still, it
has interesting points: it was used as an air superiority weapon, for
reconnaissance, high-altitude interception, and for low altitude attack.
Reading about it in William Green’s, and other books on my ‘Hurricane
Bookshelf’ (!) revealed that the main thing wrong with the Spitfire
Mark IX was that it was not a Mark VIII, the version carefully re-stressed
and engineered to take a new Merlin engine of over 1700 horsepower. During
the year this took, the FW190A’s superiority had to be countered
somehow, so the IX was produced… basically a Mark V airframe hastily
fitted with 300 more horsepower. This worked to restore the balance of
power in the air, and as it turned out, the IX was made in larger numbers
than any other mark of Spitfire: 5,665.
Given my Hurricane preference, I confess to not having kept up with
what, specifically, was out there to model Spitfires in ¼”
scale, and had to do little catching up.
The Kit
All important versions seem to be in production from one manufacturer
or another, with the numeric preponderance of the real IXs reflected in
kit availability. I know of five others: the old Monogram kit, and current
ones from Airfix and ICM, Occidental and Hasegawa. I’ve built only
the first, introduced in 1962. Kit #6801 was excellent for its time, but
none of you would take it seriously now, with its large riveted raised
panel lines, minimalist cockpit under a ‘bottle-glass’ canopy,
all held up by working, but scarcely detailed, landing gear.
The others I’ve never examined in kit form, but if they’re
like stablemates in their respective lines, they’re likely to have
one fault or another, being crude or with fitment problems, perhaps oddly
engineered or with scale fidelity shortcomings, or at least good but expensive.
I surmise there must be reasons why Italeri decided there was room in
the market for this new offering of theirs. Or maybe it’s just that
the Spitfire is right up there with the P-51 Mustang: why there are so
many kits of it? “Because they sell, sweetie! --Because they SELL!”
Actually, I should face up to admitting knowledge of one more, which
makes ol’ 6801 a certifiable gem by comparison: something from STARFIX…
panic in the streets…!
Now, if you’ll all calm down: this is a First Look, so I’ll
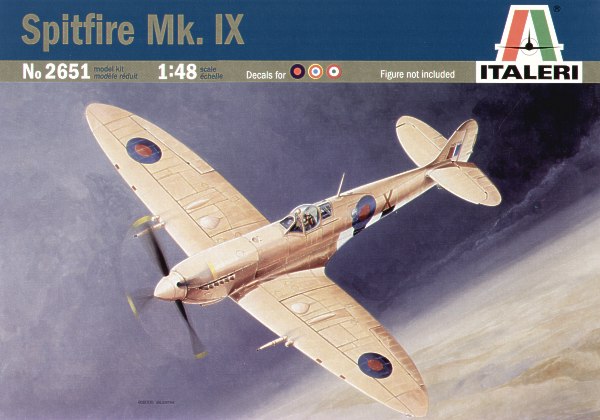
try to give a brief but specific account of my impressions. The kit comes
in a top-opening box with fine cover painting by Roberto Valentini. It
seems large enough for a twin-engined light bomber: 13 ½”
by 9 ½”, by nearly 2” deep. This volume is nearly filled
by one small and two large sprue trees, a decal sheet, and a folded up
assembly printout.
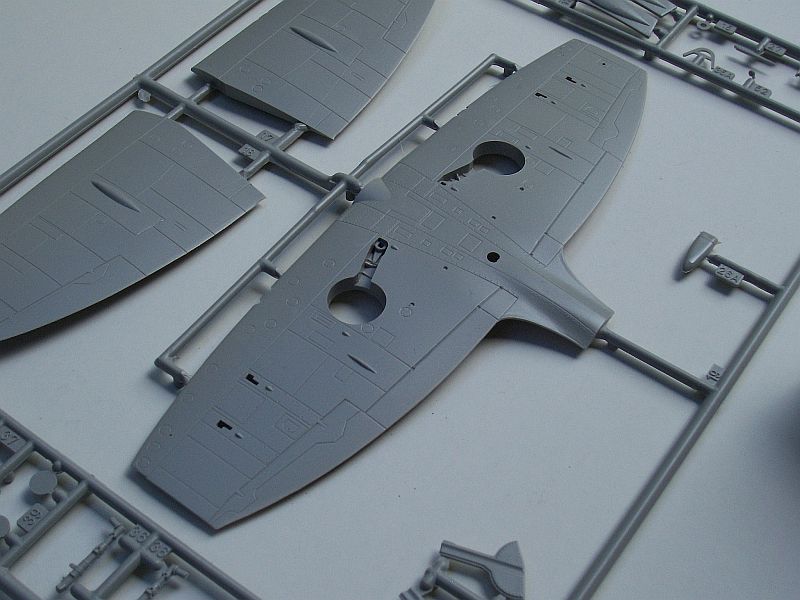
The two main moldings are well-laid out, uncrowded sprues. They’re
neutral gray, the absolutely best base color for painting. (I’m
long past my Calvinesque days when manufacturers were expected to mold
their kits in Navy blue, Zero yellow, or even Starfighter chrome.) The
plastic is of medium hardness, holding detail scribing perfectly but not
being too hard to cut and file, where cleanup is necessary. There’s
very little flash, no more than what any of us would regard as a minor
nuisance. Everything is numbered, but even so, the instruction sheet includes
a matched set of sprue maps.
Careful examination of all the external parts surfaces shows only the
tiniest of sink marks near the tips of the upper wing panels, directly
above the location pins inside. That’s all! --I think the thinnest
possible scrape of Squadron Green Putty, followed by brief passes with
fine wet-or-dry sandpaper will take care of these very minor flaws. I
can detect no flaws at all on the fuselage sides, tail feathers, lower
wing panel, or details like the spinner, wing tips, propeller blades,
landing gear covers or anything else that shows.
My only criticism of the moldings is that the sprue gates are fairly
large. In practical terms, care and patience have to be taken not to damage
the external surfaces. Specifically, what I did was to clip each part
clear of its sprue with my coarse cutters, an eighth-inch away, then carefully
trimmed the remainder of the stub with a sharp #11 X-Acto blade or my
Micro Mark cutting tweezers, finally finishing up with some careful sanding
or filing. This got me very close to perfectly finished components, with
a couple of exceptions. In these, the sprue had developed slight voids
where it met the structure, such that when it was trimmed away, left a
small dent or hole. I don't want to make more of this than it deserves;
the resulting voids to be filled are not much larger than, say, unwanted
rivet holes.
With the major parts so prepared, I tested their fit to each other.
The three main wing panels fit together snugly, and it appears the wing
tips will need only the slightest amount of dry fitting and filing before
they, too, will make an excellent fit. (Separate wing tips suggest that
L.F. (Low altitude) clipped wings, or H.F. (High altitude) extended-tip
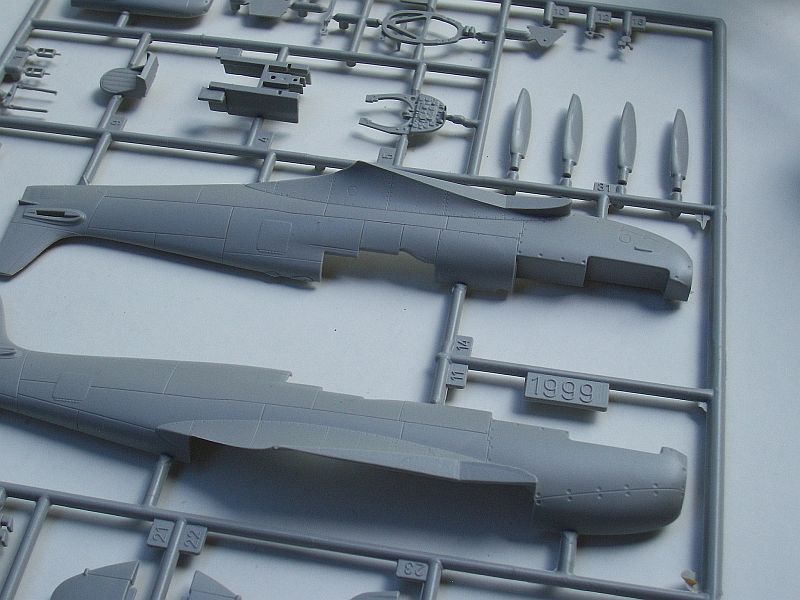
wings may come available in later releases.) The fuselage sides go together
equally well, with no shape or panel line mismatches. Lastly, I taped
these two subassemblies together, then tried them against each other.
This little exercise leads me to predict that the dreaded wing-to-fuselage
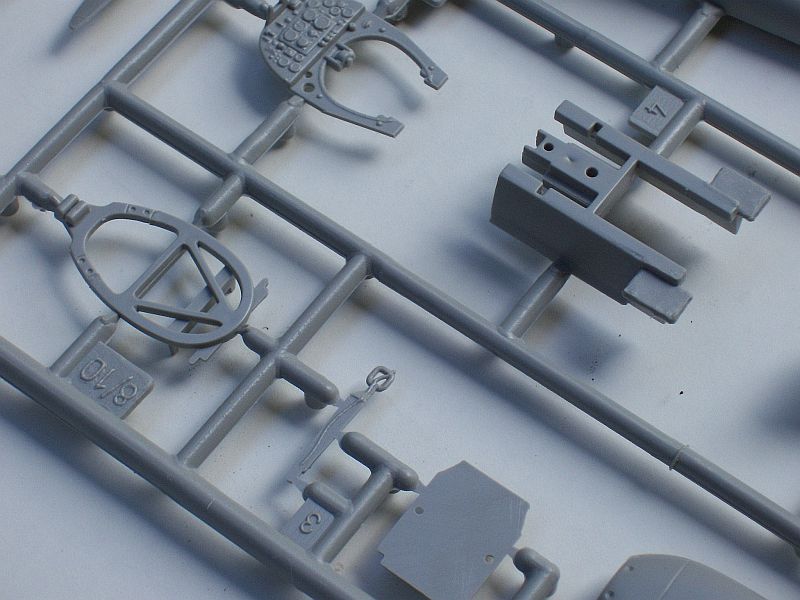
joints will be OK. The insides of the fuselage halves are scribed with
enough interior detail to complement the nicely molded seat and instrument
panel assembly. I know some of you aren't content with any aircraft interior
except expensive aftermarket resin-and-photoetched sets, but I think the
interior detail on this kit is quite nice. The seat-supporting aft bulkhead
and deeply-engraved instrument panel deserve careful finishing and display.
The ‘glass’ is bright and clear, with two complete, slightly
different sets of windscreens and hoods, plus an extra canopy that the
instructions say to ignore (a late-mark bubble). The gray sprues have
a couple of parts options, too: carburetor intakes, wheel hubs or covers,
and alternate bulged gun access covers. I’m no Spitfire expert,
but I know early IXs came with two pairs of .303s to complement the Hispano
cannon, and later a pair of Browning .50s. The latter array would need
larger bulges over the breeches...
This leads me to the instruction sheet. It’s very large, and very
clear, with text only on page 1, describing the aircraft and some rudimentary
general assembly instructions, in six languages. The next three pages
have excellent fine-lined drawings showing the ‘exploded’
subassemblies going together with numbered lines, leaving no question
about the location and fitting of the parts. A fine thing: I've seen instructions
where the placement of parts was only vaguely indicated, leaving the modeler
to struggle.
Unfortunately, this clarity doesn’t extend to using the provided
alternate parts. I certainly approve of kit manufacturers including such,
but it's reasonable to expect guidance in their use. Here, two small drawings
show removal and replacement of the upper wing gun blisters, but with
no supporting text except for a terse "Versions B-F only", I
can't make out which parts go on which version. Likewise, two wheel hubs
sets are included: a pair of four-spoked and a pair of plain covers embossed
only with valve hole access points. There are two different carburetor
intakes. The instructions don't make clear why one part should be used
instead of the other.
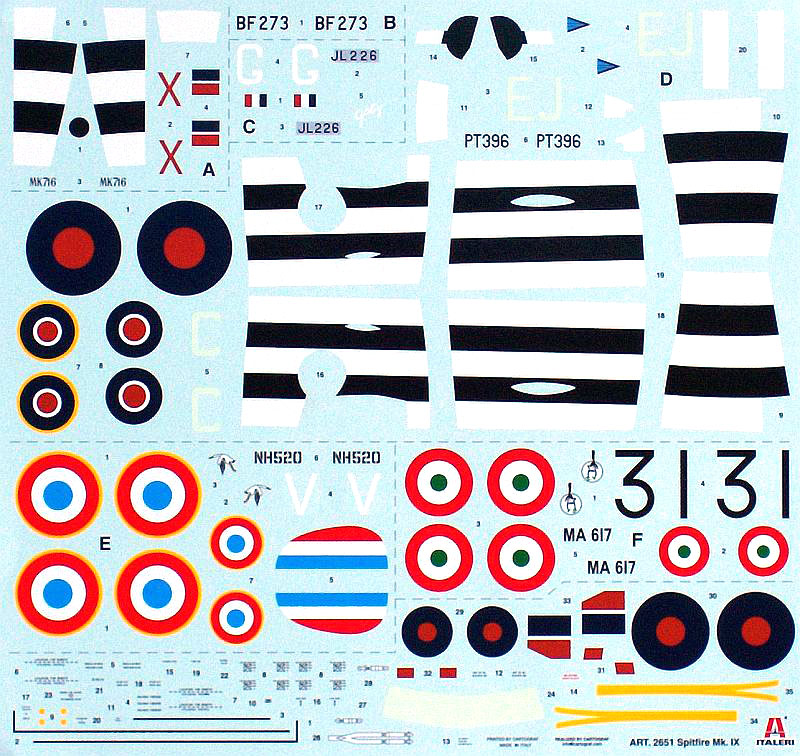
The remaining six panels of the instruction sheet, even though they're
only in black-and-white, are a superb guide to painting and using the
big 9 ¼” x 8 7/8” decal sheet. Each panel is a four-view,
with color demarcation lines clearly indicated and paint colors called
out by FS numbers and Model Master enamel and acrylic IDs. Every decal
is numbered, and precisely indicated in position on each of the six color
schemes. There are four in British WWII markings (some with invasion striping),
and postwar French and Italian markings.
The decals have excellent color: subdued wartime British blues and reds,
bright postwar Italian red, white and green. The French markings are as
bright as the Italian, and include that shade of medium blue that other
manufacturers struggle with. The color looks like a good match to French
color profiles from the library. The decals appear thin and have what
I want to describe as perfect surface finish: no flaws, not the slightest
hint of glossiness, but on the other hand not a hint of matt roughness
or porosity. The multiple colors are in near-perfect register, round elements
exactly concentric except for the center spots on the two smallest French
insignia, which are just a touch off-center. Many silk screeners do roundel
center spots separately, leaving alignment to the time and skill of the
modeler. Cartograf of Italy must be confident of their skill, which I
endorse after examining tiny details like a ¼”-high pair
white birds. Their orange legs are precisely registered, with black outlines
exactly on edge. Overall, the markings look like they’ll go down
easily over surface detail, and that a single thin coat of sealer, in
whatever degree of the gloss or matt is wanted, will blend them in. I’m
eager to put these impressions to the test during the build!
Conclusion
That's all for now. Time for me to turn this article in to placate our
Editor, test kit builder coordinator, and Webmeister. Time to start applying
glue to the parts and see if they really do fit... time to see if the
decals look as good on the model as they do on the sheet. Time to forsake
Hurricanes till the build is done...after all, not all British fighters
of World War II were Hurricanes; some were Spitfires. Watch this space
for developments!
Thanks to Testors for the review
sample. |
|