Italeri's 1/35 Sd. Kfz. 139 Panzerjaeger Marder III
|
 |
Panzerjaeger Marder III
Even in the early stages of Operation Barbarossa, the Wehrmacht already
felt the need for a more mobile and more powerful antitank solution than
the existing towed antitank guns or tank destroyers like the Panzerjaeger
I. This need became urgent in late 1941 with the appearance of the new
Soviet tanks like the T-34 and KV series.
As an interim solution, it was decided to use obsolete tanks and captured
vehicles as the base for makeshift tank destroyers. The result was the
Marder series, which were armed with either the 75 mm PaK 40 antitank
gun or the Russian 76.2mm F-22 Model 1936 divisional field gun which were
captured in large numbers. While the Panzer 38(t) had largely become obsolete
as a tank in early 1942 but was still an excellent platform for adaptation
into a tank destroyer, amongst other roles.
Since the Soviet 76.2 mm field gun was available in large quantities,
the decision was made to mate this gun to the Panzer 38(t). This tank
destroyer was put into production as the Sd.Kfz.139 Panzerjäger 38(t)
with 7.62cm PaK36(r). A total of 363 of this Marder III variant were built
from April 1942 to 1943.
The Kit
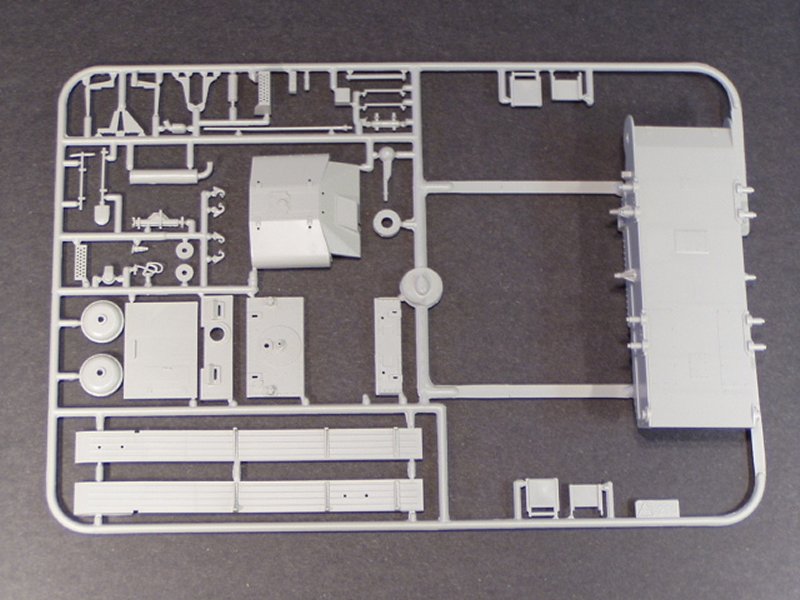
Italeri's reissue has boxart showing a Marder III on a bridge. When
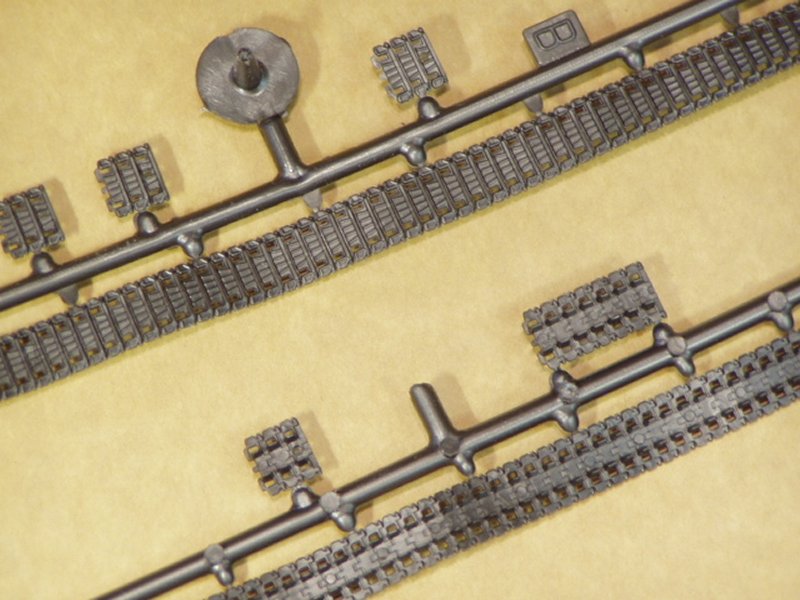
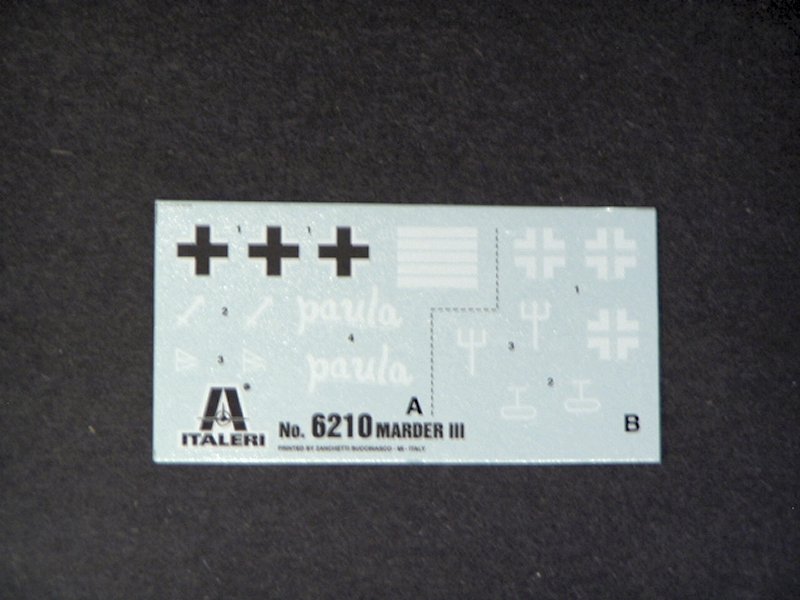
you open the box you find 3 sprues in light gray plastic, a small decal
sheet, 2 sprues with metallic color vinyl tracks and the instruction booklet.
There are about 180 nicely molded pieces on the sprues. Altogether the
detail looked good. There were a few light sink marks and a little flash
on some of the parts. The ejector pin marks are all in places were they
won't be noticed after assembly. Some parts require a little sanding of
the mold parting lines, but all in all it's a very clean kit.
The assembly booklet has a 6 language description of the tank. It also
includes a parts map and 2 painting schemes. One scheme is 3-color camouflage
for France 1944 and the other is for a Marder on the East Front in 1942
in Russia.
There are 8 assembly steps in the instructions and they start as with
most armor kits with the suspension. The suspension is made to be movable.
About 1/3 of the parts are being used for the suspension alone. There
are also 2 seats included for the driver and the radio operator, no figures
for these 2 seats. The only figures in this kit are the commander and
the loader. You also attach the rear bulk head and the rear hull plate
in this step.
Engine deck, glacis plate and frontal armor plate as well as return
rollers are added in step 2. There is a machine gun as well.
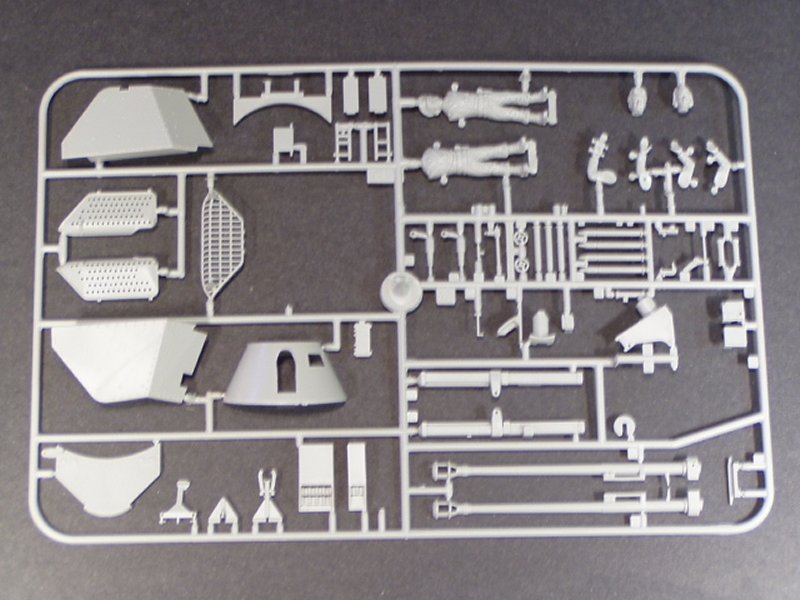
Step 3 and 4 cover the attachment of the sponsons, pioneer tools, spare
tracks and other accessories, including the basket to catch spent cartridges..
The gun is assembled in step 5 and attached to the hull in step 6. The
gun is roughly another 30 pieces including the shield. The gun is movable
as well.
Besides attaching the gun to the hull in step 6 there is also an ammunition
rack with a few shells and a few spent cartridges.
The armor shields for the fighting compartment are assembled in step
7. This step also covers the assembly of the figures. The final assembly
in the last step includes the tracks and the attachment of the armor to
the hull.
Conclusion
Overall this is a good kit. You don't need to be a master modeler to
turn out a nice looking replica of this German Panzerjaeger. The gun assembly
might be a little tricky for beginners, but other then that this kit is
straight forward doesn't seem to have any surprises. I am looking forward
in building it. The only negative part is that besides the 2 seats and
ammunition rack there is no other interior provided. Then again, what
are after market parts for. I would like to thank Testor's
for the review kit.
References
|
|