Academy's 1/35 US Medium Tank M3 Lee
|
 |
M3 Lee
The M3 Lee medium tank was a stopgap measure to catch up with German
tank designs encountered in the early part of World War II until the M4
Sherman became available. As stated in Academy's kit press release, no
tank in history ever went from design to production faster than the M3
Lee. It saw action in the North African and Pacific theaters with the
US. Through the lend lease program it saw action with the British as well
as the Russian armies. The British designated the M3 as the 'General Lee'
as it is known to this day. It was odd in appearance but made up for in
performance on the early battle fields of World War II. Academy's kit
is the 'bolted hull' version.
The Kit
As with Academy's boxart, this one shows an M3 Lee (early US markings)
in North Africa that make for a good painting and decal reference. There
are some color photos of a finished model on the sides of the box. Inside
the box is a twelve-page instruction manual in Korean, Chinese, German
and English. General illustrations are very well done and in logical order
of assembly. There are nineteen subassembly steps to complete this model
with an added correction notice leaflet inside involving the suspension
assembly and 37mm gun mounting. Kit instructions have a symbol legend
for filing, gluing, cutting, etc. to assist you through
assembly. If you have trouble finding a part there is a parts location
diagram page. There are multiple
sealed bags containing part sprues and one containing the decals.
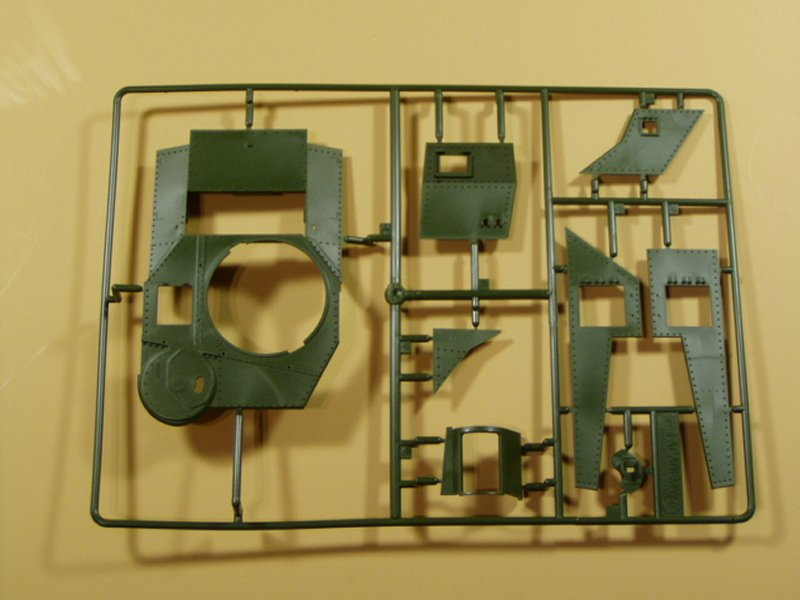
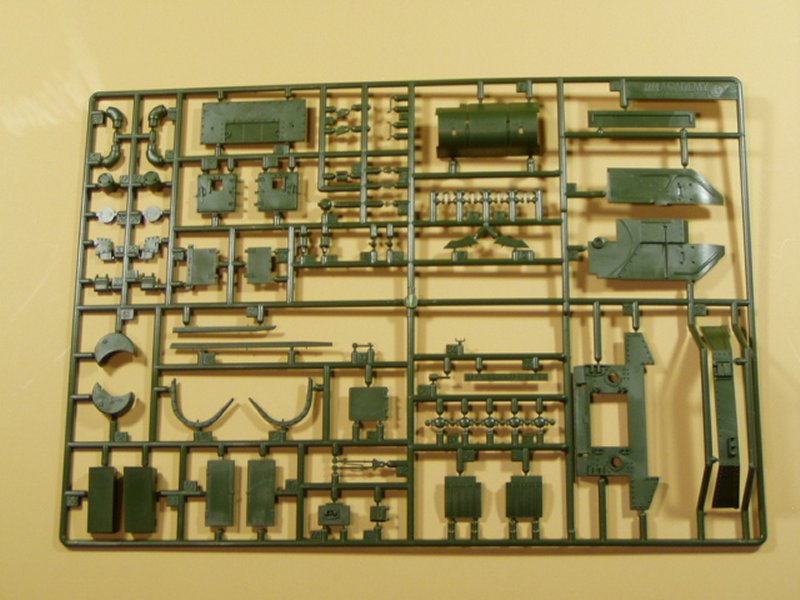
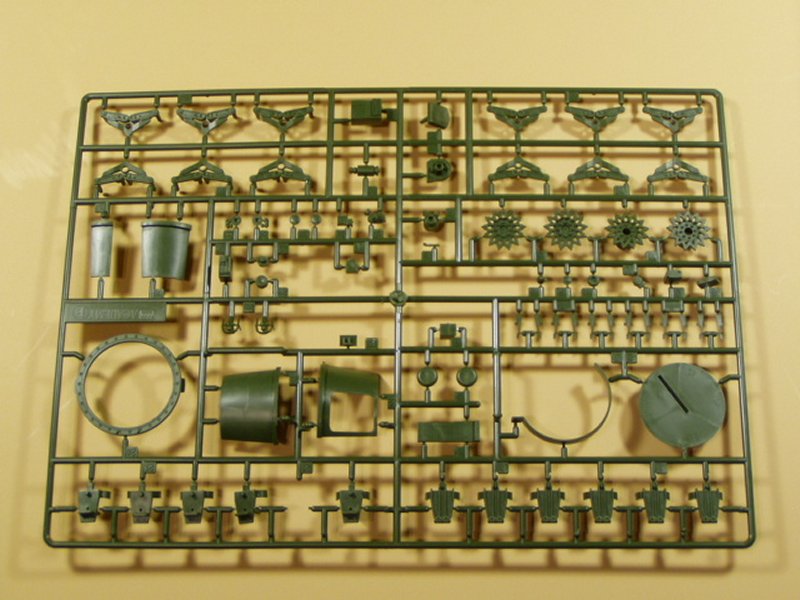
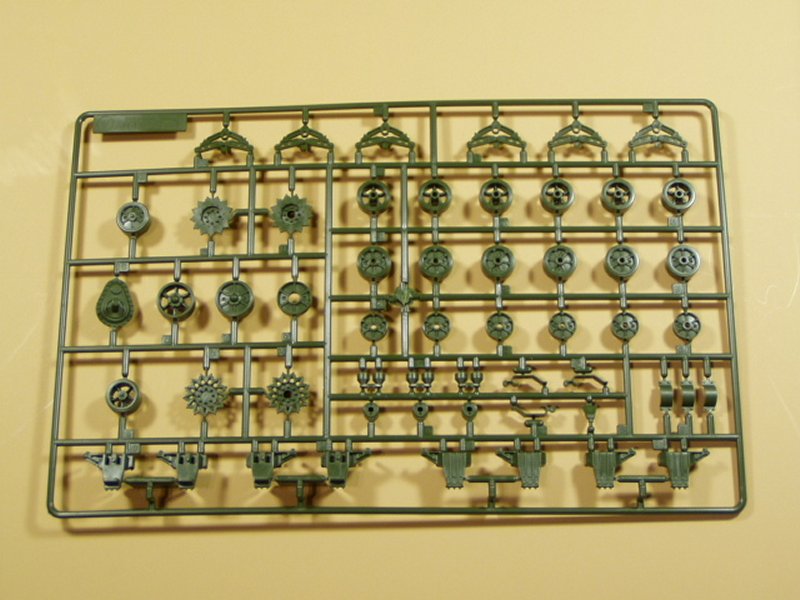
The sprues are molded in a dark green styrene. Upon initial inspection
I do not see any visible flash on any of the styrene parts. Injection
pin markings are mostly hidden from view on the inside of large parts
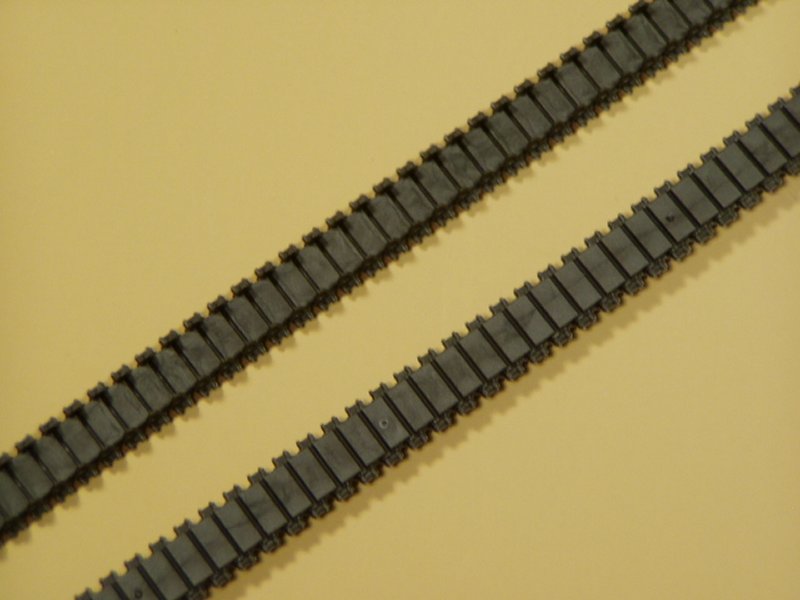
and there are none on the small parts. The one-peice tracks are molded
in a gun metal vinyl but there is an annoying little 'nub' of vinyl in
the center of some of the rubber block shoes but they can be cut off and
apply some gap fill glue. I'm curious as to why they are there considering
Academy's other kit tracks. They are somewhat stiff but very well detailed.
Some pre-flexing of the tracks might make them easier to mount when the
time comes.
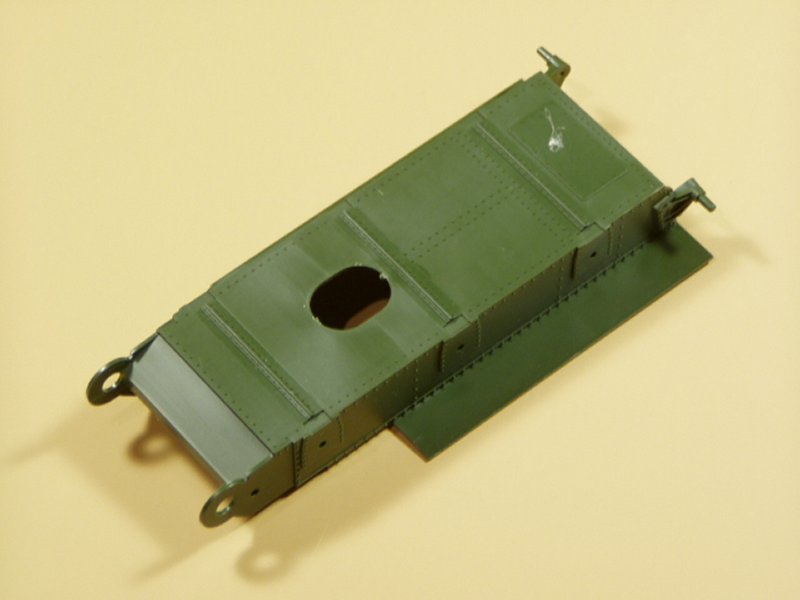
This kits comes with a full interior but no engine compartment detail
but I believe there are after-market Wright-Continental radial engine
sets out there that would make this model complete from head to toe. You
get a lot for the interior of this behemoth including transmission, flooring,
gun breechs, ammo, turret basket, seats and much more. Examining the sprues
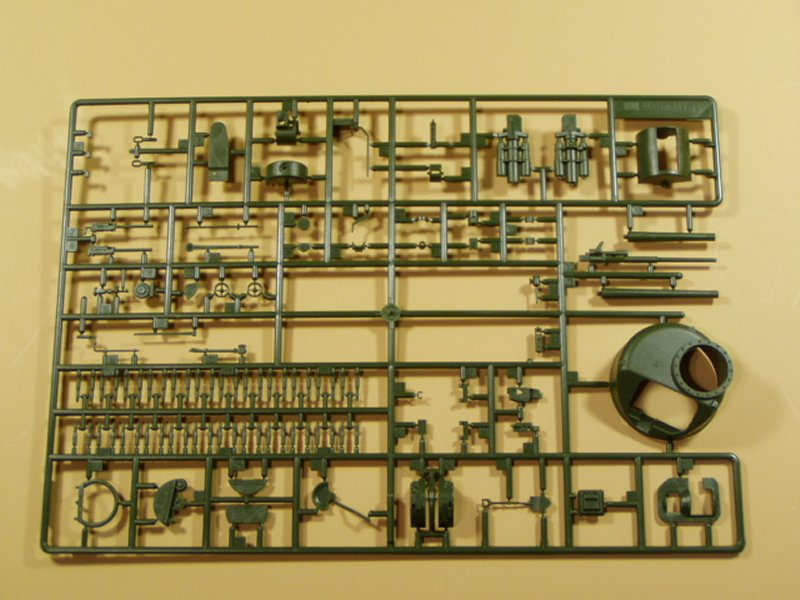
show Academy has taken the time to recreate the detail on this vehicle
from the exterior riveting on the hull, casting numbers, to the tread
plate on the interior floor. You have two sets of road wheels, three sets
of drive sprockets and two sets of track skids as well as two gun barrels,
long or short. Keep in mind some of those may be unused parts as well
as others listed. Make note to review the 'Unused Parts' listing at the
bottom of the parts location diagram.
Assembling the M3 Lee begins with drive sprocket and suspension assemblies
in step 1. Make note this is where you need to read the enclosed 'correction
leaflet impacting step 1. You will use the 'open spoke' road wheels here.
Each suspension is made up of 10 parts and mated to the lower hull in
step 2. The interior assembly begins in step 3 and 4 with the transmission,
drive train, and forward flooring detail. When you paint your interior
you will use a flat white color. Step 5 is where you assemble and mate
the exterior transmission detail and drive sprockets. In step 6 you will
complete the forward driver compartment detail, rear hull detail and mate
them to the lower hull assembly. The front fender and interior rear fire
wall details are added to the lower hull in step 7. Assembly of the 12
piece main upper hull is completed in steps 8 through 10 along with exterior
detailing with stowage, hatches, etc. This could be the most challenging
assembly of this kit. Interior of the main hull is completed by assembling
the 75mm main gun with either the long or short barrel version and adding
two fixed bow machine guns. In step 13 you will mate the upper hull and
75mm main gun mount to the lower hull. There are headlight guards and
a periscope as well. The 37 mm gun turret is assembled in steps 14 through
18 beginning with the turret basket assembly and detailing. Make note
this is where you need to read the enclosed 'correction leaflet impacting
step 16. You will then assemble the 37mm gun with its coaxial .30 cal
machine gun. When that is complete you will build the commander's cupola.
Step 18 complete the turret with the cupola, 37mm gun mount and cast turret
mated with the turret basket. Final kit assembly takes place in step 19
where the 37mm gun turret and tracks are mated to the lower hull. Overall,
assembly may be daunting to the beginner especially with the interior
and upper hull.
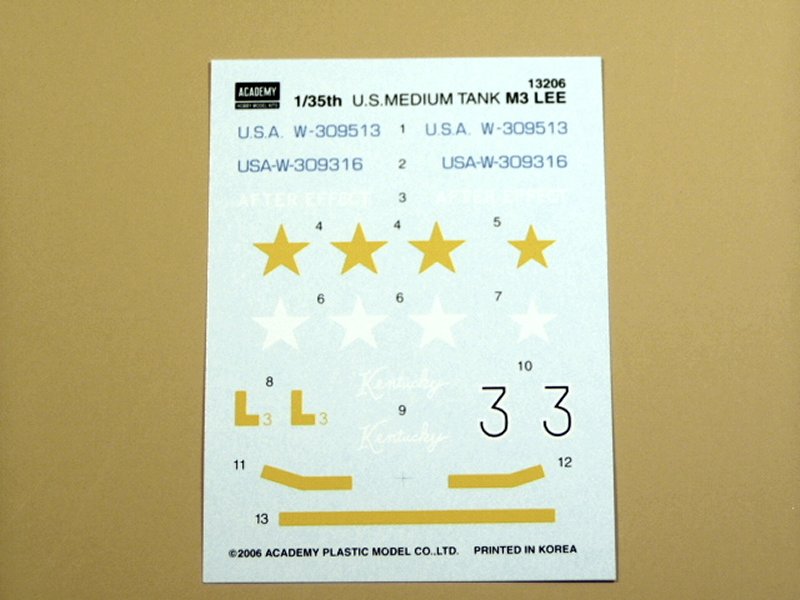
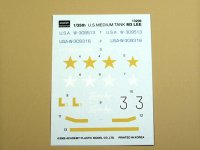
When you are ready for painting and decal placement you will have the
choice between two US M3 Lees, both from Tunisia in North Africa. With
many kits from the US Army, you only have one color choice and that is
olive (green) drab. The decals represent 'early' markings in yellow or
just white stars. Too bad you don't have an option for a British or Russian
M3 Lee. The quality is very nice but I have a problem with the vehicle
numbers, they appear to be too thin and not the correct stencil font that
was traditionally used by the US
Army at the time. You can always find them in your extra
stash of decals if not try after-market
ones. Use dry brushing on this model as it has so
much surface detail with the rivets
it would really enhance the molded detail.
Conclusion
This newly tooled M3 Lee kit offers so many advantages over the venerable
old Tamiya version. As with Academy's new releases, this kit has virtually
no flash or sink marks to speak of. I recommend this kit to builders of
early US Armor from World War II. Now, the only thing needed to complete
this model would be a nice after-market engine. I would like to thank
MRC for the review kit.
|
|