Italeri 1/72nd F-14A Tomcat
|
 |
Background
After some thinking about how to do this build, I decided to attempt
a diorama of the F-14 catching the three-wire. Having spent several years
working on and with the Nimitz-class carriers, I have seen many landings
but it has been some time and so I did some research on the impact of
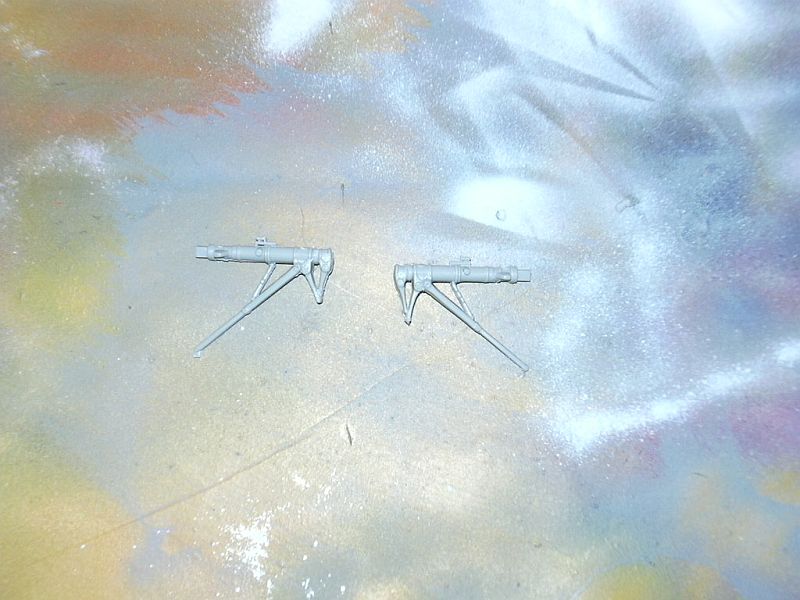
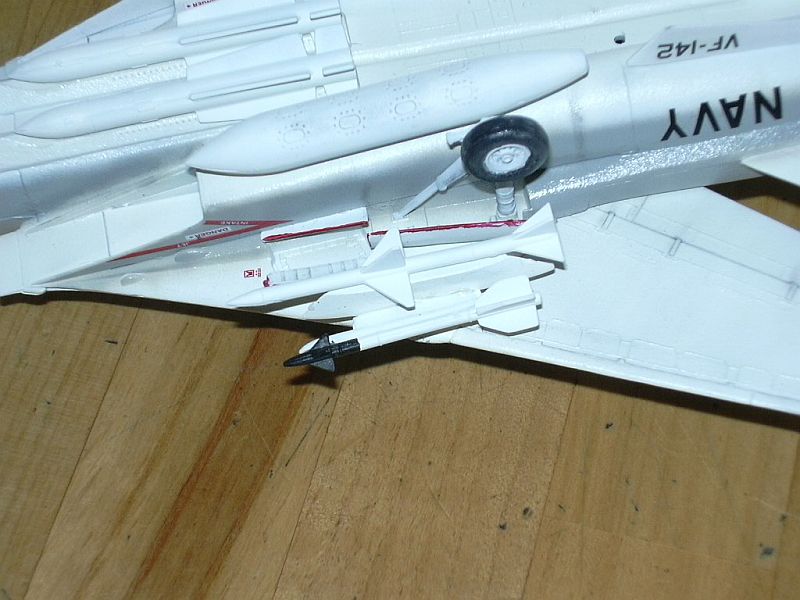
the landing on the main landing gear. This would require modification
of the out-of-the-box version of the main landing strut. Specifically,
when the F-14 hits the deck (and hits is the right term), the main landing
strut is compressed and so I had to cut out the exposed portions of the
strut. This involved removing the lower shaft on pieces 32B and 36B. The
modification actually went better than I feared. We will see when I try
to put the main wheels on and they carry the model weight.
The Build
With the main struts complete, attention turned to the cockpit. Nothing
fancy here. The cockpit was built per the directions to include colors.
I should have paid a bit more attention to the fit before gluing (one
would think I would learn one day). It's not too bad and a bit of Mr.
Surfacer does fix the problem. However, an emery board beforehand would
have made the fit tighter.
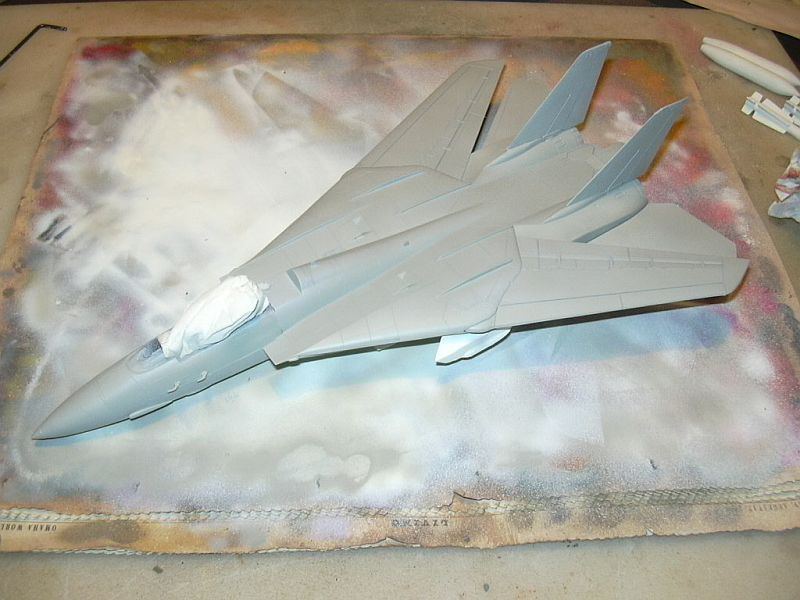
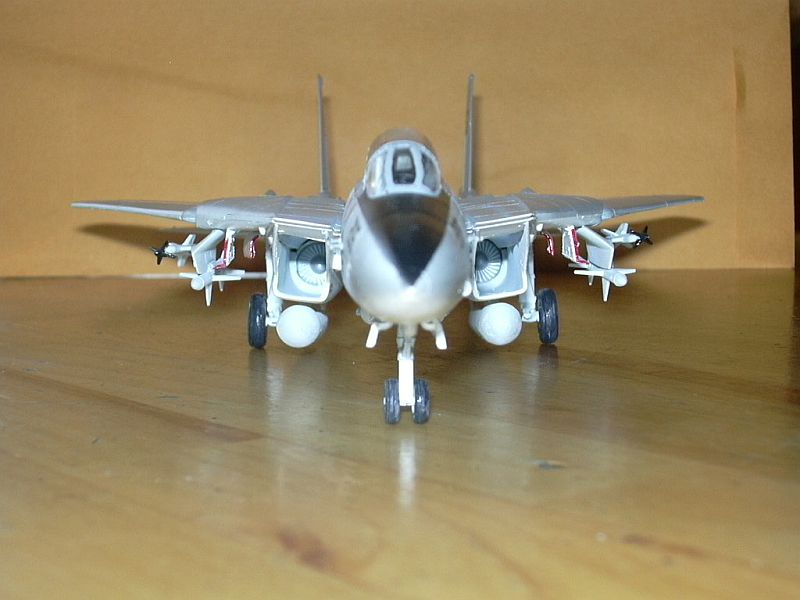
At this point, I assembled the main fuselage with the exception of the
cockpit canopy and the engine exhaust inserts. I did paint the compressor
blading that fit into the air intakes before assembling the intakes (the
inside of the intakes was also painted white before assembly). All elements
of the fuselage were assembled with the exception of the canopy, landing
gear doors, tailhook and engine exhaust inserts.
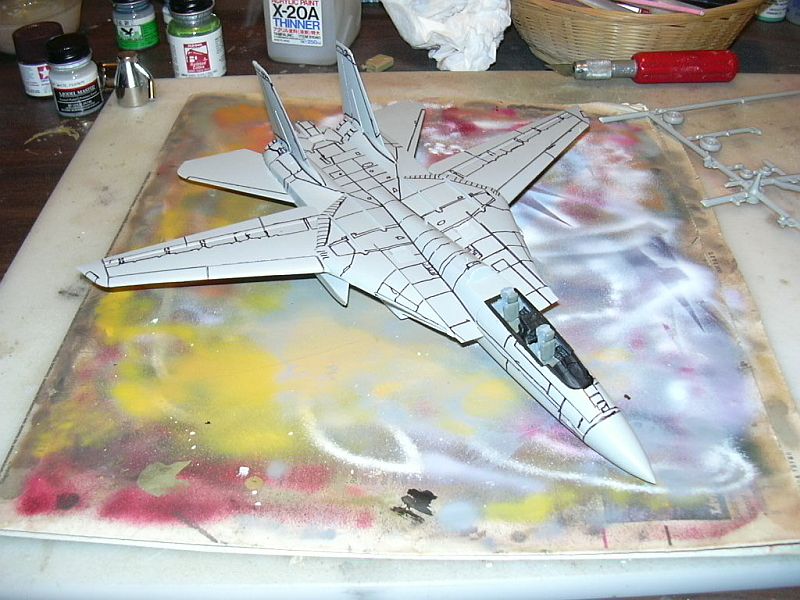
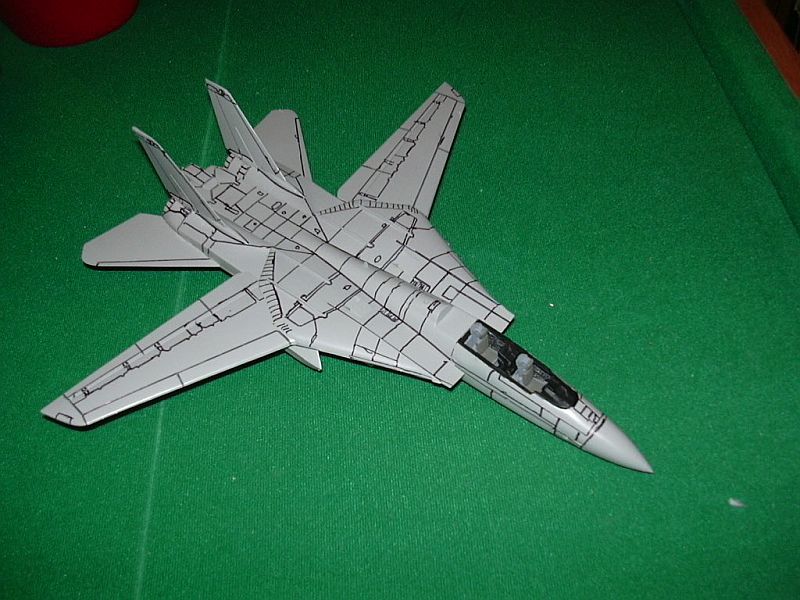
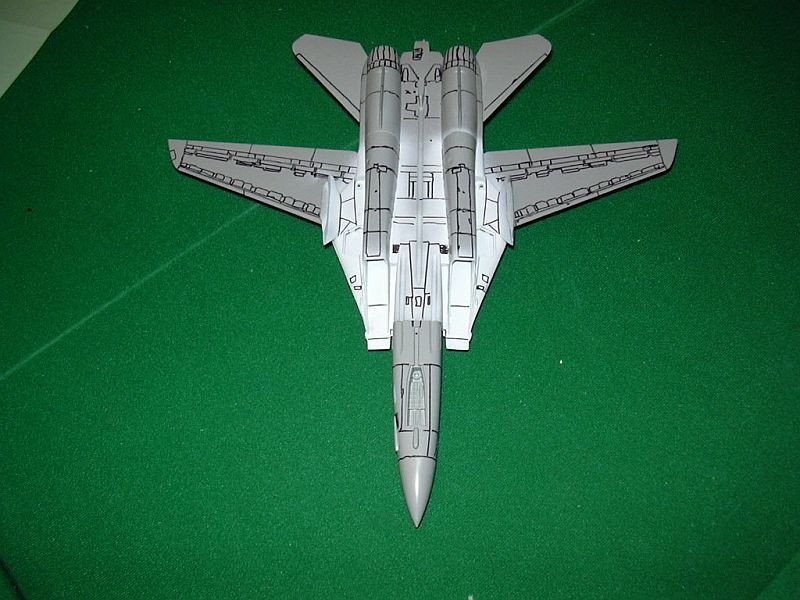
I now ventured into untested areas. I wanted to try a technique I had
learned about from a fellow IPMS club member. I took a thin-headed permanent
marker and traced all panel lines on the top and bottom of the fuselage.
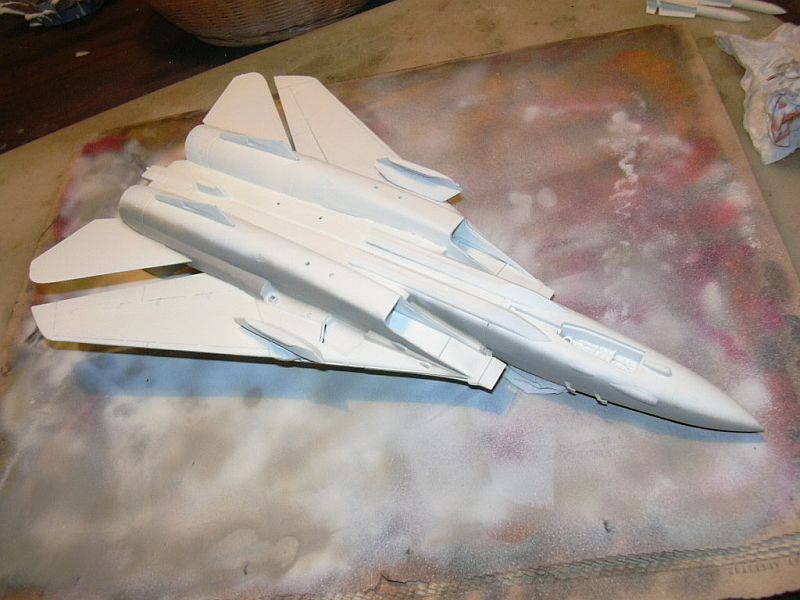
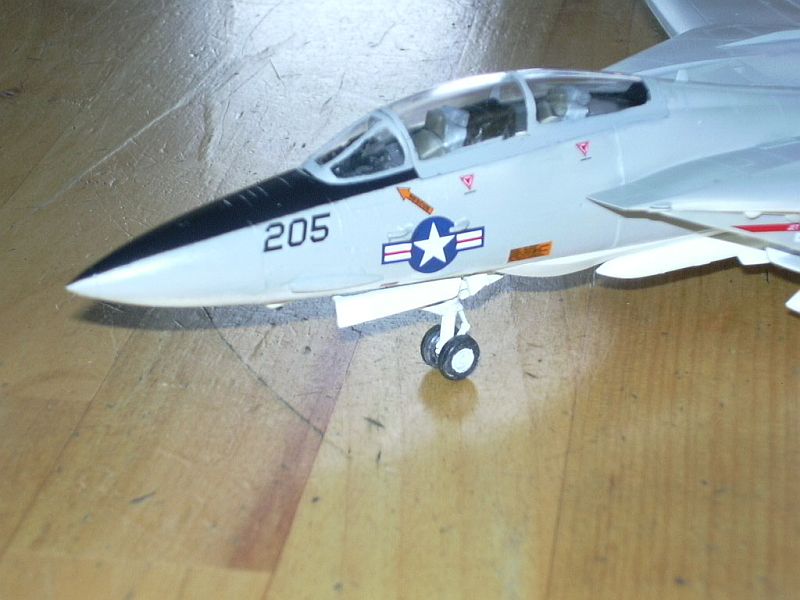
With the pre-shading complete, I moved onto painting. I wanted to finish
the plane in the schema used by the F-14 squadrons onboard USS DWIGHT
D EISENHOWER (CVN 69) in the early 1980’s. I first used Model Master
Flat White (Scale Tint) on the fuselage bottom. I have had problems thinning
this so it was sprayed full strength. I attempted to use light coats but
from the git-go the paint covered all my pre-shading efforts. Not even
a hint shows through. However, when one looks at an F-14 from the early
80’s, it is obvious that the gray of the top surfaces is also used
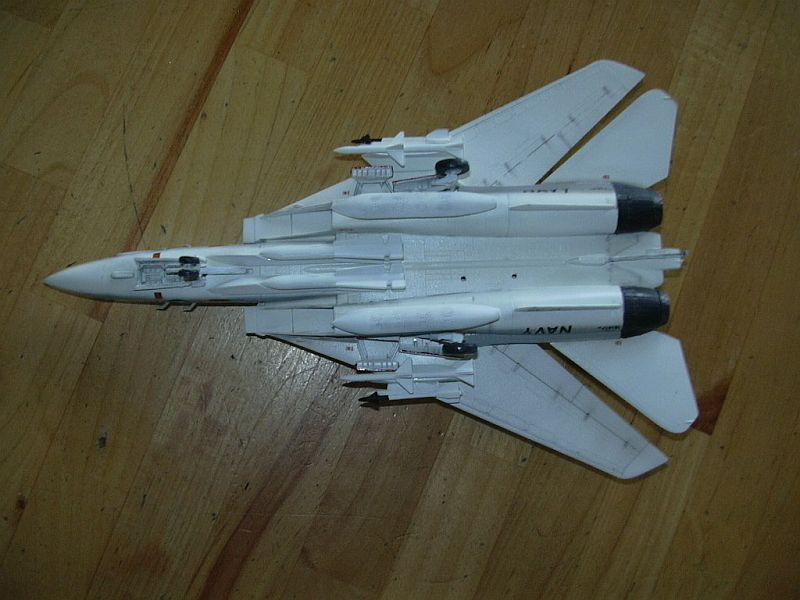
on the side panels of the underside. I masked off the bottom (to include
using cotton in the intakes to protect the engine compressor blading)
and airbrushed the underside then the top surfaces. Unlike the underside,
the Polly Scale US Gull Gray Light did not totally cover the pre-shading.
In fact, the hint of the pre-shading was just as I hoped. Very pleased
with the top surface!
The plane was given a light coat of Future to prepare the craft for
the decals. A frustration here was that while the top turned out smooth,
the bottom retained the rough texture that resulted from the airbrushing.
I was concerned that this would lead to silvering of the decals when I
applied them. However, much to my surprise, all decals went on smoothly
with minimal silvering. In fact, the only decals that displayed silvering
were those on the rudders.
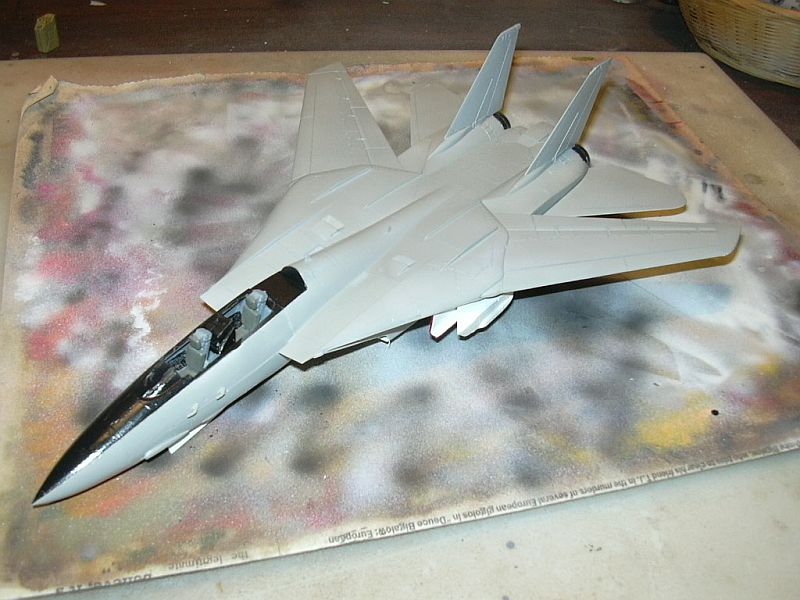
Decaling complete, I taped the canopy with clear paint in order to paint
the frame. Word of caution here. The canopy lines are not very distinct
and easy to miss when scribing. With a bit of care, the canopy was prepared
and airbrushed. In retrospect, I should have sprayed the canopy frame
with the Polly Scale NATO Tri Black I used for the anti-glare sections
on the nosecone vice the Gull Gray of the fuselage. White glue was used
to attach both pieces of the canopy to the fuselage.
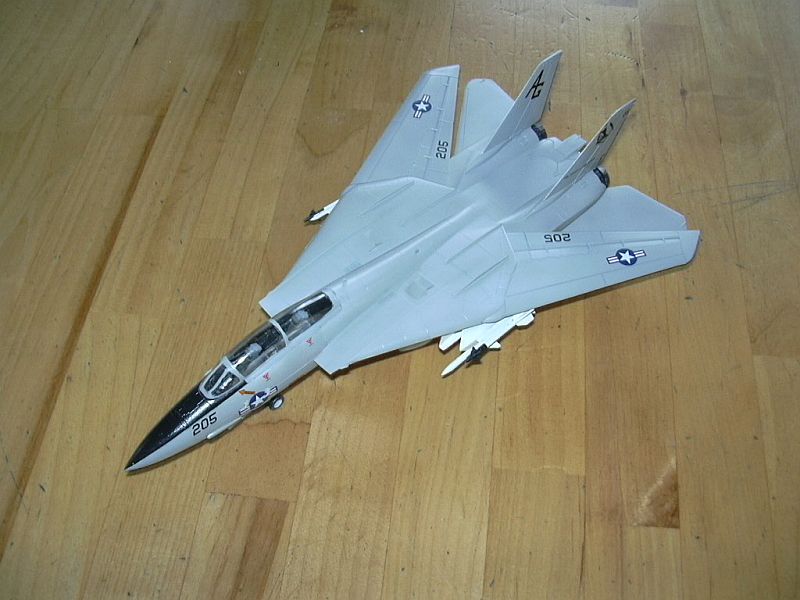
With the fuselage complete, I attached the landing gear and associated
doors. These generally went together well and fit very tightly. The modified
main struts supported the plane beautifully and place the plane in the
right attitude for a 3-wire arrested landing.
The final pieces to attach were the munitions and stores. I used Sidewinders,
Sparrows, and Phoenix missiles along with conformal fuel tanks. Were I
to build another F-14 or any aircraft, I would paint the munitions and
stores in a different tint than the white of the under assembly.
Conclusion
I am very pleased with how my F-14 came out. Please take that judging
with a grain of salt as I build airplanes in-frequently. The only area
of concern that I would pay attention to during construction would be
the fit of the pieces. They may require a bit of sanding making the joints
tight. An excellent site that I used as reference during this build is
The Home of M.A.T.S. (The
F-14 Tomcat Reference Work) – highly recommended. It has excellent
walk-around picture of all variants of the F-14. While this model may
not appeal to the more advanced aircraft modeler, I do think those looking
for a diversion from armor or ship would enjoy the build. I certainly
did.
Thanks to Matt Bittner and Internet Modeler for the opportunity to build
this wonderful model. Thanks also to Testors
for the review kit. |
|