Junior Modeling
By Aaron and Matt Bittner
|
 |
As I mentioned in my editorial, getting
the younger generation interested in building models can be difficult.
However, when you have a willing participant (or participants) it's good
to be armed with the knowledge of what types of models are available for
the younger sect. I start off this series "backwards". Normally
you would start out with a snap-tite and ultimately "graduate"
with a full-blown, glue-together kit. Since we already had the glue-together
kits, I thought "no time like the present" and started off with
the glue-together build.
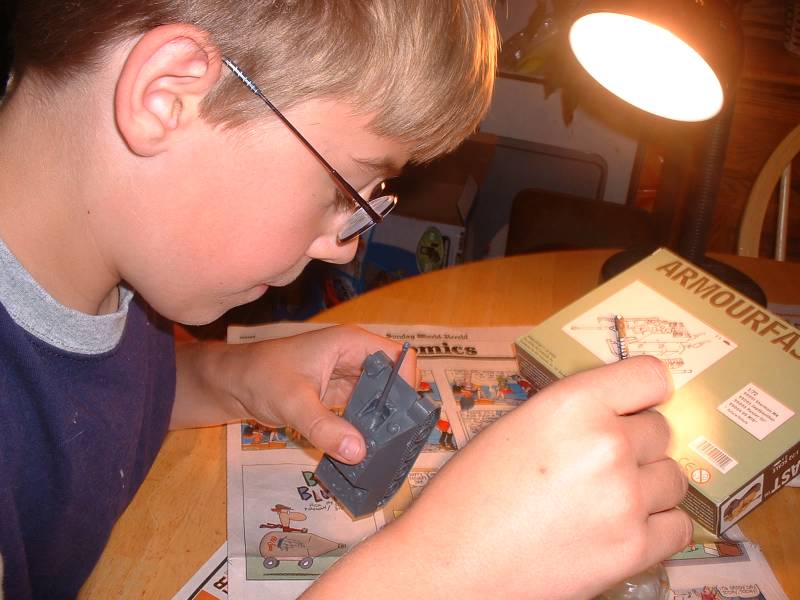
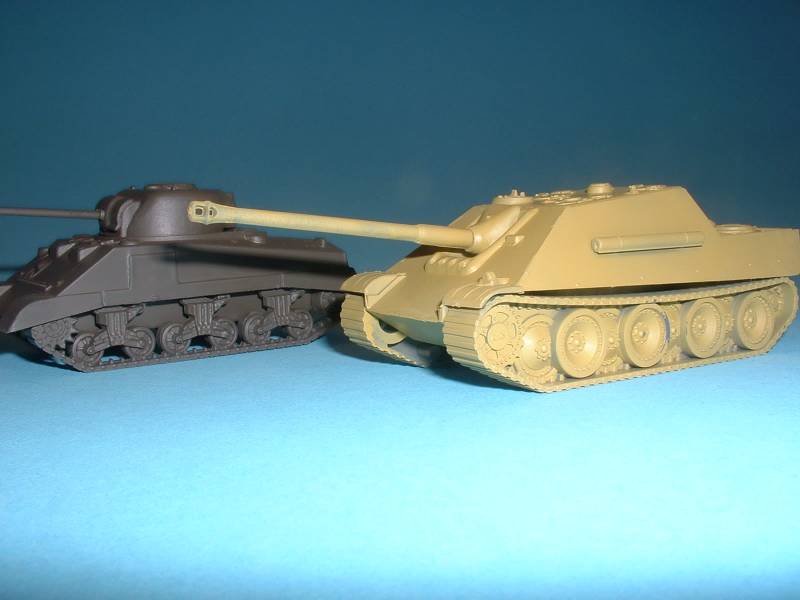
The Kits
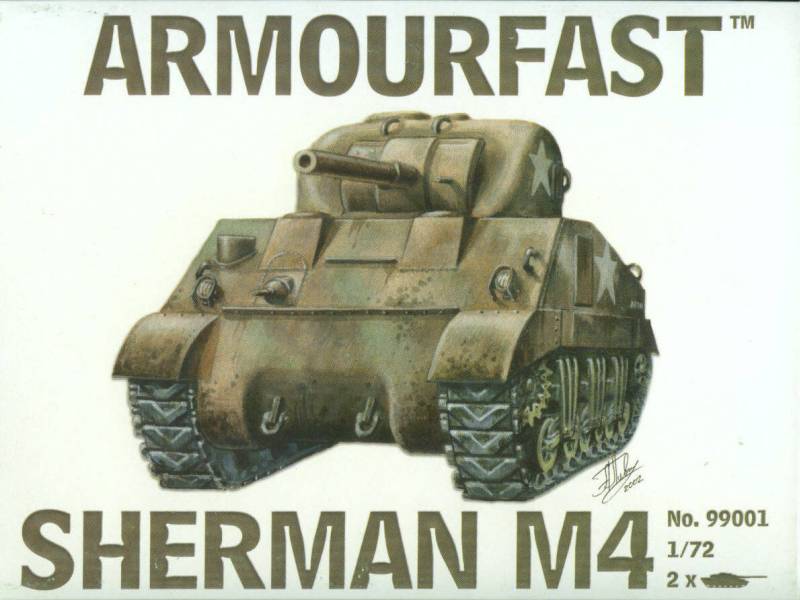
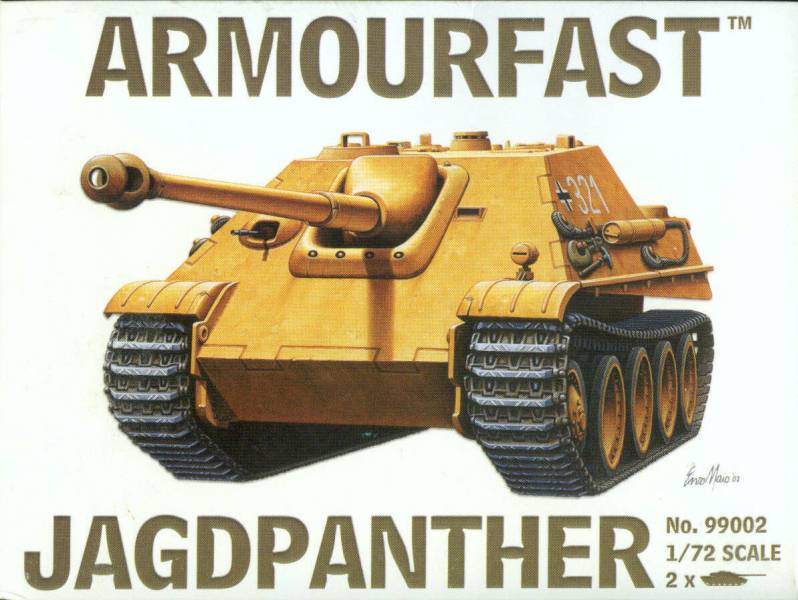
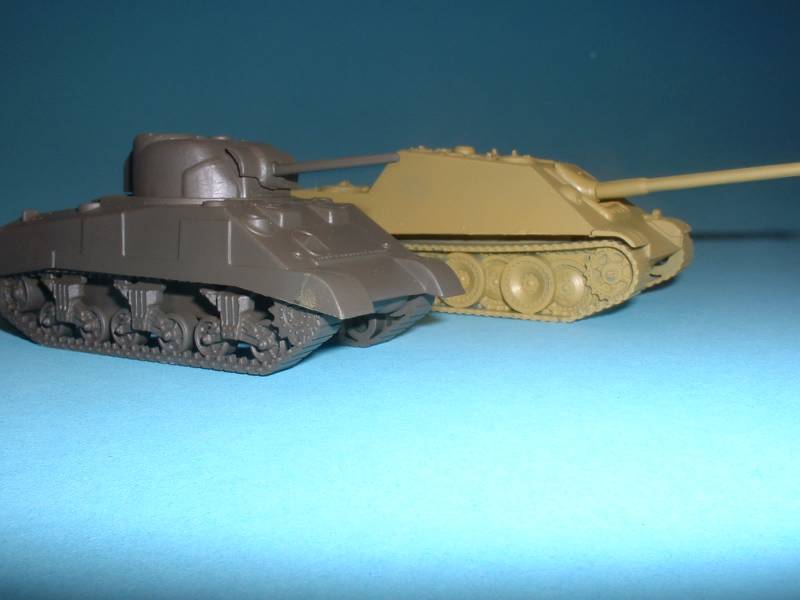
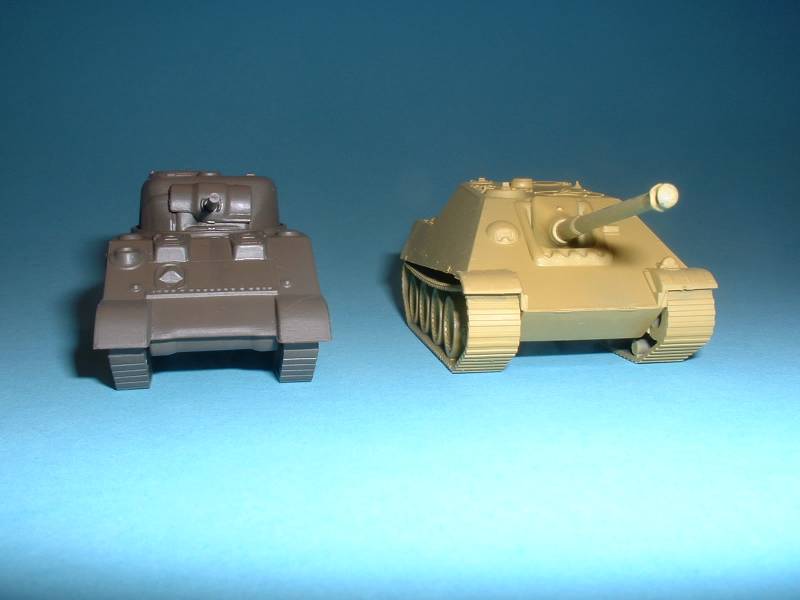
The HaT Armourfast 1/72nd tank kits are
definitely the easiest glue-together models I have ever seen. The Sherman
consists of seven parts while the Jagdpanther consists of thirteen. Since
these models are geared more toward the war-gaming market they tend to
have less parts are be relatively quick to assemble. Perfect for the beginning
modeler. Plus, each box comes with two complete tanks.
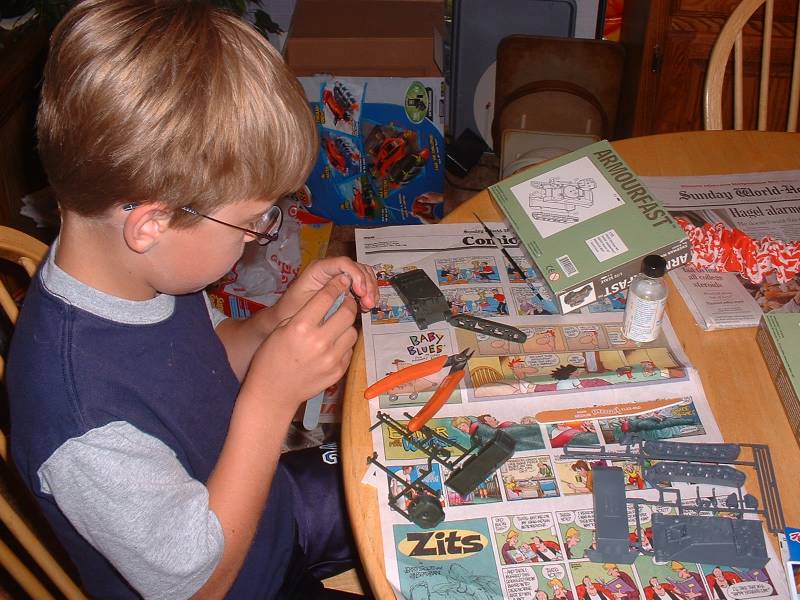
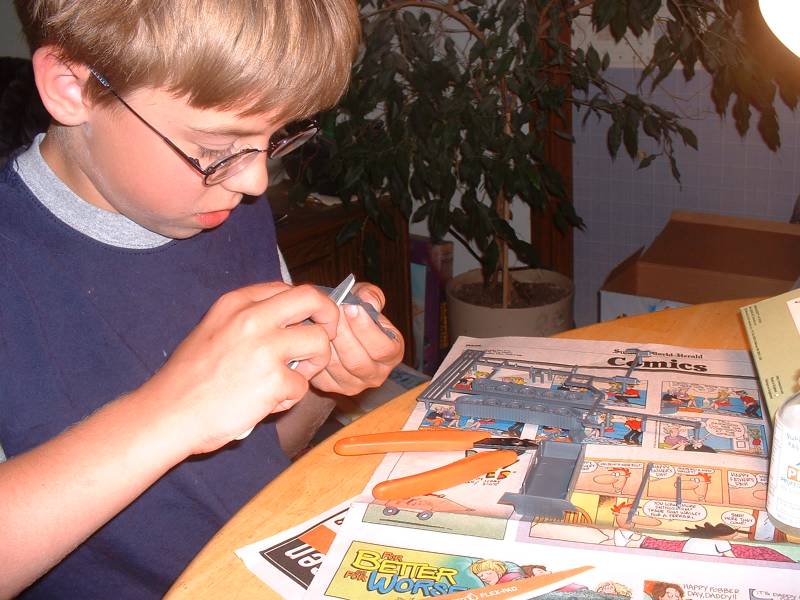
Construction
 Naturally
one needs to have the proper tools to assemble models. In the case of
these HaT kits, all one needs is some type of glue (my son - Aaron - used
plastic liquid cement), if applicable an applicator for that glue, plus
some means of removing the parts from the sprue (in Aaron's case a set
of Xuron part's nippers) along with some means of cleaning up any residue
from the sprue removal (a set of Flexi-File sanding sticks). Naturally
one needs to have the proper tools to assemble models. In the case of
these HaT kits, all one needs is some type of glue (my son - Aaron - used
plastic liquid cement), if applicable an applicator for that glue, plus
some means of removing the parts from the sprue (in Aaron's case a set
of Xuron part's nippers) along with some means of cleaning up any residue
from the sprue removal (a set of Flexi-File sanding sticks).
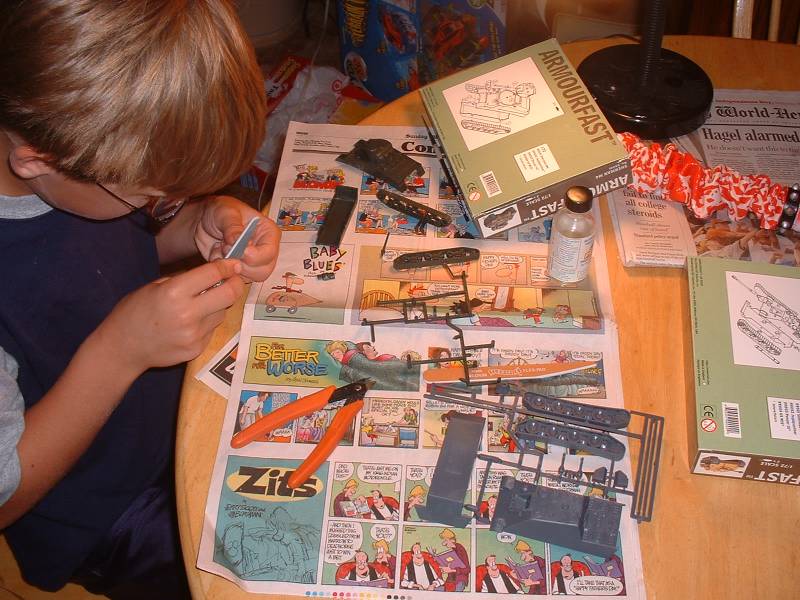
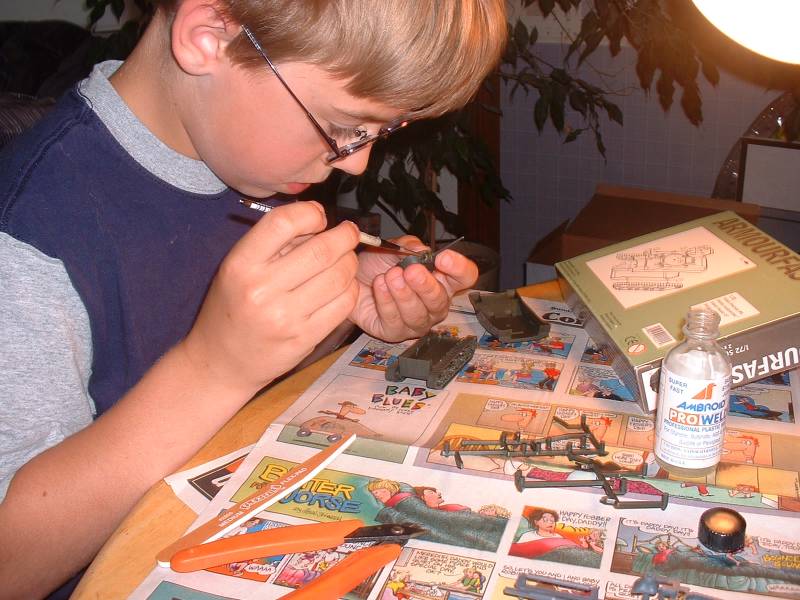
Since the instructions - printed on the
back of the boxes - are pretty spartan, there was no problem having Aaron
snip all the parts from the sprue at once. Naturally there is some clean
up of the nibs from the cutting, but that was handled with relative ease
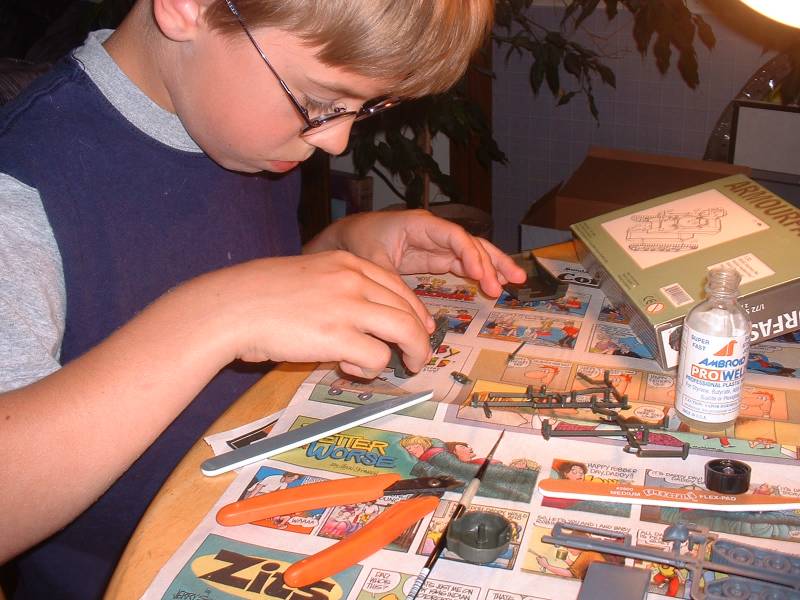
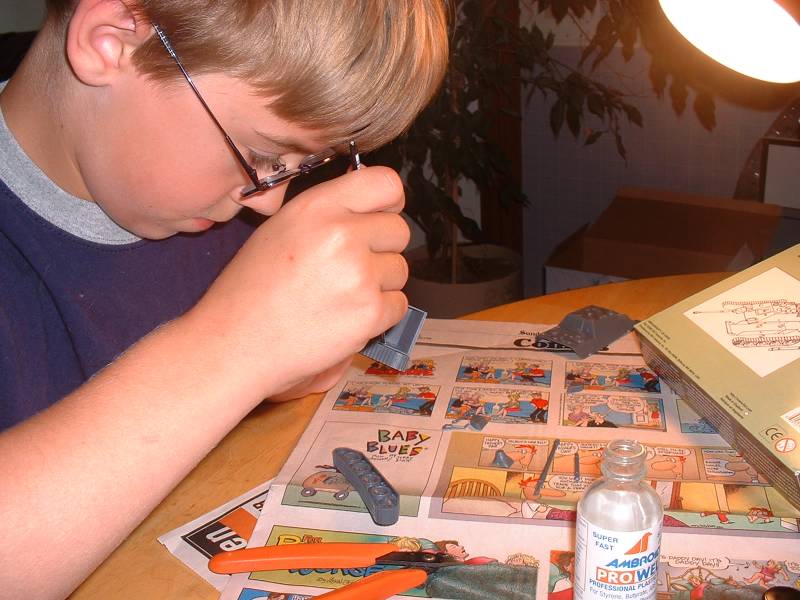
using the Flexi-File sanding sticks. Construction then proceeds with the
gluing of the tread/wheel assembly to the lower hull. This is a pretty
simple way to attach both the treads and the wheels to the tank, when
it's all one assembly per side. Once those are glued on then the upper
hull can be attached to the lower - we found out you need plenty of glue
for this step. Next time, we'll use tube glue to attach these two major
pieces together.
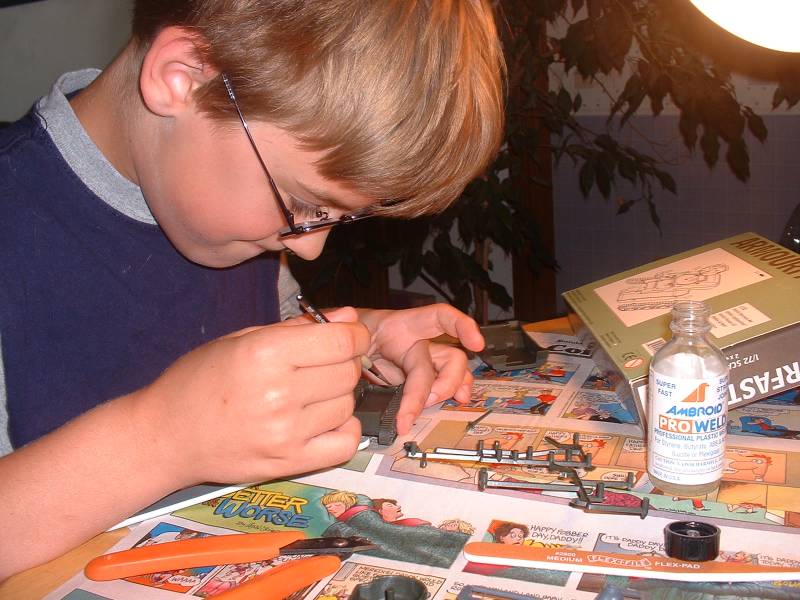
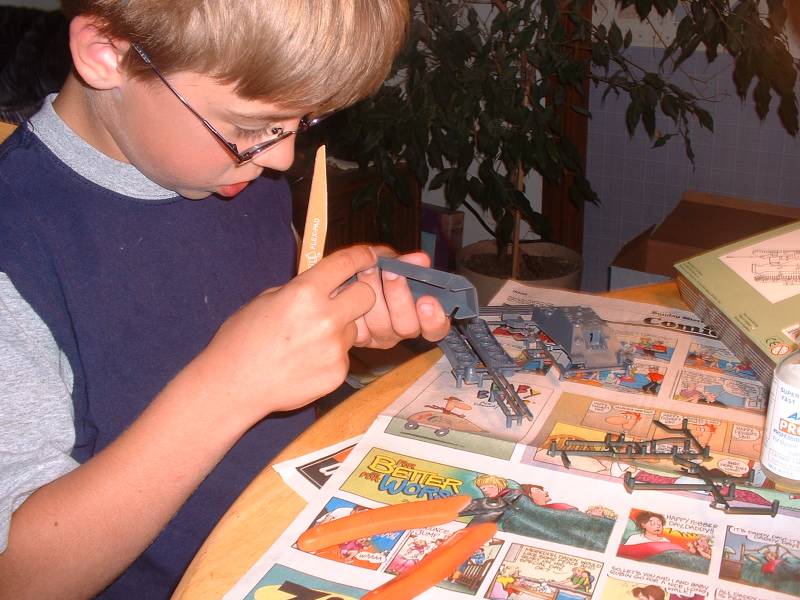
While there isn't a way out of the box
to make the guns traverse, I'm pretty sure you can do it with some ingenuity.
You'll just have to figure out how to glue a piece of plastic to the end
of the barrel that sticks into the turret. Since the turret is one piece,
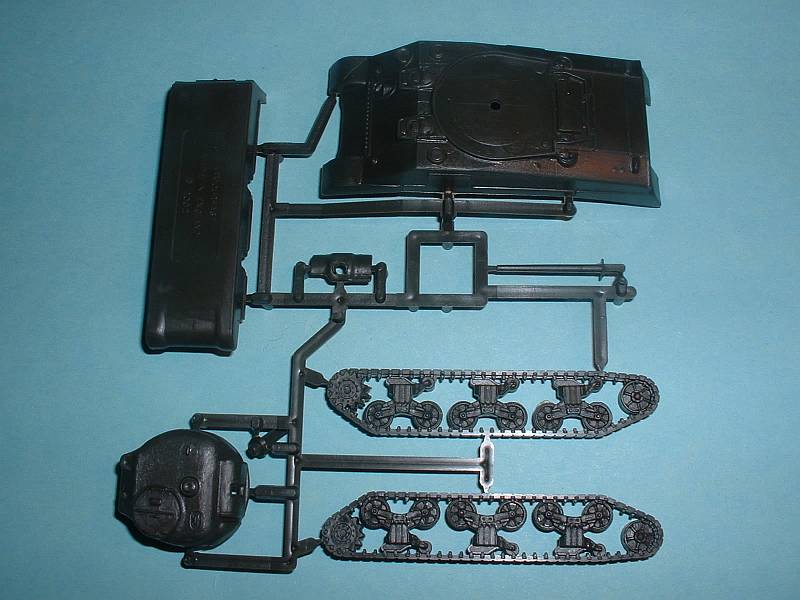
this assembly goes quickly - at least with the Sherman. Since there is
no turret on the Jagdpanther, this step is actually easier.
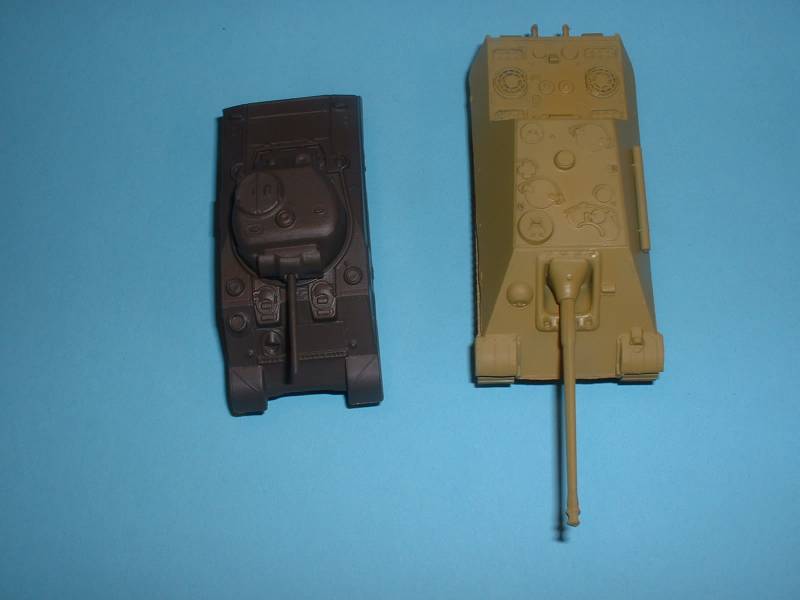
The Sherman has the barrel, the separate gun mantlet and a piece of
round plastic that is used to fit the turret to the hull - and also lets
the turret move. Once those pieces are on, and the turret added to the
hull, the Sherman is finished.
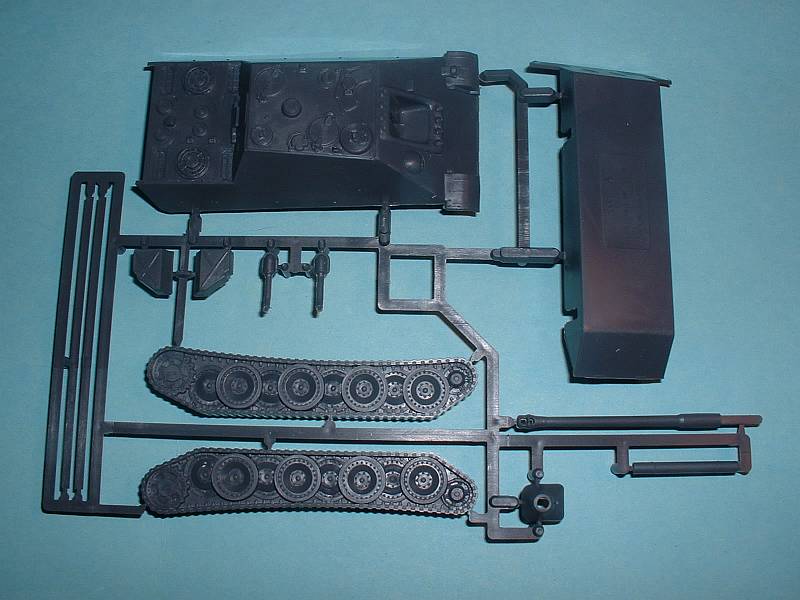
The Jagdpanther, on the other hand, requires more parts to be added
- fuel tanks and exhausts to the rear of the hull; something round to
fit on the left side of the hull (maybe to hold the barrel?); and then,
even though not on the instructions, there are two flat, thin pieces that
appear to make up the thin fenders. Aaron decided to leave these off.
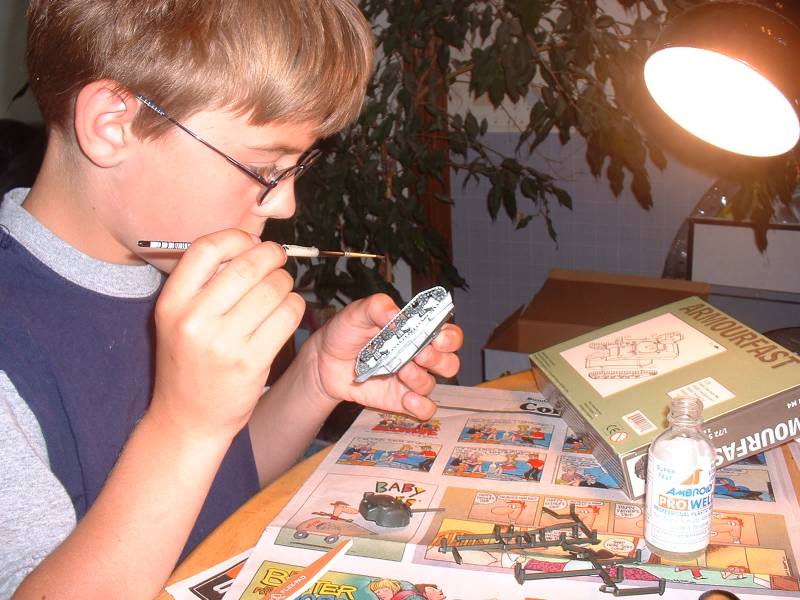
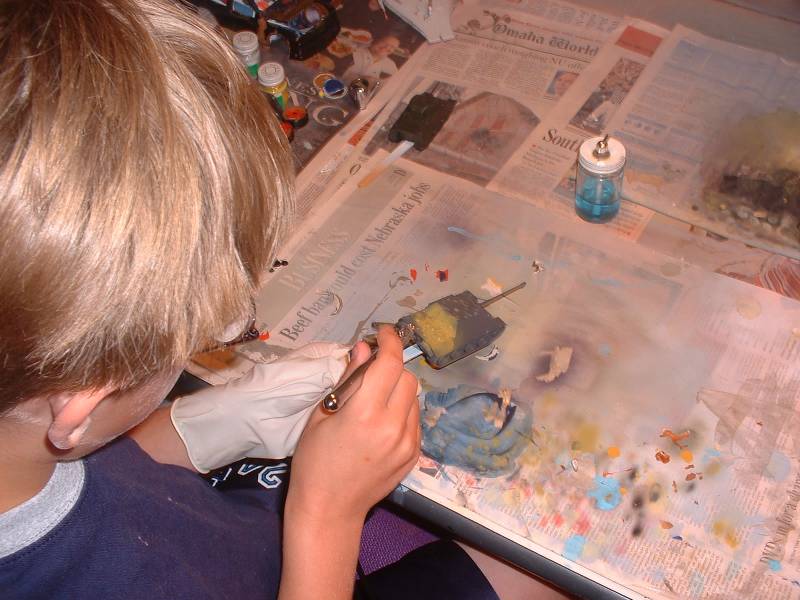
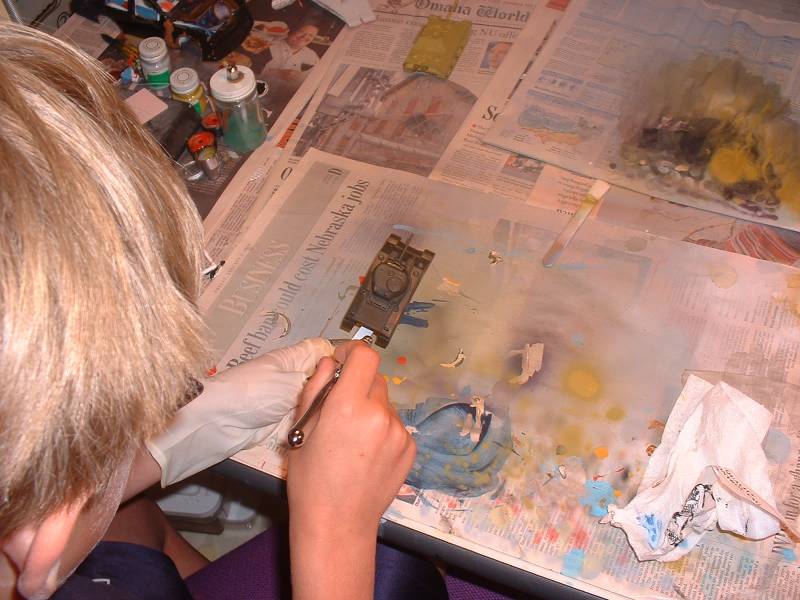
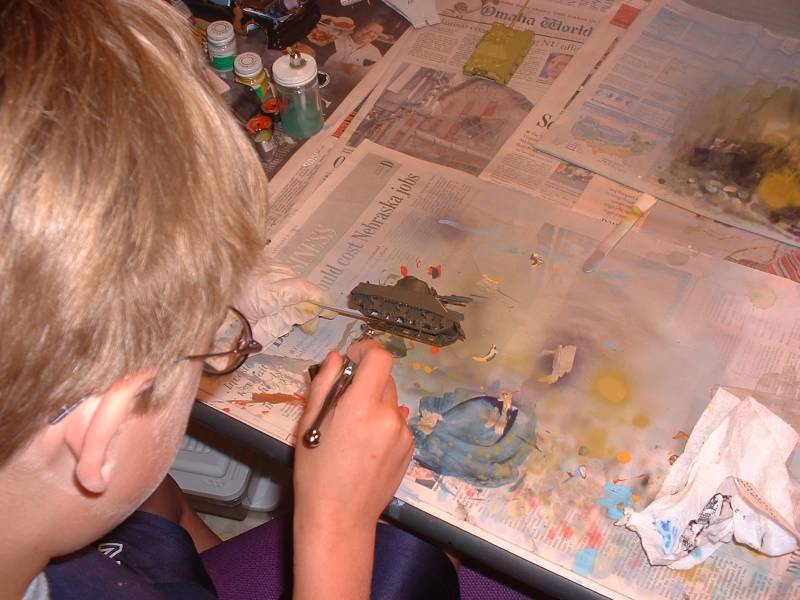
Now that both tanks are assembled, and
dry enough, painting can commence. Since I had the paints anyway, I decided
to let Aaron spray Vallejo acrylics through the Iwata Revolution airbrush.
This is the only time I stepped in to help. I mixed the paints and set
the airbrush to a state that he would only have to push down on the trigger,
and not pull back. My thinking was that I wanted his first airbrushing
to be relatively pain-free. I believe it worked.
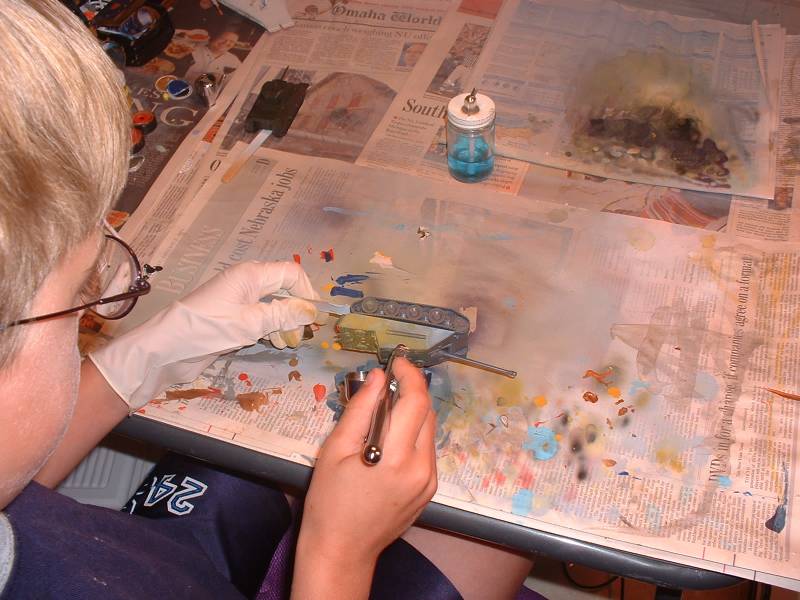
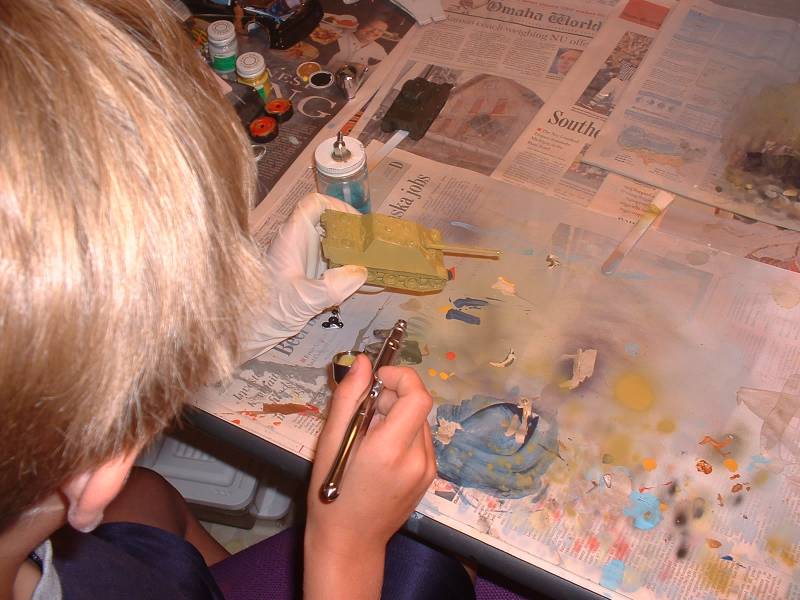
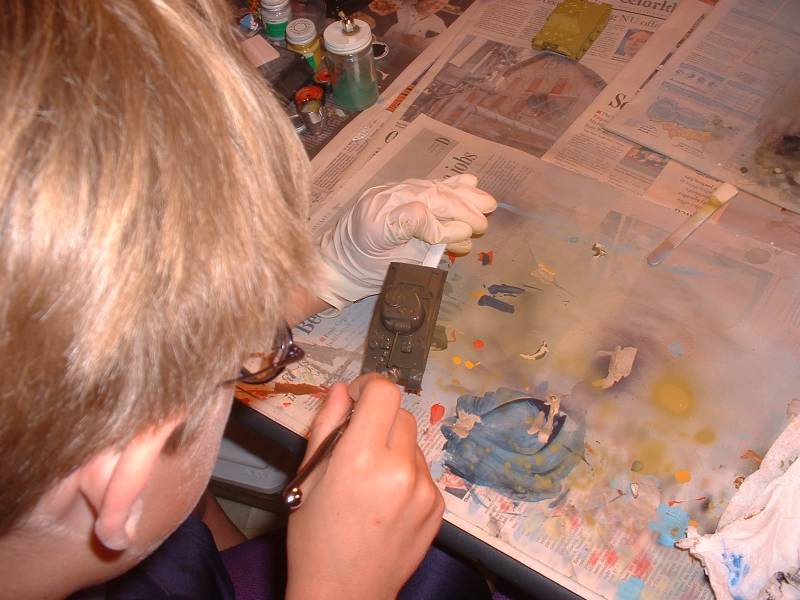
Naturally using the Iwata spraying Vallejo
painting - by even a first-timer - is relatively easy. Point the airbrush
at the subject and push the trigger (since I already set the needle for
a set paint flow). I thinned the Vallejo with windshield washer fluid
until the paint was a "milk-like consistency".
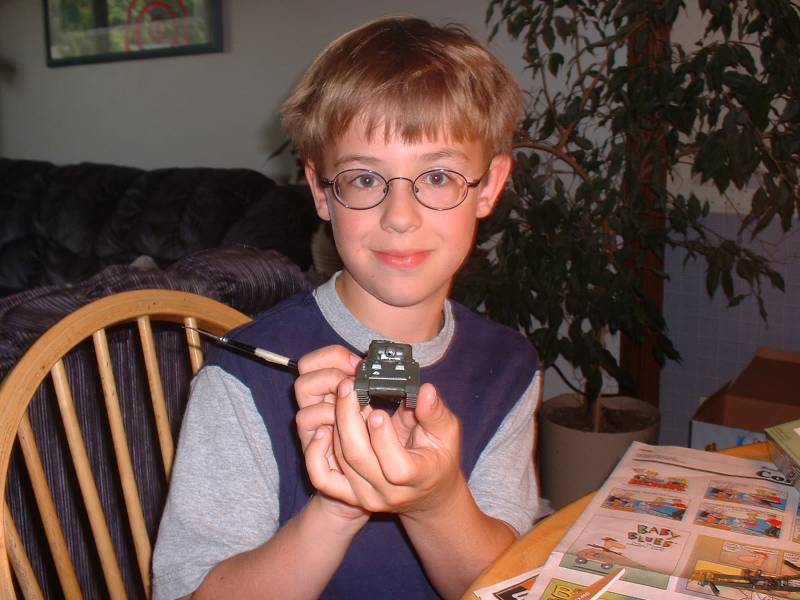
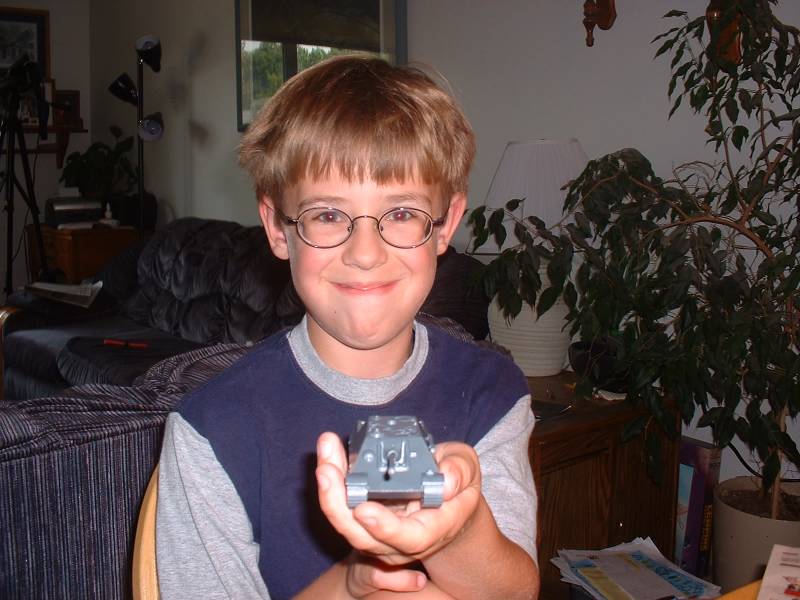
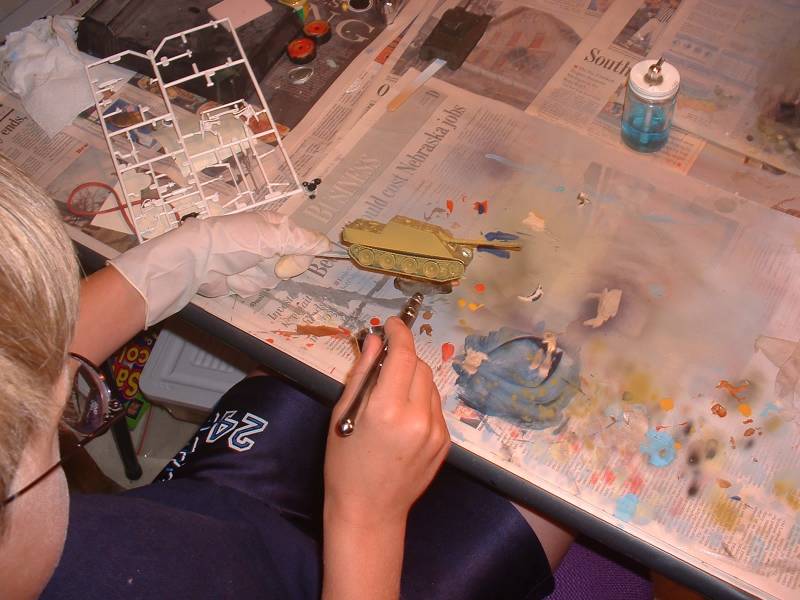
Now that the painting is over, and he doesn't want anything else done
to the tanks, this project is finished. From start to finish - two tanks
- this whole process took approximately one hour. Not bad!
Conclusion
HaT Armourfast kits are a great
introduction to glue-together injected-molded kits. Not a lot of parts
to them, and they still look great when painted. I definitely would recommend
these kits to the first-timers looking to build their first glue-together
injected kit.
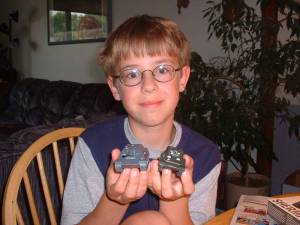
Not only did I have fun watching my son build these models, but he had
fun as well. I've let him build more "complicated" kits in the
past, and watched his frustration level rise when parts wouldn't fit or
the instructions just weren't very helpful. The HaT kits are really well
molded and the instructions are definitely adequate.
Now to get Aaron to stop me asking when he can build more…
Acknowledgements
Thanks to Roll Models for supplying
the HaT kits; R&K Productions
for the Vallejo paints; and Iwata-Medea
for allowing us the opportunity to use their awesome airbrushes. Both
R&K and Medea had no idea their products were going to be used for
such an endeavor.
|
|