SRAM 1/144 STAAKEN R VI
|
 |
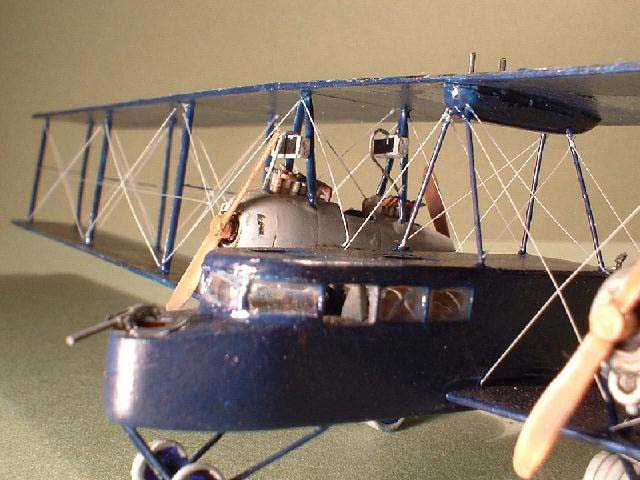
The Staaken R VI must have been one of the World's largest aeroplanes
in 1917. With a wingspan of 138 feet it was only 3 feet shorter than the
Boeing B 29 that dropped the first atom bomb 27 years later. This giant,
or Riesenflugzeung, could carry up to five and half thousand pounds of
bombs; about the same as a B 24 in World War II. To say it was advanced
for its time is certainly an understatement! The four Maybach engines
were serviced by gunner/mechanics who rode in the nacelles attached to
the lower wings. There was even a communication device installed that
allowed the pilots and mechanics to signal each other with a set of blinking
lights. Although only eighteen of the R VI were produced they were an
inspiration later to designers of the multi-engine aeroplanes of the future.
The SRAM kit
 When
I saw the 'first look' of the SRAM Staaken R VI in Internet Modeler I
was immediately intrigued by the scale of the kit. At 1:144 it would end
up being the size of a 1:72 Gotha bomber and I wondered what the detail
would be like in that scale. About 6 years ago I built the old Contrail
Staaken and that monster's wingspan measured out at over 24 inches! Not
only was it big but in that scale I had to hand paint all the lozenge
camouflage. But in 1:144 scale the size would be more manageable and I
could use 1/72 scale decals for the lozenge pattern. When
I saw the 'first look' of the SRAM Staaken R VI in Internet Modeler I
was immediately intrigued by the scale of the kit. At 1:144 it would end
up being the size of a 1:72 Gotha bomber and I wondered what the detail
would be like in that scale. About 6 years ago I built the old Contrail
Staaken and that monster's wingspan measured out at over 24 inches! Not
only was it big but in that scale I had to hand paint all the lozenge
camouflage. But in 1:144 scale the size would be more manageable and I
could use 1/72 scale decals for the lozenge pattern.
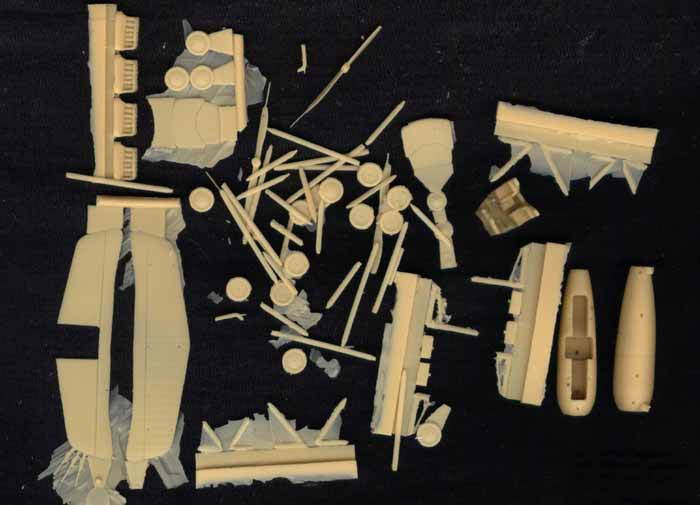
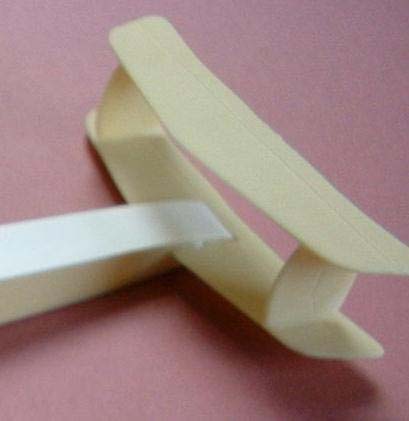
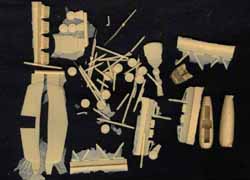
When I did get an issue of the SRAM kit I was quite impressed by its
quality. Moulded in light cream resin the fuselage edges and wing trailing
edges were suitably sharp. The wings were a bit on the flat side and I
feel they could have had a bit more camber to them. The engine nacelles
had nice detail to them, and the 18 wheels, the 12 interplane struts and
four engines were all there. Some concern had been expressed over using
the rather fragile looking struts but I decided I would give them a try.
The Build
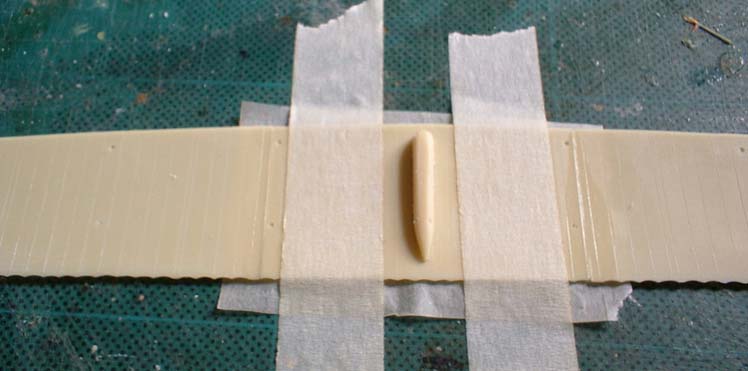
I commenced building by putting together the top wing. Since the fuel
tank is integral to the wing I laid the center section upside down on
top of some grease-proof paper and taped it securely to the work mat.
Then the two outer sections were glued to the center using super glue.
Once it was nice and dry I removed it and cleaned up itís trailing scalloped
edges along with those of the lower wing. Just a couple very gentle swipes
with a bit of 600 grit wet'n dry paper wrapped around a pencil was all
that was necessary to get a subtle scallop pattern.
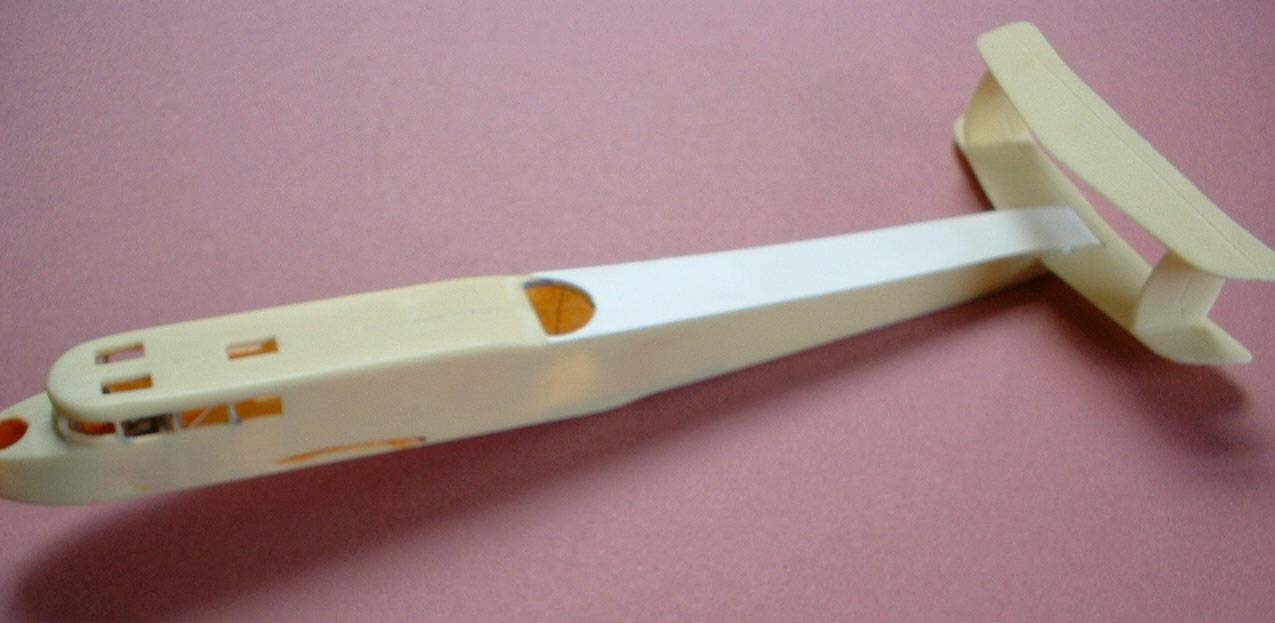
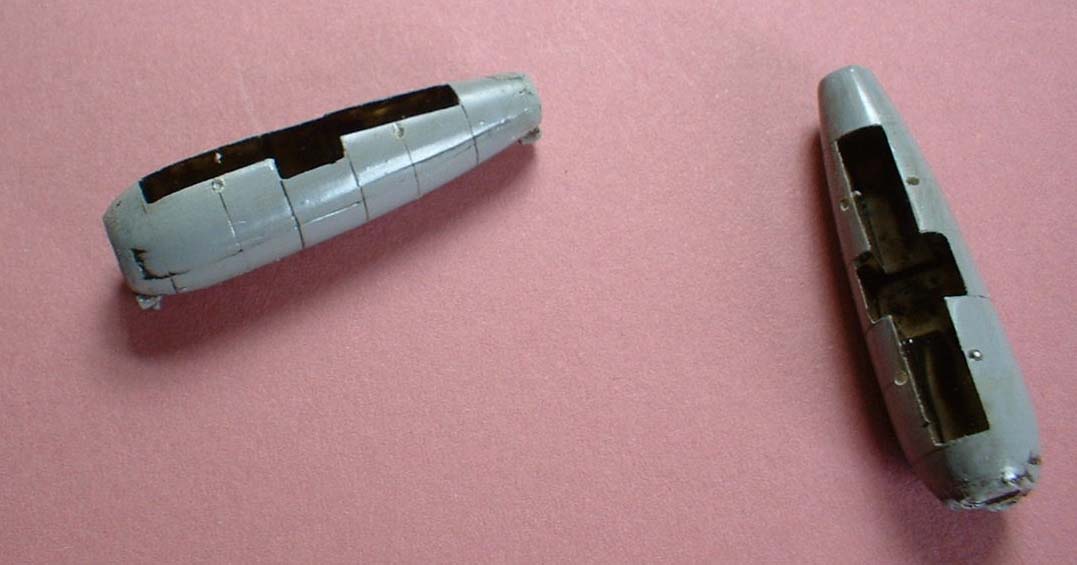
Next I turned to the fuselage and cockpit. Firstly I carefully sanded
the two halves against a pieces of medium sandpaper laid on a hard flat
surface. This ensured that I would have two nicely matched edges to glue
when the time came to close up the fuselage. SRAM kit included quite a
detailed little block of resin that contained two seats, control columns
and instrument panel. Although in this scale little can be seen inside
the closed up fuselage I painted this component and set it aside whilst
I painted and detailed the inside of the fuselage. This basically consisted
of a coat of Tamiya clear orange and some stretched sprue to indicate
some framing and rigging. I then installed the cockpit unit and closed
up the two halves. I decided to skin the back half of the fuselage top
in order not to have any unsightly seam showing. I simply super glued
a strip of 5 thou plastic sheet over the top and trimmed it off when dry.
Next I cleaned up the tail surfaces and glued them to the tail end
making sure the camber of the elevators was the reverse of normal aircraft.
This is a small but important detail in the Staaken bombers.
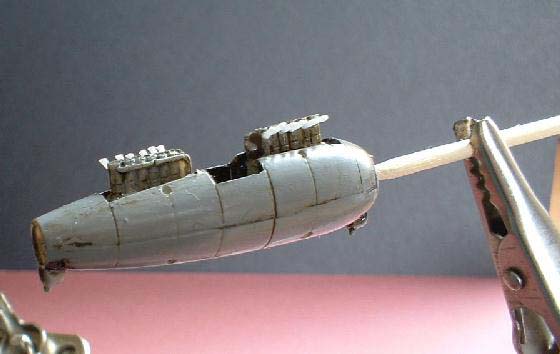
I now turned to the engine nacelles and painted the cockpit and engine
areas black. As next to nothing can be seen once the model is complete
I decided any detailing of this area would be redundant. I painted the
nacelles with Humbrol number 27 grey and gave them a couple coats of Future.
Once dry I highlighted the panel lines with a mixture of Humbrol number
BLACK and number BROWN. This concoction is applied liberally, left to
dry and then rubbed off with a turpentine dampened cloth. This uncovers
the grey but leaves a nice fine dark lined detail in all the panel lines
etc. The tiny engines consist of only a bank of six cylinders and any
detail must be added to these or to ones imagination! They are so tiny!
I did attach exhaust pipes to the cylinders, all 24 of them.
With the engines and nacelles complete, I started to prepare the model
for the lozenge decals. I have had some old Almark night lozenge sheets
for ages and I now had a use for them. I prepared the main parts of the
model by giving them an over all coat of Humbrol number BLUE which gave
it a satin finish to which the decals would adhere nicely. It was also
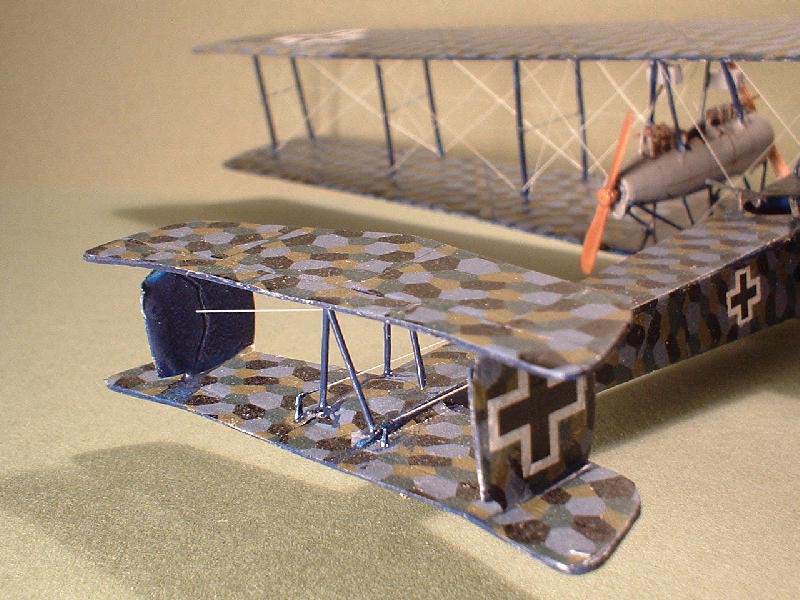
a good undercoat color for the lozenge scheme once applied. The lozenge
was put on in a diagonal fashion as found most German aircraft of the
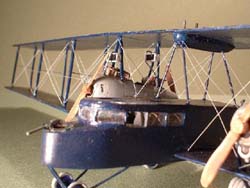
time. However many photos of the Staakens show them with unpainted forward
fuselages and I chose to leave mine with a plain midnight blue finish.
Once I had the decaling done I started the assembling the model. I
decided to make new undercarriage struts of of Strutz material and extend
them through the bottom wing to hold the engine nacelles as well. This
worked out well and eased the assembly process considerably. I also replaced
the fuselage to wing struts with brass wire. Next I turned to the interplane
struts. Although fragile none of them broke as I cleaned them up. I attached
the wing tip struts first and then attached the top wing to them.
To get the slight backward stagger to the wings I set the whole assembly
against two angled templates made out of cardboard and attached to the
work mat with BlueTac. When the assembly was thoroughly dry I installed
all the rest of the struts to the wings , the nacelles and the tail. But
then I noticed a pronounced droop to the wings which would need sorting
out later.
I attached two eight-wheel sets to wire axles and painted them with
the appropriate colors. That left only the nose wheels and the propellers
to attach and the model was basically finished. There isn't very much
detail on a model of this scale. I added the three tiny guns, breather
tubes, clear plastic sheet windows and windsrceen, and the four radiators.
I then fashioned hoses out of fuse wire for the latter.
As I mentioned before there was a pronounced droop to the wings but
felt I could eliminate this by rigging the wings whilst the model was
resting upside down. When the hot stretched sprue rigging was dry I set
the model upright and voila, the wings were in the correct position with
just a tiny amount of dihedral. Again because of the scale I had to use
the thinnest hot stretched sprue I could make bit I feel it turned out
quite well and it does not appear too heavy.
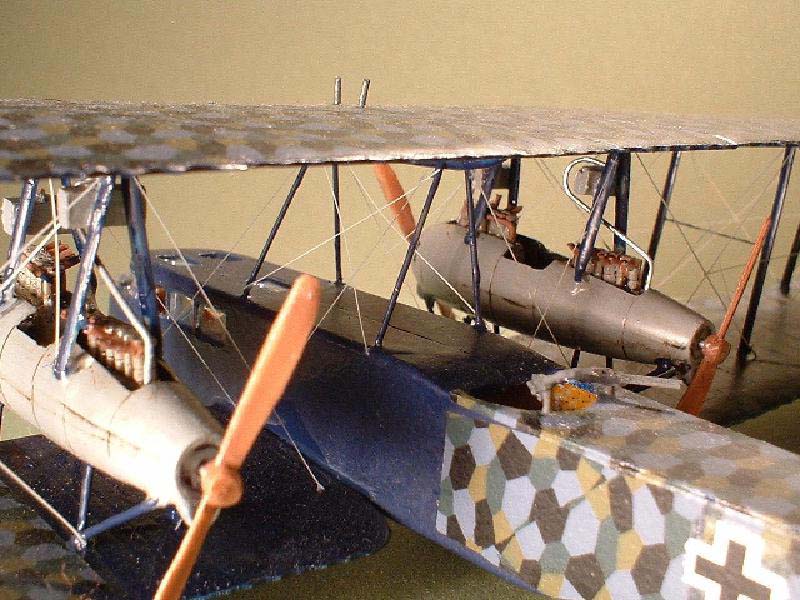
Well, that was about it. I finished the model with a coat of Future
toned down with a bit of Tamiya white base to take the sheen off of the
decal material and the satin midnight blue. The SRAM Staaken even in 1/144
scale is still a giant but doesnít look too out of place amongst other
1/72 scale models. I enjoyed building in this scale and have also done
their little Albatos D I. With this experience I feel that maybe World
War One aircraft models in this scale may catch on and it certainly saves
shelf space!
|
|