Modelart by Marco 1/8 Liberty V 12
400hp World War I Airplane Motor Kit
|
 |
History
The Liberty Engine was America's greatest industrial achievement of
the First World War. Designed in a matter of weeks, built, tested and
put into full production in a matter of months, the Liberty Engine was
a deliberate effort to combine the best proven aero-engine technologies
of the day to produce a powerplant of superior performance that was also
easy to manufacture and maintain.
Faced with the need for rapid production of aero-engines, the U.S.
Government had two options. They could encourage private companies to
design, develop and produce an engine, or they could have the U.S. Bureau
of Standards put together a team of the best from many companies to work
together to design an engine incorporating the best proven ideas of the
day. This they did and succeeded admirably.
Ultimately, experts from most of the major American automobile manufacturers
as well as the Army, Navy and U.S. Bureau of Standards contributed ideas
to the design and production of the Liberty Engine. The original design
team was headed by Packard's Chief Engineer, Jessee Vincent, and E.J.
Scott of the Hall-Scott Motor Company.
The U.S. Government set them up in a suite of rooms at the Willard
Hotel in Washington, D.C. Armed with official drawings of currently operational
engines from the European war, Vincent and Scott held marathon design
sessions. In a few weeks, aided by consultants and draftsmen brought in
from their own and other companies, they had a working design for a Vee
12 engine.
Since no company was going to profit from the design and development,
all contributed expertise, personnel and even heretofore jealously guarded
trade secrets toward the development. As a result, 26,500 engines were
ordered with contracts going to Ford, Cadillac, Lincoln, Packard, Nordyke,
Marmon, Buick, Willys-Overland and Trego Motors. Involvement of the U.S.
Bureau of Standards in the design process insured parts made by dozens
of sub-contractors from Connecticut to California all fit and ran perfectly
together.
The design was started in late May of 1917, barely more than a month
after America's entry into the war. The prototype engine passed its 50-hour
durability test on 24 August, 1917. Of the 26,500 ordered, 15,572 were
produced by December of 1918. The patriotic contributions of valuable
personnel and trade secrets by the companies involved attests to the spirit
of the day as well as the potential of American industry to meet and overcome
challenges.
The Liberty engine was used to power American DH-4 Liberty planes in
both the recon and bomber roles. It also went on to be used in several
late war designs such as the DH.9a Ninak, which served the RAF into the1930s.
The Liberty engine came into its own post-1918 when it was used on many
record breaking flights during the 1920s. The US Navy's Trans-Atlantic
NC-4 flying boats, the Army's Transcontinental Fokker T.2 and the globe-circling
Douglas World Cruisers all required the power and reliability of the Liberty
engine to achieve their well-earned places in aviation history.
The Kit
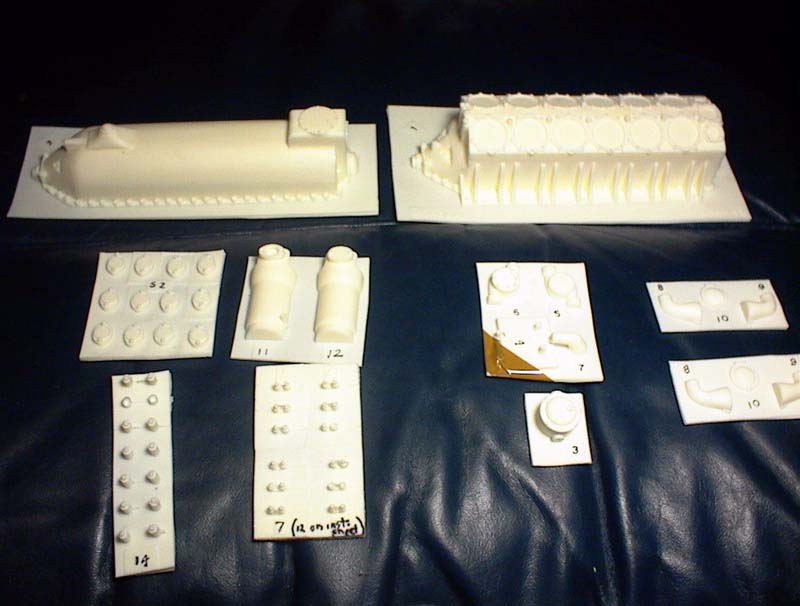
The Modelart by Marco kit is an impressive bag full of resin parts,
all 196 of them. Most of the resin parts come on fairly thick pour wafers.
This requires the thickness of the wafer to be removed even after the
part is cut/snapped free of the wafer. John Marco recommends leaving little
bits of the wafer surrounding the part when it is removed. These act as
gauges to help you judge how much to sand off. I might also recommend
spraying a coat of gray primer on the part and its wafer. This will give
a gray part with a thin white layer on the bottom when viewed from the
side. The idea is to sand the part down until the white is gone and only
the gray remains. Both are adaptations of vacuform sanding techniques.
In either case there is a lot of cleanup work to do before you begin assembly.
Some of the spark plugs did not quite fill with resin. Modelart by
Marco provided an extra wafer of bolt heads and in the case of my kit,
they also added another of spark plugs.
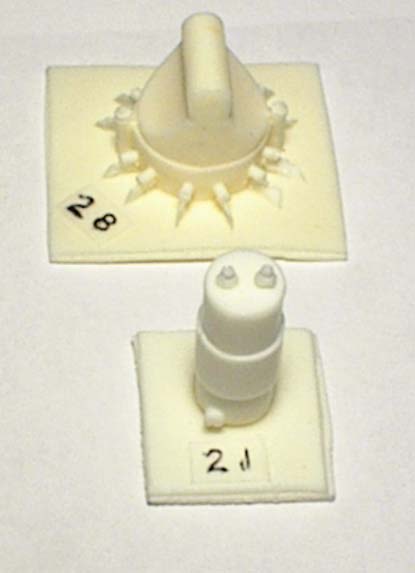
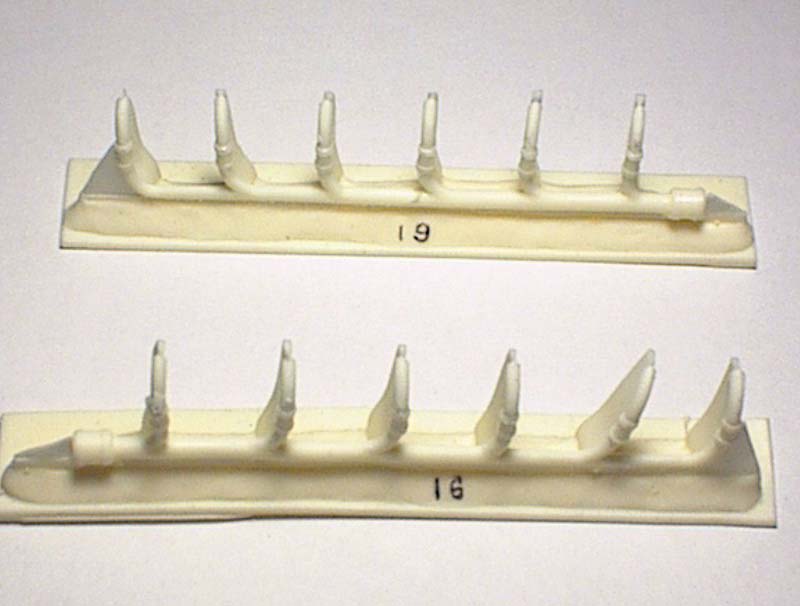
The crankcase comes in two large halves, upper and lower. Each cylinder
is cast split in two lengthwise. These are added to the assembled crankcase
and then the valve gear is added atop that. The rest is various harness,
plumbing and manifold pieces . Included were lengths of spark plug wire
as well as various diameters of brass and plastic rod.
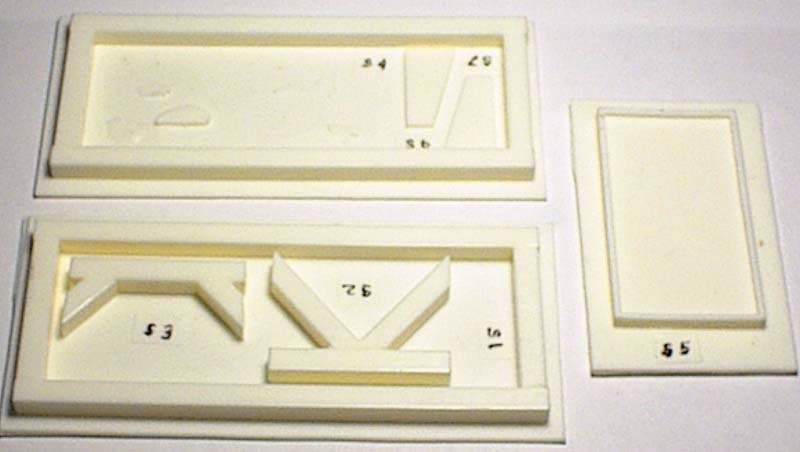
The base is a sturdy frame of resin that can be painted to look like
wood or metal. There is a printed tag included in both English and German.
This can be taken to an engraver and a matching brass ID plate made for
the stand. The actual engine data plate comes as a decal.
The two sheets of instructions are hand drawn and the construction
sequence is quite logical and straightforward. As with any set of instructions,
careful study will reveal the answers to most questions.
The resin is good quality and all the parts removal and cleanup is
really less work than it looks like. This kit promises to build up into
a very impressive display piece. I hope Modelart by Marco does well with
this line. After a good hard look at the pieces, I can highly recommend
this kit to both modelers looking for a change of pace and those who are
serious about WWI modeling. Some experience working with resin parts is
good, but not necessary to complete the kit and turn out a most impressive
display piece
Thse kits are available in Canada and the US from: Bob
Pearson And elsewhere, direct from
Modelart by Marco
Post Box 102542
D-45025 Essen
Germany
phone: +49 201 248 8470
|
|