Building Trumpeter's NEW 1/72 Tu-95 BearBy Will Riepl | 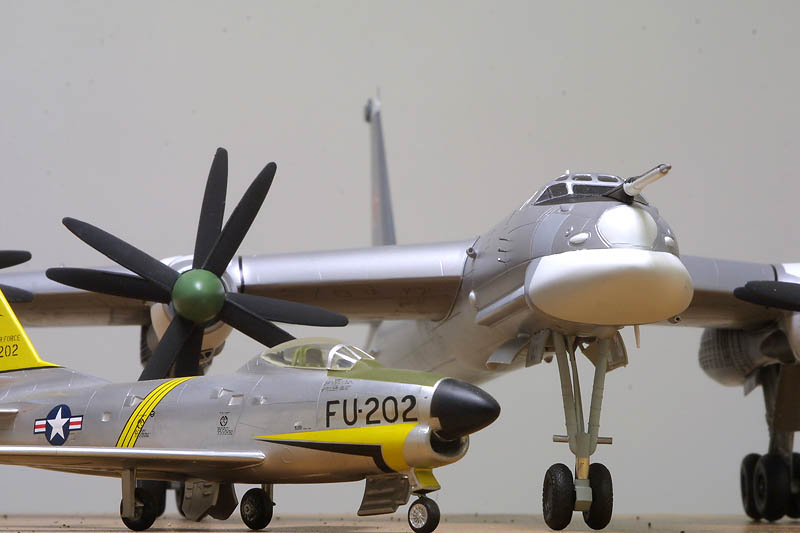 |
Overview
In the last month we had an inbox review of the new Trumpeter Tu-95 Bear. All that I could say is, it is big and where am I going to put it. This is the first Trumpeter kit that I have done, and it will not be the last one. I would class these newest kits as 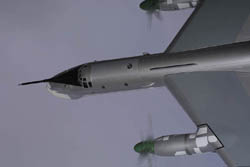 right up there with the Big 4. In the years to come it just might just come out on top. Trumpeter is just about the only kit manufacturer to come out with some BIG new kits this year, mainly in 1/32 and 1/24 scale. Who would think that we would see a Tu 95 injection molded kit? Well, here it is. If the Bf 109G is as good, I will certainly buy one.

The Build
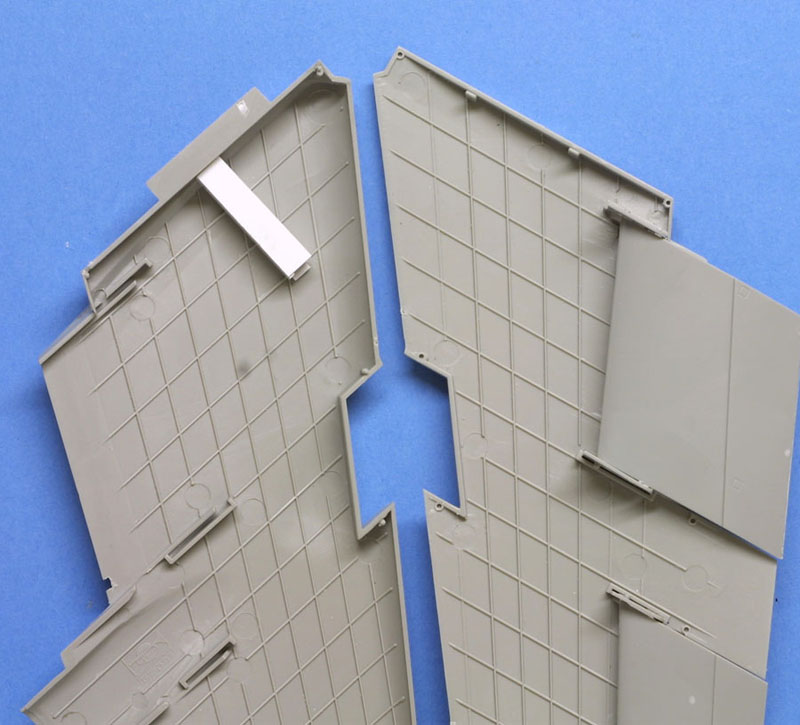
Now to get back to the Bear. The only bad thing that I can say about this kit is - it is BIG. You will have to plan ahead just how you will build it and paint it. The only way to fit the plane in the spray booth was to take the wings off to paint it. With that in mind, I started off with the wings. I came up with making a spar with some small brass square tubing. You can get this in your hobby shop. I first cut a hole in the fuselage for the tubing, then taped the fuselage together. I put the wing on the fuselage and took small brass tubing running through the fuselage tubing to mark the wing. Once I had that marked, I cut a hole in the wing and made a box for the tubing inside the wing. Larger tubing was used for strength and was put into the wing box. I did the same with the other wing and that way it was all square to the fuselage. It looked like it would take some work to put the flaps down and make them look right, so I chose not to do that.
 ......
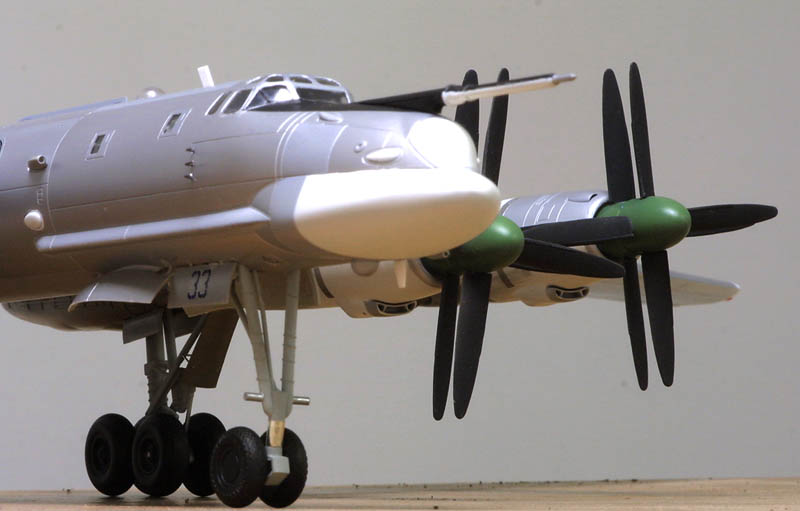
After the wings were together, the engine nacelles came next. I did not have to do anything here, as the fit was very good to the wings. The only thing I did do to the outboard engines was to put some .010 plastic on the inside of the wing nacelles. This will give more area to glue the nacelle to. Some dry fitting of the engines to the wing resulted in a good fit, although I did have to use some putty to get a perfect fit.
 ......
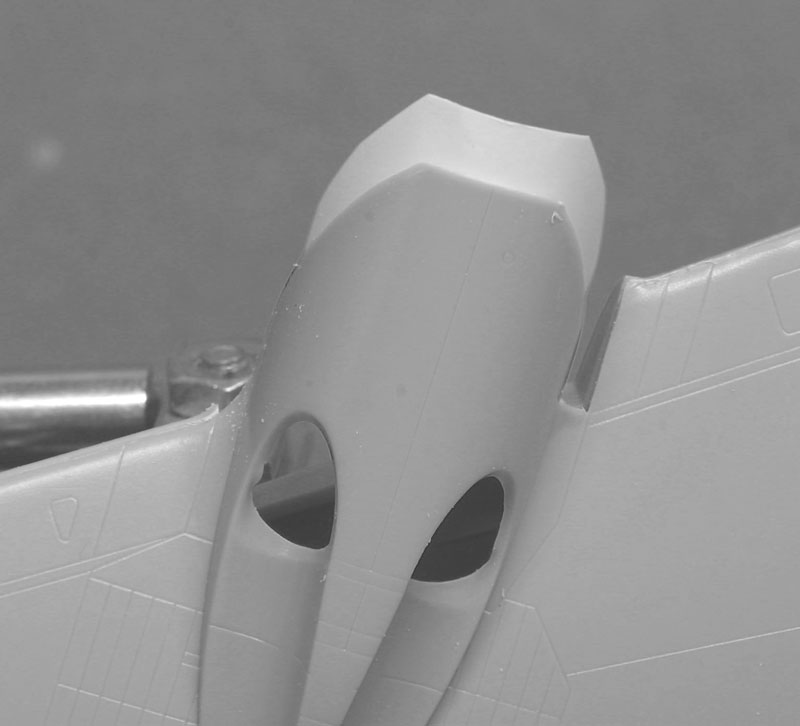
Onto the fuselage. I wanted to make sure that when I glued it together it would be a strong joint. I could see that this might be a problem with the weight of the wing just not holding. I made some .010 plastic strips, and glued them to the inside of the top and the bottom of the fuselage seam. This gave some support to the fuselage, and more gluing surface area. The separate tail section had me concerned as well, but when I attached it there was no problem with the seam.
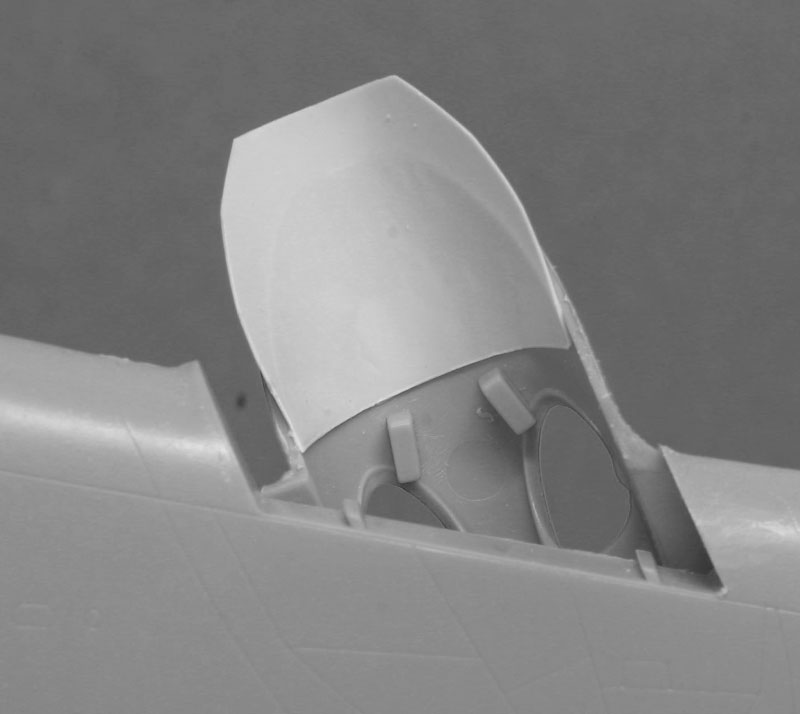
There's not too much for the insides, and you cannot see much in there anyway when you have the canopy on. The tail gunner could use some detailing if you want, but that's about it. I glued in the bomb bay doors with some.010 plastic backing on the inside of doors to the fuselage. This will help them to stay put. It would be nice if they had put some detail in the bay, and I'm sure it won't be too long before we see a resin detail set here. Make sure that you put enough weight in the nose. You don't want it to sit on its tail.
 ........
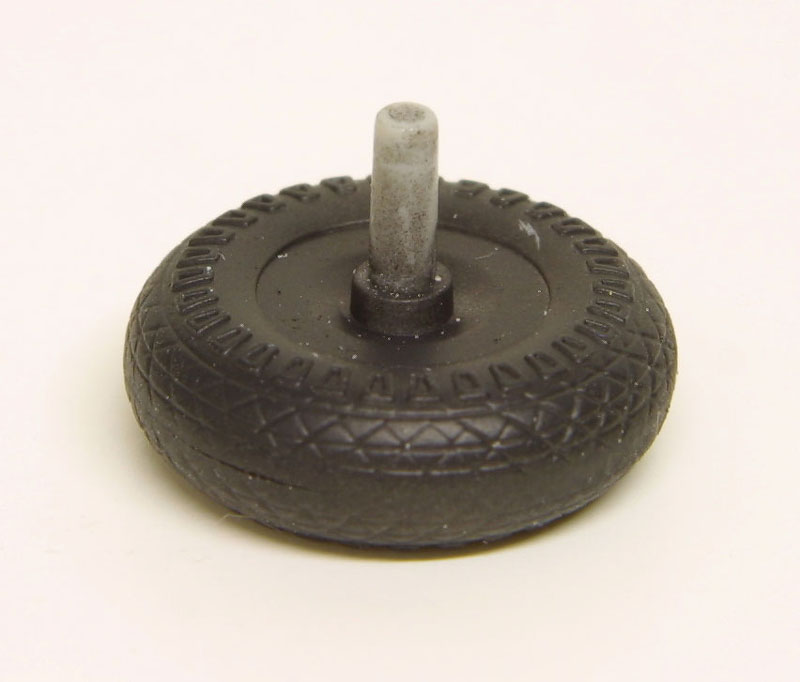
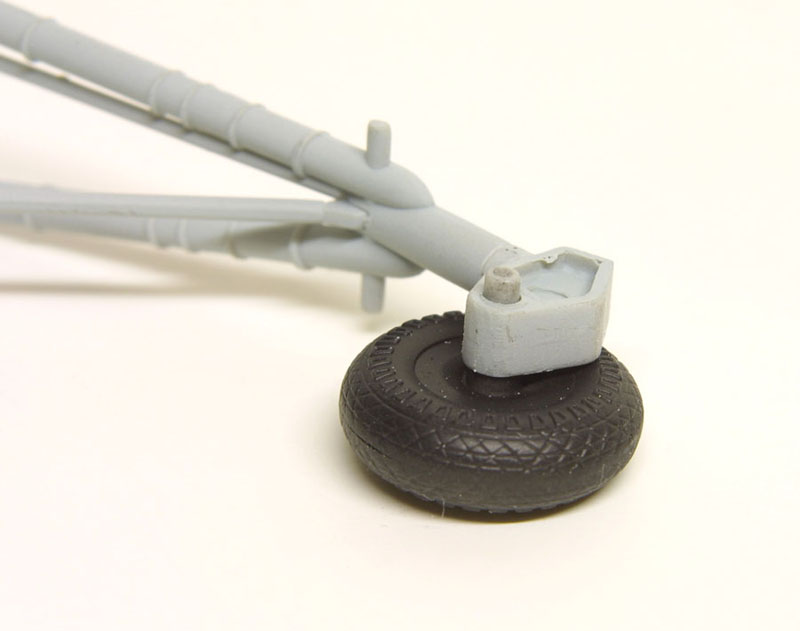
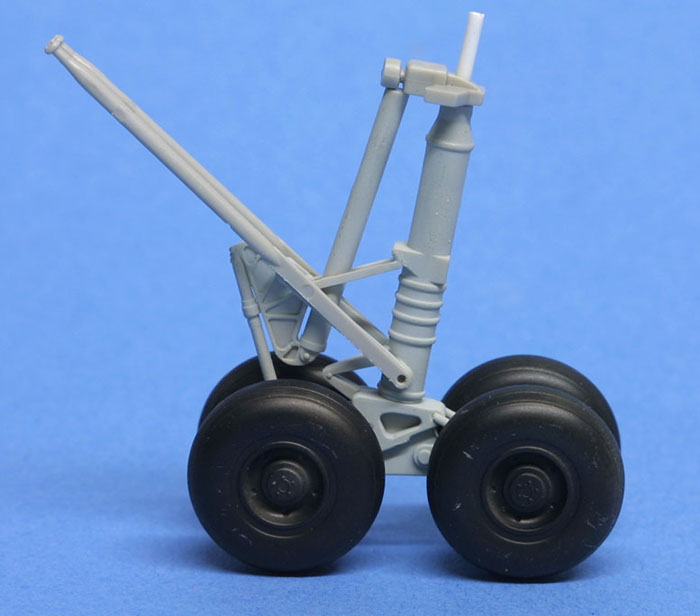
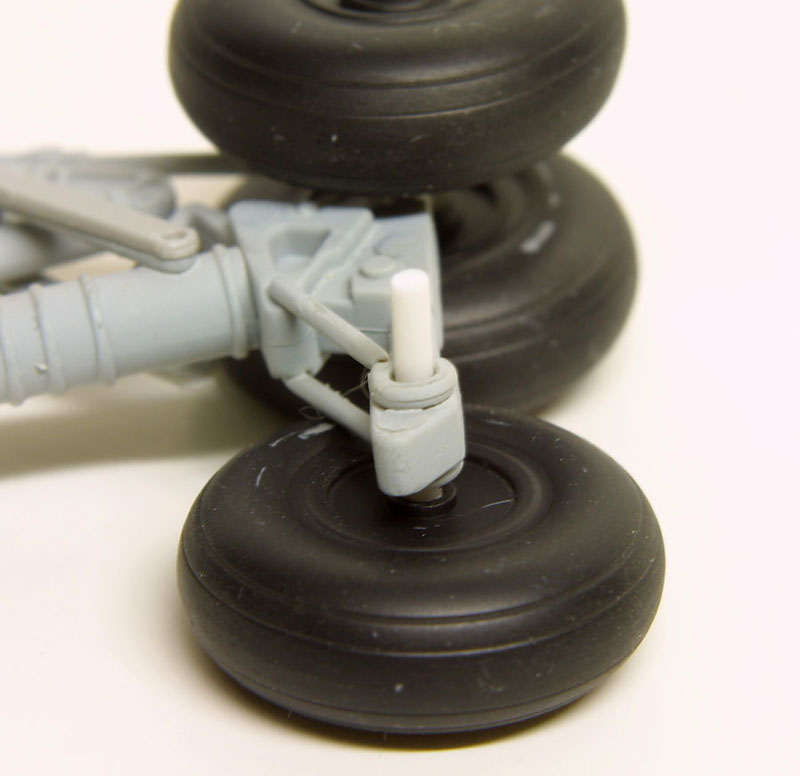
Next is the main landing gear. One thing that they could have done is to make the axles for the wheels a little longer. When you put them on the struts you do not have very much to glue the other wheel to. I cut them off and I made some new ones with some .040 plastic rod. Then I drilled out the wheels and added the new axles.
 ......
Painting
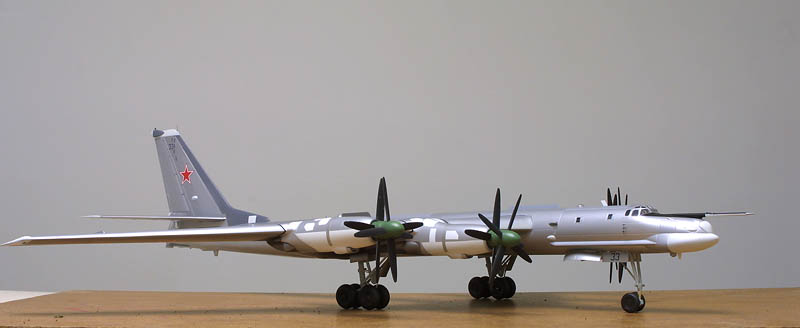
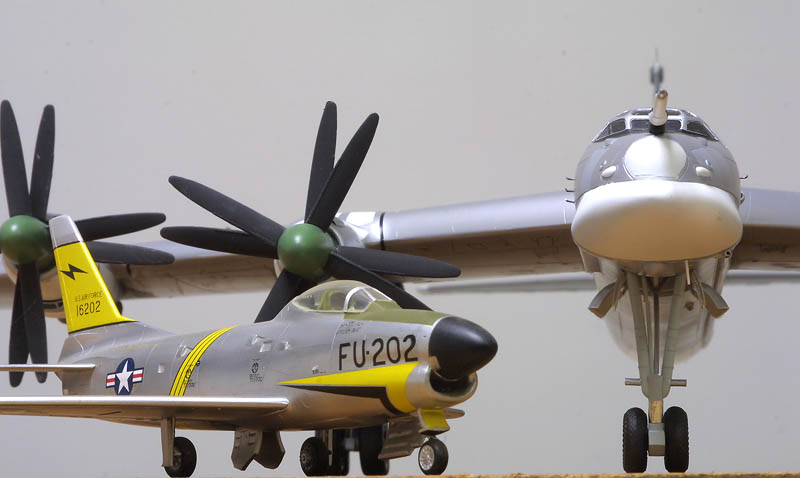
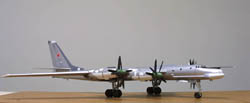 Well, now it was time to get some paint on this thing. There’s only one choice for a Bear and that is silver. I did not have any Alcad to use (and I'd likely need several bottles on this big plane!), so I used Floquil Old Time Silver. I mixed some gray for the gray panel on the top of the wings, and got some PolyScale USSR Dark Topside Gray for the dark area on the tail. I painted the grays on first and then masked them off. I started with a mix of silver and some white for the different panels of silver. On the inboard engine nacelle I used the Testors Buffing Metalizer Colors of Burnt Metal and Magnesium. I then added some silver with some black mixed in to add the exhaust. When everything was painted, I put a PolyScale semi gloss coat over the model; this will seal the silver paint so you can handle it.
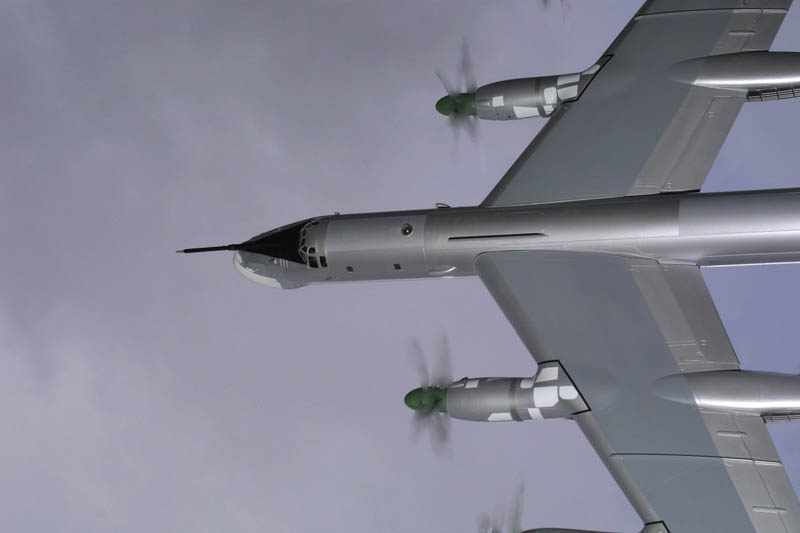
 Now it is time to put on the decals. I made the white panels for the engines out of some white decal paper. This was much easier than masking off the engine and painting them. I started to add the weathering. You can find some good pictures of the Tu-95 that will show just how much weathering to do on the engines and the under side of the wing. One good book is the AeroFax Tu-95 Bear and I definitely recommend tracking this book down. Some of the old Koku-Fan magazines from the early 1990s also had some good stuff. When the decaling and weathering was all done I added the little stuff and the landing gear.
Conclusion
To sum it up as to how the kit went together I will give it a 7. There was a lot of clean up as to sanding the parts when you cut them off of the tree. Some of the parts needed to be primed with some Mr. Surfacer 1000 to get rid all the mold marks. But there were no hidden trouble areas and when you get it done you will have a nice BIG kit of the Tu-95 Bear. You can put it right up there with the B-52.
 .....
.....
Some of the reference books you can get on the Tu 95 are:
Tu-95/142 Bear AeroFax
Koku-Fan The Modern Russian Military Aircraft No 85
Koku-Fan Aug.1993 No 8
Koku-Fan Oct. 1992 No 10
Our thanks to Stevens International for the review kit.

![]()


