The New Revell 1/144
Airbus A380-800 |  | The Prototype The A380 has been billed as the largest and most advanced airliner ever built. When first announced, there were many fanciful thoughts about there being shopping malls, restaurants, saunas and the like. While such amenities would be novel and maybe even appealing on a long flight, common business sense stepped in and it's likely that every square foot of floor space will be put to use carrying revenue-producing passengers. 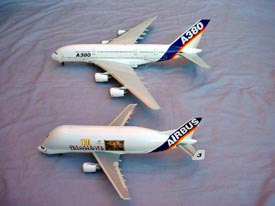 The '800 version will have a typical seating capacity of 555 (imagine being the last one off to go through US Immigration and collect your bags!) although it's likely that some of the Far Eastern airlines will cram over 800 in theirs. A stretched version is planned (which would actually make it look more attractive) carrying over 600 passengers in a typical 3-class layout and nudging 1,000 in all-economy. The '800 version will have a typical seating capacity of 555 (imagine being the last one off to go through US Immigration and collect your bags!) although it's likely that some of the Far Eastern airlines will cram over 800 in theirs. A stretched version is planned (which would actually make it look more attractive) carrying over 600 passengers in a typical 3-class layout and nudging 1,000 in all-economy.
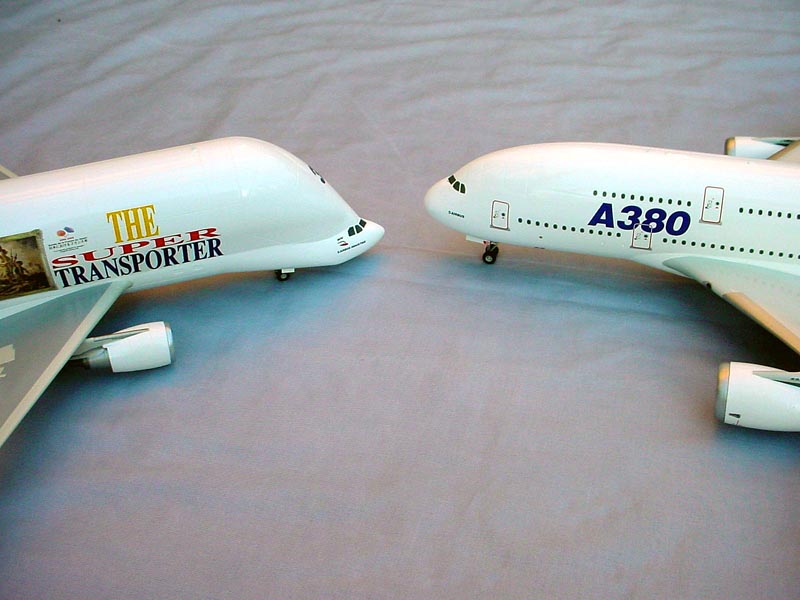
The A380 was designed to fit within the same "footprint" as the B747 to enable existing airport infrastructure to be used. Passengers on the upper deck will more than likely have to use the wide staircase rather than gain access through a direct airbridge. With a length of 239ft, the A380 is just 8ft longer than a B747-400. Its wingspan, at 262ft, is 50ft wider. The wing area is a massive 9,100sq ft, that's 60% larger than the Boeing. The aircraft is due to make its first flight in December 2004, and enter airline service in early 2006. The freighter version is due to enter service in mid 2008. The Kit 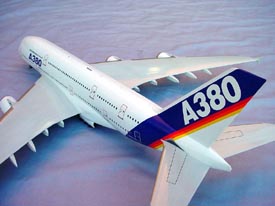 With the first metal yet to be cut for the real aircraft, Revell's announcement of the kit met with mixed reactions among the airliner modelling community. Some would prefer Revell to wait until the final design was known and, indeed, some have vowed not to build it until the real aircraft makes its debut. I have no such qualms and have been eagerly awaiting the kit. I first saw it at the 2002 Telford UK Nationals in November. It looked big then. Having bought one (well, two actually) it looks even bigger! With the first metal yet to be cut for the real aircraft, Revell's announcement of the kit met with mixed reactions among the airliner modelling community. Some would prefer Revell to wait until the final design was known and, indeed, some have vowed not to build it until the real aircraft makes its debut. I have no such qualms and have been eagerly awaiting the kit. I first saw it at the 2002 Telford UK Nationals in November. It looked big then. Having bought one (well, two actually) it looks even bigger! As you'd expect, the kit comes in a big box, a "proper" box with a lid which makes keeping things safe easier. Included is a copy of the December 2002 issue of FugRevue, a German aviation magazine (although, curiously, I gather that the kit on sale in Germany does not include the magazine) which includes a feature about the 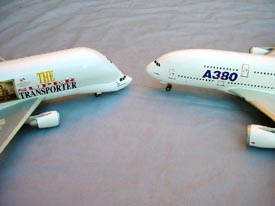 B747-400. I don’t know if the two companies got their timing mixed up, or if it's a marketing ploy, but the next issue (January) is the one with the A380 feature! B747-400. I don’t know if the two companies got their timing mixed up, or if it's a marketing ploy, but the next issue (January) is the one with the A380 feature! The kit is typical of current Revell airliner kits. White plastic, finely recessed scribing, lots of detail, and parts that fit really well. Much to my relief, the plastic is nice and smooth, not like the "stucco" finish of, say, the Beluga and B747 that needs sanding smooth. The fuselage is actually a slighter whiter and shinier plastic than the rest of the kit. If, like me, you can pretty much build a Minicraft B737 or Revell A320 blindfolded because you've built so many of them, it's tempting to start building straight away. However, I spent some time reading through the instructions and studying the plastic to see how best to approach the build. I built all of the landing gear first and then moved on to the "big bits". 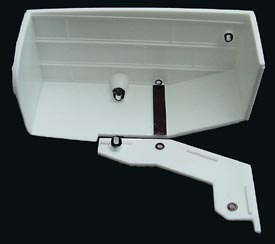 Landing Gear Landing Gear
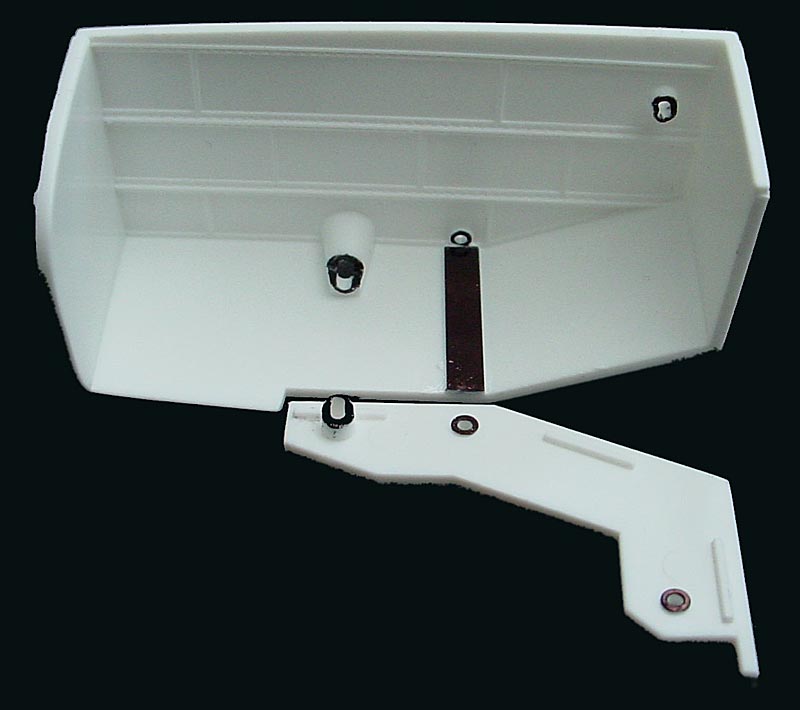
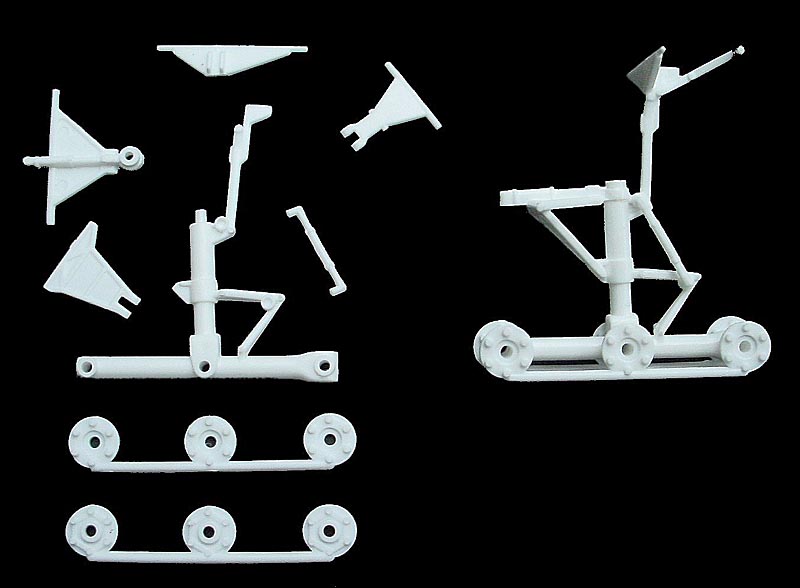
As with some of their other airliner kits, Revell would have you build and install the nose gear and belly mains in the fuselage before you glue the fuselage halves together. The gear bays are basically boxes which are built around the legs. I prefer to install the gear as one of the last stages, avoiding the risk of them being broken during handling. I therefore followed my usual method of glueing notched supporting strips of plastic on the bay walls above the various fixing holes. The locating pins are then shortened to the width of the bay itself and simply slot into the notches on the supporting strips. Some of the locating holes are in the form of elongated tubes coming of the bay walls. These can just be cut in half along the tube to form a half-round slot, into which the gear pins then simply fit. 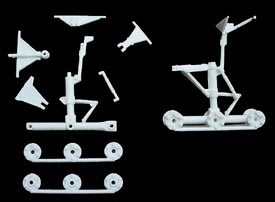 I used the bays as jigs when I built the landing gear, which made it easy to get the various angles right, particularly with the belly mains which are each made up of 8 parts. I used the bays as jigs when I built the landing gear, which made it easy to get the various angles right, particularly with the belly mains which are each made up of 8 parts. Fuselage With the landing gear completed and set aside, construction of the fuselage could begin. I prefer decal windows so the open kit windows had to be filled. There are a variety of ways of accomplishing this. My personal approach is to place masking tape on the outside, and then fill the windows from inside with 5-minute epoxy. Pushing the epoxy into the holes results in a smooth and flat finish on the outside. Any need to putty the outside is then minimal, often completely unnecessary. The cabin door windows are molded as depressions. However, these are a little deep so I filled them with a little putty. The door decal includes just the silver frame. However, there are separate decals (numbers 17 b to 24b) which are grey door windows with silver frames. A nice touch, even though the instructions don't mention them. I filled the door outlines as a matter of course (I always think the scribing is too deep), leaving just the bottom plate to act as a guide when applying the door decal later.  A reasonable representation of a cockpit is provided. This could be detailed further and would certainly be visible through the windshield which is fairly big. Again, I prefer decals in this scale but installed the cockpit anyway to help with structural strength. The windshield itself is not the best-fitting one I've seen, especially along the back edges and I found that a little filler was needed. The decal sheet provides two alternatives for the windshield. One is just a white outline, presumably intended so that you don't to be too accurate when masking the windows. The other is a grey decal but also with a white surround, which I can't see the point of. The white of the decal would need to perfectly match the white paint (and who knows how many different "whites" there are!) to blend in properly. Revell don't, unfortunately, provide just the grey parts. They could do so as there's plenty of space. A reasonable representation of a cockpit is provided. This could be detailed further and would certainly be visible through the windshield which is fairly big. Again, I prefer decals in this scale but installed the cockpit anyway to help with structural strength. The windshield itself is not the best-fitting one I've seen, especially along the back edges and I found that a little filler was needed. The decal sheet provides two alternatives for the windshield. One is just a white outline, presumably intended so that you don't to be too accurate when masking the windows. The other is a grey decal but also with a white surround, which I can't see the point of. The white of the decal would need to perfectly match the white paint (and who knows how many different "whites" there are!) to blend in properly. Revell don't, unfortunately, provide just the grey parts. They could do so as there's plenty of space. 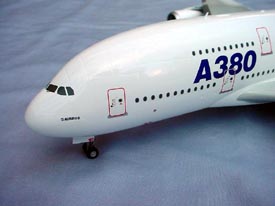 Before installing any parts to the fuselage halves, and whilst I could still lay them flat, I took the opportunity to cut a mask for the wing root white/grey demarcation. The wings fit into a deep wing-root slot, which has sharp edges to it. I lay some tape over the wing root slot and then used a sharp pointed knife blade to cut around the slot, letting the edge guide the blade. I then removed the tape from around the slot and stuck it (now a perfectly-shaped mask) onto some plastic card until later. Before installing any parts to the fuselage halves, and whilst I could still lay them flat, I took the opportunity to cut a mask for the wing root white/grey demarcation. The wings fit into a deep wing-root slot, which has sharp edges to it. I lay some tape over the wing root slot and then used a sharp pointed knife blade to cut around the slot, letting the edge guide the blade. I then removed the tape from around the slot and stuck it (now a perfectly-shaped mask) onto some plastic card until later.
I then glued the fuselage halves together. I use a variety of glues, depending on the application. For joining fuselages, I always use Tenax 7R which gives a very strong bond (I've never had one split on me yet). Given the size of this kit, I decided to add some more strength to the join. The centre section of the belly is a separate piece (like the B747 and A330/340 kits) so, through that, I poured some 15-minute epoxy into the roof of the fuselage. I kept tilting the fuselage back and forth so the epoxy flowed along the seam. This is a technique commonly used when building vacform kits and adds considerably to the strength of the seam. When I fitted the belly centre panel, I felt that there wasn't enough support for it so I added a few strips of plastic at the front and back of the hole in the fuselage for the panel to rest on. I also found there was a slight gap at the front, which I filled with a shim of thin plastic card. The nose gear front doors sat a little low in the well so I added a couple of pieces of masking tape over the top of the pins on which the doors rest. That brought the doors up level with the surrounding panels. 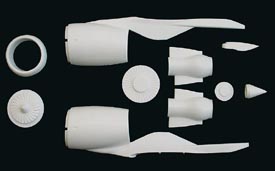 Engines Engines
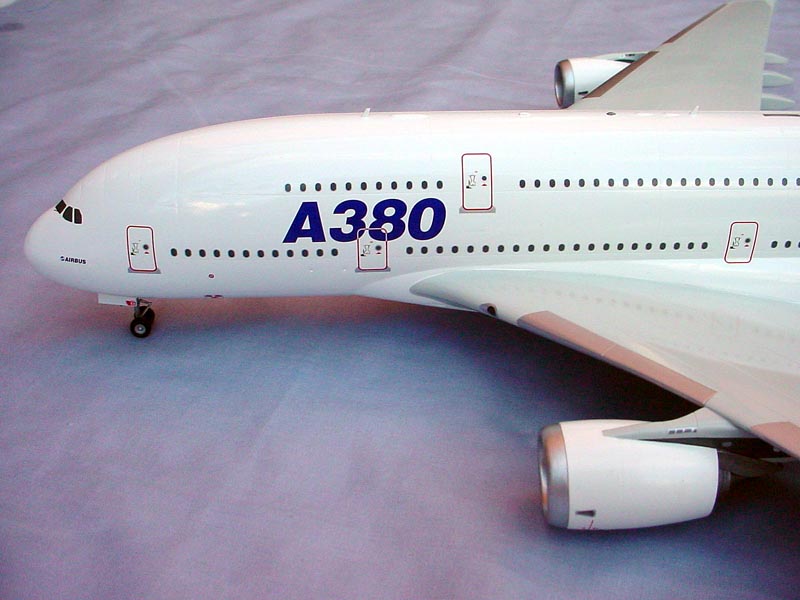
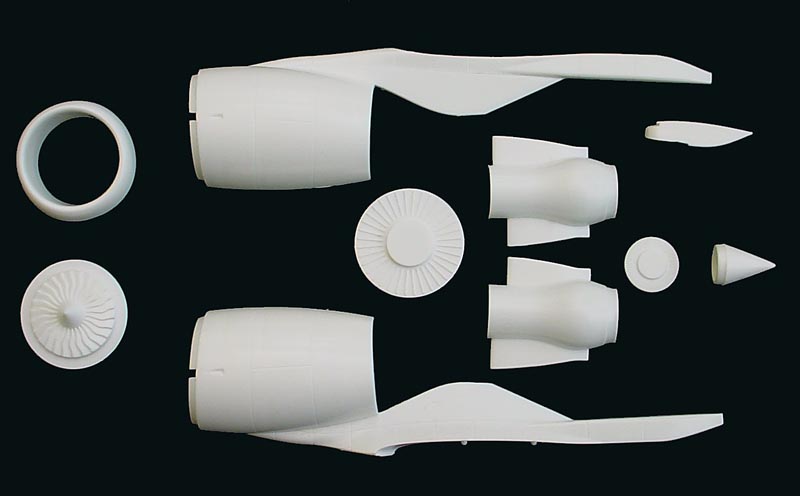
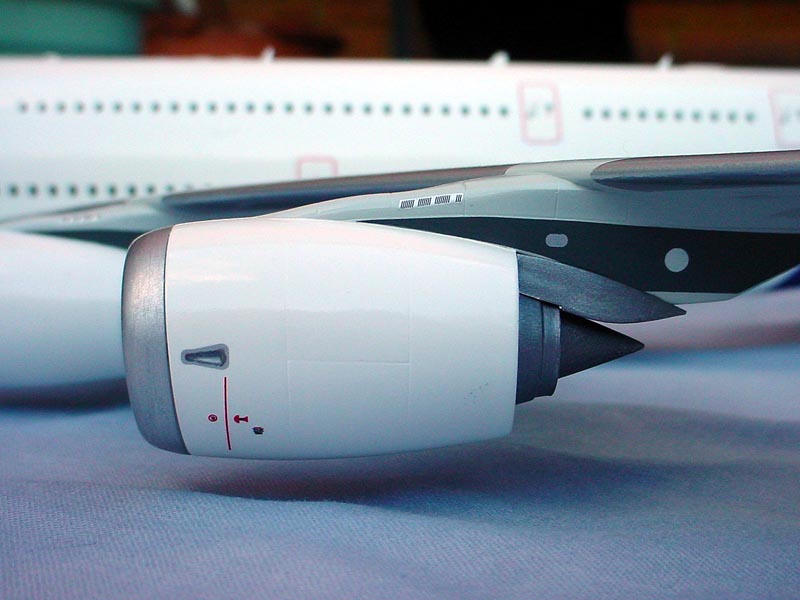
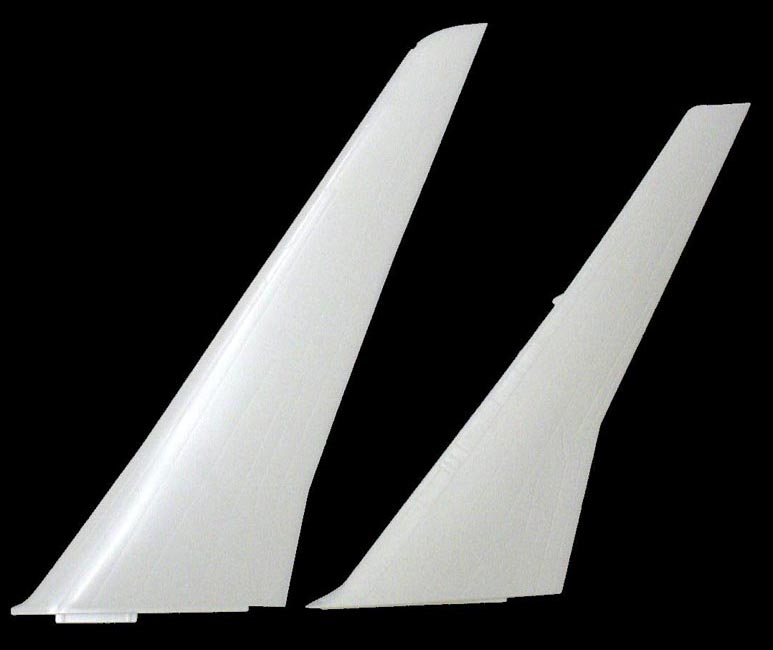
Two engine choices are provided, the Rolls Royce Trent 900 and the GP7200 from the General Electric/Pratt & Whitney joint venture. The only differences between the two versions are in the fan disks and the exhaust cones. The cowling/pylon parts and the hot sections are common. The engines each consist of 10 parts and are very nicely engineered, such that it's virtually impossible to assemble them incorrectly. I assembled the hot sections first (leaving off the exhaust cone for now), and painted these and the insides of the cowlings. When the paint was dry, I masked off the hot sections before installing them inside the  cowlings. I didn’t glue the hot sections in place as I could see that leaving them loose would make installing the fillet (part No.141) a little bit easier when all painting was completed. cowlings. I didn’t glue the hot sections in place as I could see that leaving them loose would make installing the fillet (part No.141) a little bit easier when all painting was completed. The intake ring and trunking back to the fan disk is a one-piece affair which I tacked in place on the completed cowling assembly. The fit on each engine was nigh on perfect with just a little profiling to match needed here and there. I then removed the intakes to paint separately and later add to the fully painted model. Wings The wings are huge, even compared to those of a B747. Revell have made a fine job of molding the complex contours. I thinned the trailing edges of the lower wing halves a little and also found the fit was better if I glued the trailing edges first, let them dry, and then joined the leading edges. The flap track canoes are separate, each made up of two parts, which makes cleaning up the wing trailing edge nice and easy before you add them. Separate parts are also provided for the navigation and landing lights. The latter don’t fit very well and needed some filler. Decals are provided for the silver surrounds for the landing lights, but there are no decals for the lights themselves (I used some grey decal behind the frame decal). 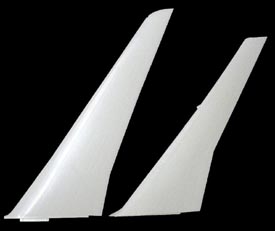 It was only when I attached the wings to the fuselage that the real sense of how out of proportion this thing is really hit me (kind of like an exaggerated A318). And very unwieldy! I kept banging the assembled model against my workbench lights and anything else in close proximity. Revell must have foreseen this as the instructions call for the winglets to be attached as one of the last stages. A wise move as they would surely be broken off if attached earlier. It was only when I attached the wings to the fuselage that the real sense of how out of proportion this thing is really hit me (kind of like an exaggerated A318). And very unwieldy! I kept banging the assembled model against my workbench lights and anything else in close proximity. Revell must have foreseen this as the instructions call for the winglets to be attached as one of the last stages. A wise move as they would surely be broken off if attached earlier.
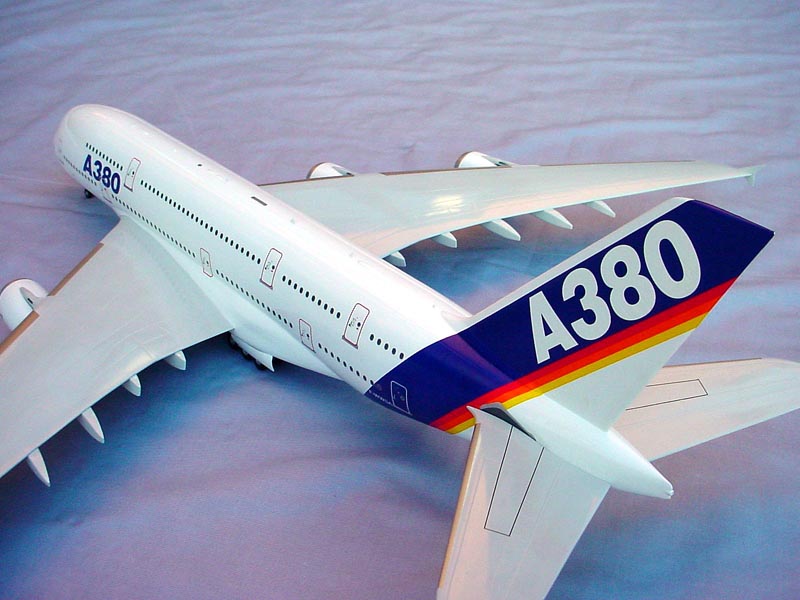
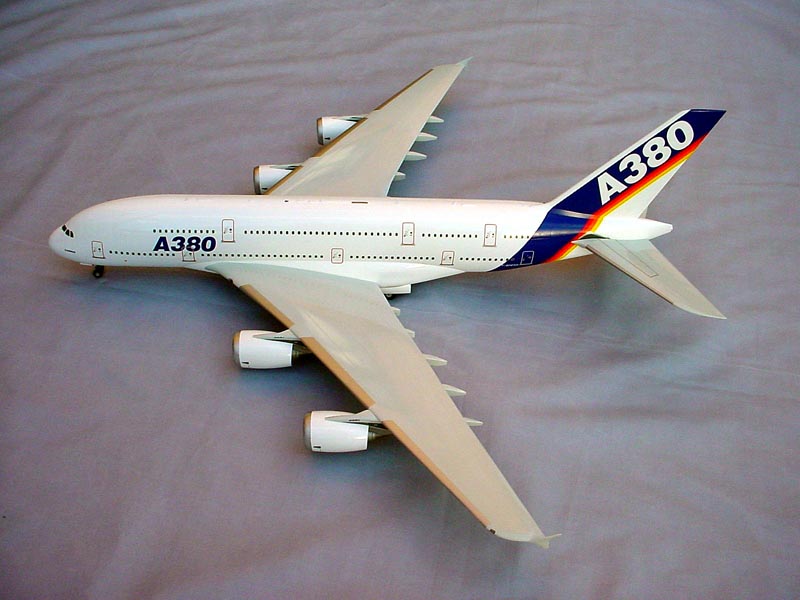
With the wing root area so large, there's plenty of mating surfaces to provide a good strong joint. I needed a little filler around the wing root. The model on display on the Revell stand at Telford had just had the wings slotted into the fuselage with no attempt made to fill the join. I personally don't think the join is tight enough to allow that. Painting 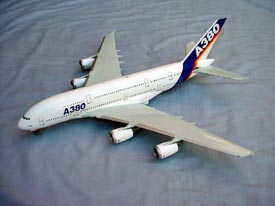 I use the Halfords range of car paint for priming and my whites these days. I use grey primer to highlight any seam or other flaws, then a white primer. The Appliance Gloss White gives a perfectly smooth and hard bright white finish, dries very quickly (dry to the touch within minutes usually), and is pretty much impervious to anything else you put over it. I use the Halfords range of car paint for priming and my whites these days. I use grey primer to highlight any seam or other flaws, then a white primer. The Appliance Gloss White gives a perfectly smooth and hard bright white finish, dries very quickly (dry to the touch within minutes usually), and is pretty much impervious to anything else you put over it. For the grey, I used Xtracolor X301 Boeing Grey. I find this can take several days to completely dry, even using Xtracolor's own thinners. With the deadline for this review looming, my usual spray booth (the garage) out of commission due to us having acquired some min-lop rabbits who are living in there over the winter (but I digress), and the rain only easing off intermittently making it difficult to spray outside, I thought about experimenting with mixing a grey and white from the Halfords range to buy myself some time. I decanted some of each into jars and mixed away but couldn't come up with quite the right shade. I therefore crossed fingers and 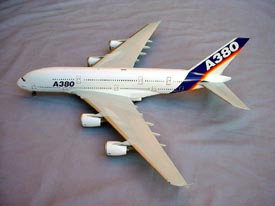 went for the Xtracolor paint. I did use lacquer thinner instead of the Xtracolor thinner as I heard others say it speeded up the drying time. I found that it did, to a degree (still not completely dry as I write this), but it also gave a smoother finish - I'm converted! Such is the size of the model that I used a whole tin of grey paint on the wings and tailplanes - I told you it was big! went for the Xtracolor paint. I did use lacquer thinner instead of the Xtracolor thinner as I heard others say it speeded up the drying time. I found that it did, to a degree (still not completely dry as I write this), but it also gave a smoother finish - I'm converted! Such is the size of the model that I used a whole tin of grey paint on the wings and tailplanes - I told you it was big! One thing I've noticed about the Xtracolor Boeing Grey is that the shade can vary from batch to batch. Some are close to USN Light Gull Grey whilst others (like the one I used this time) are closer to Canadian Voodoo Grey. Xtracolor have just introduced an "Airbus Grey" but I don't have any yet. Masking the wing root was a cinch thanks to the mask I'd created earlier. Finishing Decals are provided for the prototype (presumably) aircraft, F-WWSA, in Airbus house colours. The sheet was designed by Danny Coremans of DACO/Skyline fame. Thankfully, the tail decal is in two parts (anyone who has used the one-piece Beluga decal will know what I mean!). I still cut the coloured stripes away from the wide blue sash on the fuselage piece - I find it helps a little with the fit. The decals are tough enough to withstand some massaging over the compound curves of the fuselage, with the help of plenty of MicroSol, and snuggled down perfectly flat very quickly. For some reason, the tail decal has a white stripe at the front, presumably intended to form the fin leading edge. As I neither needed it, nor wanted it (why have a decal join on the leading edge) I simply trimmed it off before soaking the decal. Just a note about the blue in the tail decal. In one of my kits, bought in different shops, there is some "banding" evident in the printing of the blue part of the decal. It might look okay once on, but if that was my only kit, I'd certainly be contacting Revell for a replacement.  I'd recommend applying all of the engine and pylon decals first as you'll find you have to handle the fuselage quite a lot when applying them. The cabin windows are provided as either just silver frames for those who leave the windows open, and grey with silver frames for those of us who prefer to fill the windows. Maintenance and other detail markings are fairly extensive, certainly enough for this scale. I'd recommend applying all of the engine and pylon decals first as you'll find you have to handle the fuselage quite a lot when applying them. The cabin windows are provided as either just silver frames for those who leave the windows open, and grey with silver frames for those of us who prefer to fill the windows. Maintenance and other detail markings are fairly extensive, certainly enough for this scale.
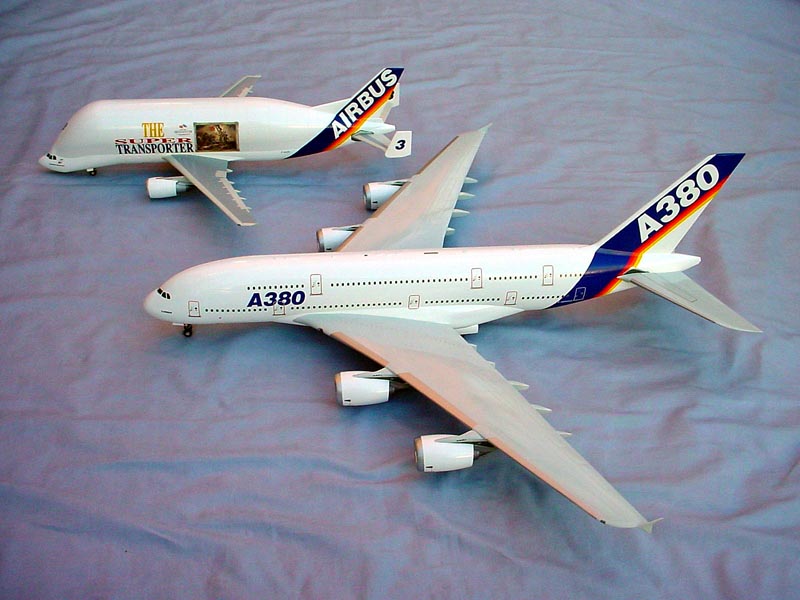
For those not keen on "house" colours, the model is an ideal canvas for "flights of fancy" schemes (I’ve got a Qantas Wunala/Nalanji Dreaming scheme in mind). Hopefully the after-market decal producers will come up with some alternatives before the real aircraft appears (Virgin colours for me please!). You'll notice that I have yet to apply the corroguard to the wings. The grey paint still hasn't quite fully dried and I didn't want to risk masking it. With the review deadline looming, and no pieces of corroguard decal big enough, I decided to play safe. 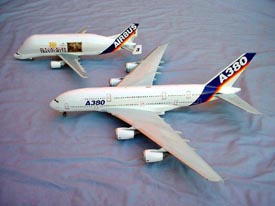 Conclusion Conclusion A very enjoyable build. It'll be a while before the rivet-counters can say "this isn't right, that's not right". In the meantime, build it and enjoy it as I did. The next challenge is finding a big enough space to display it and its sister ship. References Airways magazine January 2001
Airliners magazine No.71 (September/October 2001)
Airbus Jetliners (an Airliner World magazine special) | 


|